Getting Started
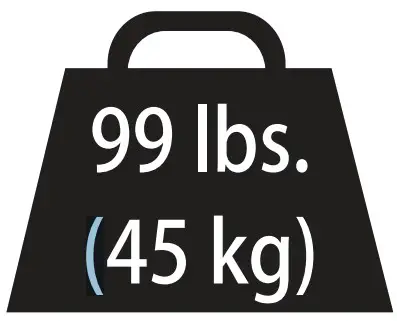
Does your TV (including accessories) weigh more than 99 lbs. ( 45 kg )? — Perfect! Y — This mount is NOT compatible.
WARNING : Exceeding the weight capacity can result in serious personal injury or damage to equipment! It is the installer’s responsibility to make sure the weight of the TV (with accessories) does not exceed 99 lbs ( 45 kg ).
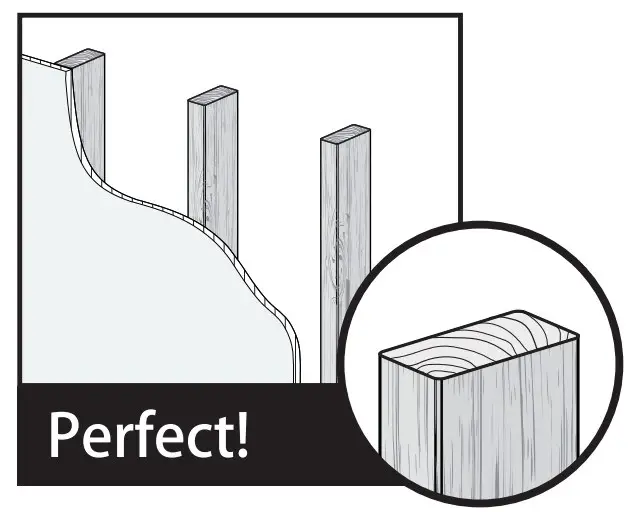
What is your wall made of?
- Drywall with woo studs?
- Solid concrete or concrete block
Please read through these instructions completely to be sure you’re comfortable with this easy install process. Also check your TV owner’s manual to see if there are any special requirements for mounting your TV.
If you do not understand these instructions or have doubts about the safety of the installation, assembly or use of this product, please contact US via: [email protected]
CAUTION: Avoid potential personal injuries and property damage!
- This product is designed for use in wood stud/concrete walls DO NOT install into drywall The wall must be capable of supporting ve times the weight of the TV and mount combined
- Do not use this product for any purpose not explicitly speci ed by manufacture
- Manufacturer is not responsible for damage or injury caused by incorrect assembly or use.
Tools Needed
- Tape Measure

- Pencil
- Screwdriver
- Electric Drill
- 1/2 in. (13 mm) Socket Wrench
Wood Stud Insta
- Stud Finder

- Aw
- 7/32 in. ( 5 mm) Wood Drill Bit
Concrete Install
- Hammer
- 3/8 in. (10 mm) Concrete Drill Bit
Hard ware Included
WARNING:This product contains small items that could be a choking hazard if swallowed. Before starting assembly, verify all parts are included and undamaged. If any parts are missing or damaged, do not return the damaged item to your dealer; contact Customer Service. Never use damaged parts!
NOTE: Not all parts and hardware included will be used.
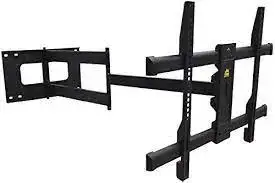
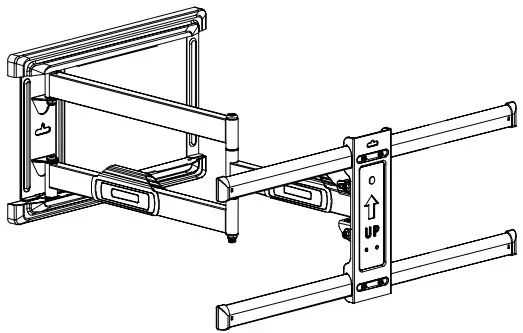
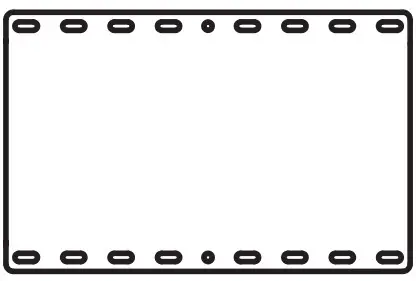
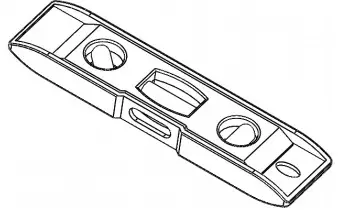
- Arm and Wall Plate
- TV Bracket
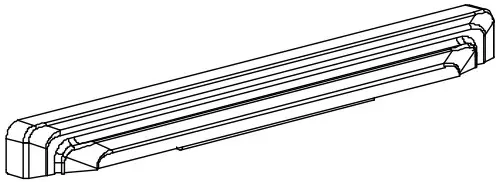
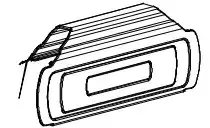
- Wall plate cover
- x2
- x2
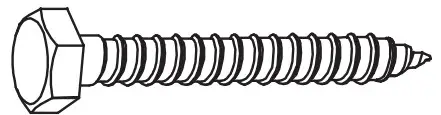
- Lag Bolts 5/16×2.75” A x5

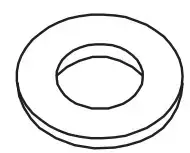
- Lag Bolt Washers
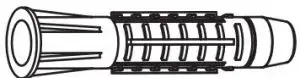
- concrete anchor
- wallplate template
- Level
- Cable Cover
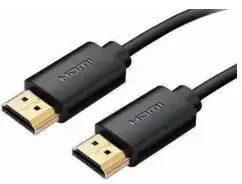
- HDMI Cable
TV Screws :
- M4X15 D x4
- M4X30 E x4
- M6X15 F x4
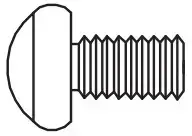
- M6X30 G x4
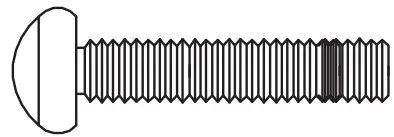
- M8X15 H x4
- M8X45 I x4
TV Washers :
- J x4

- K x4
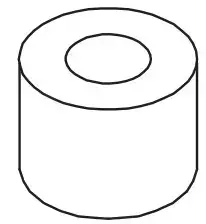
Spacers :
- L5MM L x8
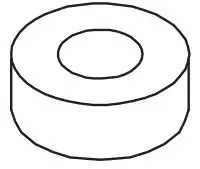
- L10MM M x8
Wrench :
- N x1
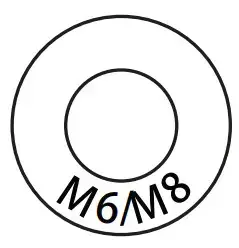
STEP 1-1 Select TV Screw Diameter
Hand thread screws into the threaded inserts on the back of your TV to determine which screw diameter (M4, M6, or M8) to use.
- M4

- M6
- M8

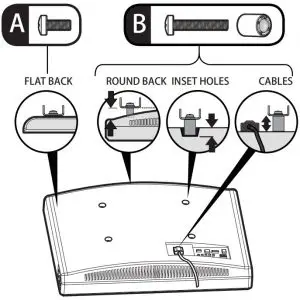
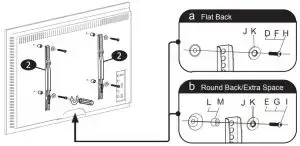
STEP 1-2 Select TV Screw Length
If your TV has a flat back, AND you want your TV closer to the wall, use the shorter screws (A).
Use the spacers and longer screws(B) to accommodate:
- Round/irregular back TVs
- TVs with inset mounting holes
- Extra space needed for cables
Standard configurations are shown. For special applications, or if you are uncertain about your hardware selection, you can see online: www.forgingmount.com
CAUTION : Verify adequate thread engagement with the screw/ washer/spacer combination AND TV bracket .
- Too sho will not hold the TV.
- Too long will damage the TV.
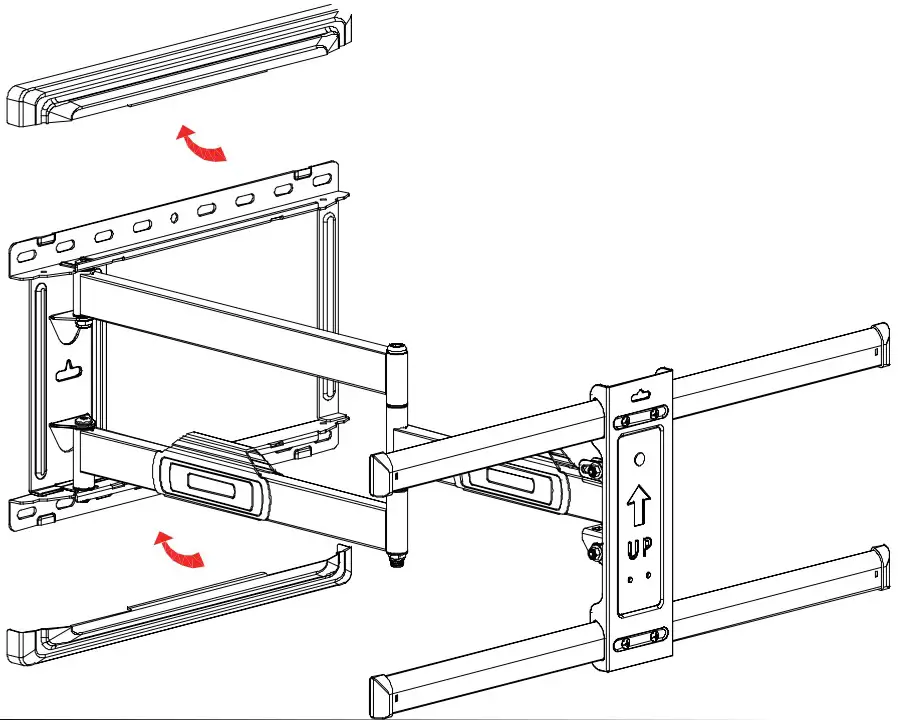
STEP 1-3 Attach the TV plate to the arm assembly
take out the wall plate covers from the wall plate.
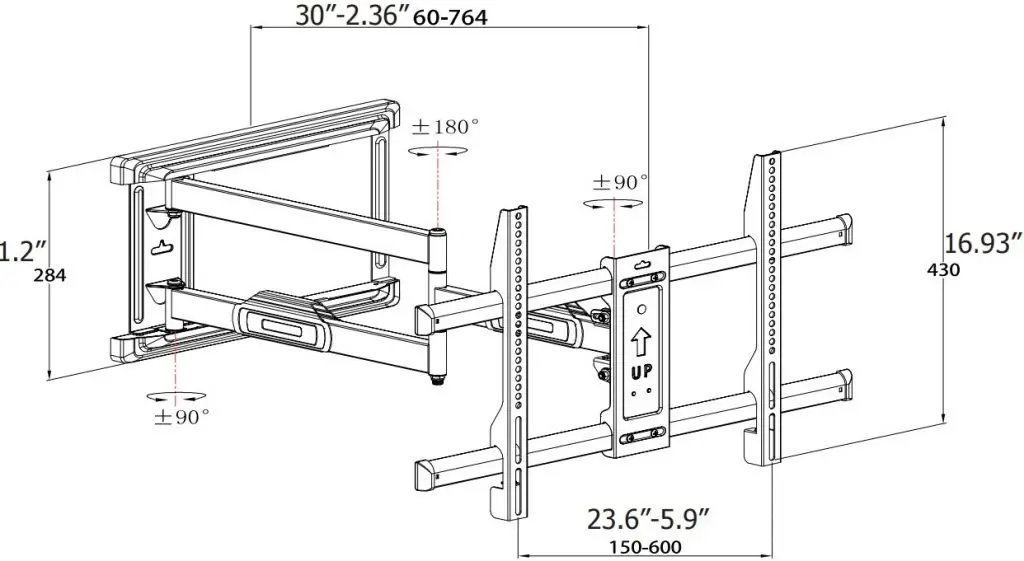
Specification Sheet
STEP 2 Wall Plate Install( Wood Stud )
CAUTION: Avoid potential personal injuries and property damage!
- Drywall covering the wall must not exceed 5/8 in. (16 mm)
- Minimum wood stud size: common 2 x 4 in. (51 x 102 mm) nominal x 3½ in. (38 x 89 mm).
CAUTION: Avoid potential personal injury or property damage! All lag bolts firmly tightened to prevent unwanted movement of the wall plate.
CAUTION: Ensure the wall plate is securely fastened to the wall before continuing on to the next step.
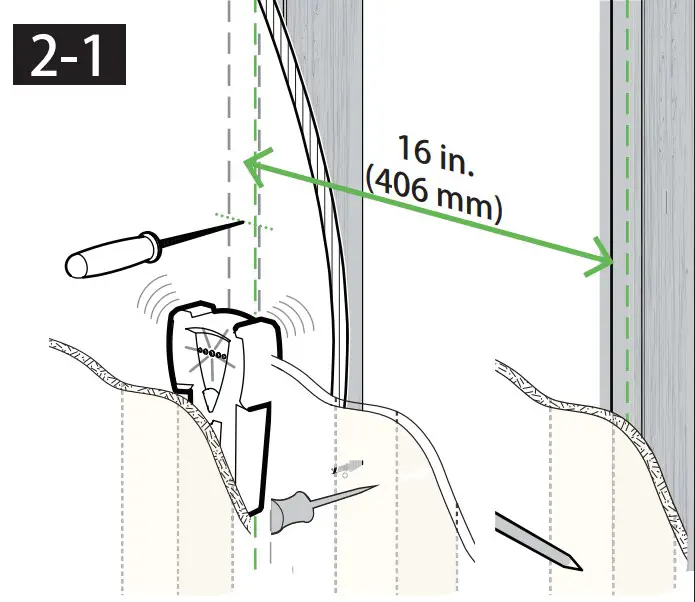
Locate your studs. Verify and mark the center of the studs by finding the stud edges using an awl, a thin nail, or an edge-to-edge stud finder
Position the template at your desired height and line up the holes with your stud center line. Level the wall plate and mark the holes.

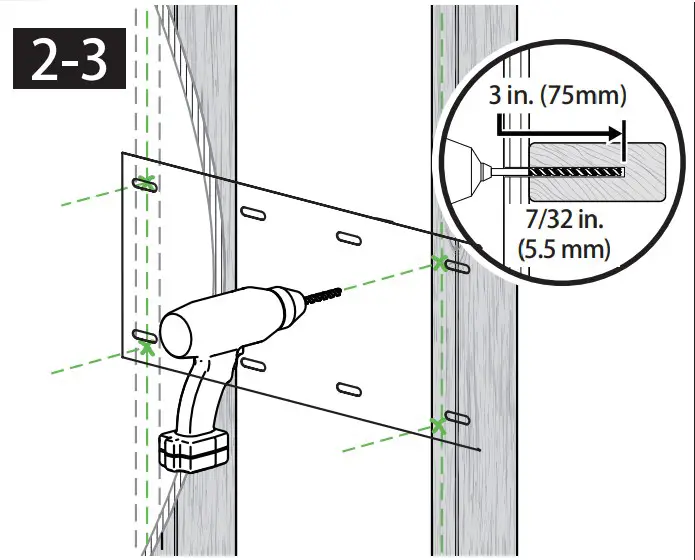
Drill pilot holes using a 7/32 in (5.5mm) diameter drill bit.
IMPORTANT: Pilot holes must be drilled to a depth of 3 in.(75 mm).Be sure to drill into the center of the stud.
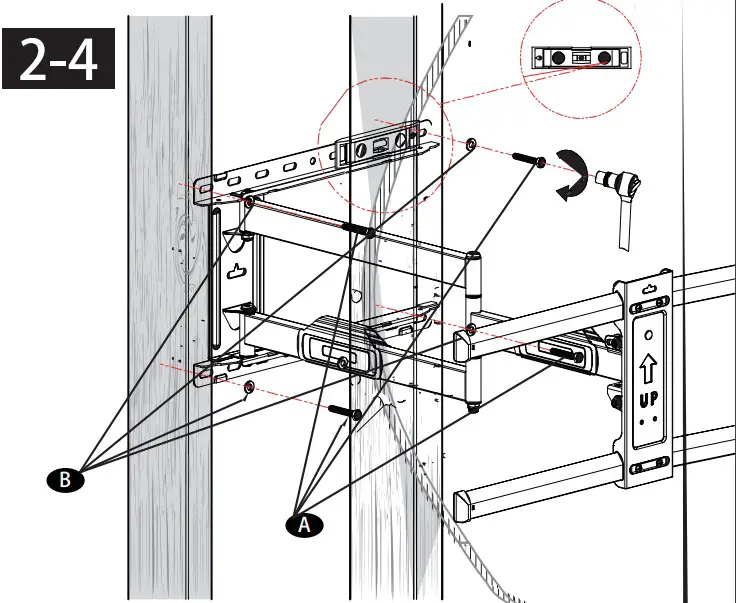
Install wall plate using lag bolt and washers Tighten the lag bolts only until they are pulled firmly against the wall plate .
STEP 3 Wall Plate Install( Solid Concrete or Concrete Block )
CAUTION: Avoid potential personal injuries and property damage.
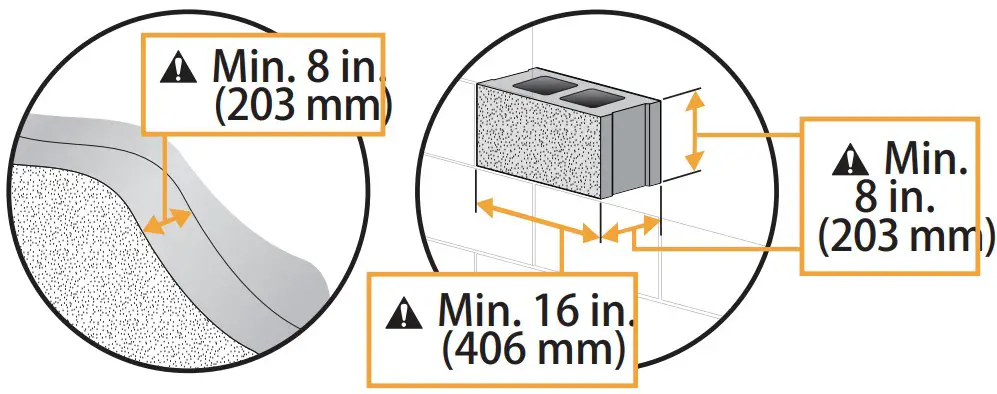
- Minimum solid concrete thickness: 8 in.(203mm).
- Minimum concrete block size:8x8x16in.(203x203x406mm)
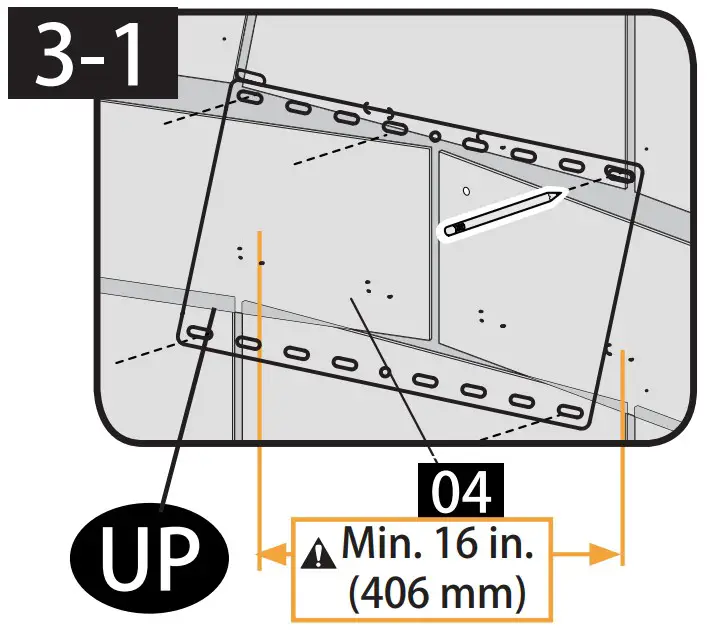
- Minimum horizontal space between fasteners:16in(406mm).
- Mount wall plate directly on to the concrete surface.
- Position template 4 at your desired height. Level, then mark the five hole locations.
- Drill five pilot holes using a 3/8 in. (10 mm) masonry drill bit.

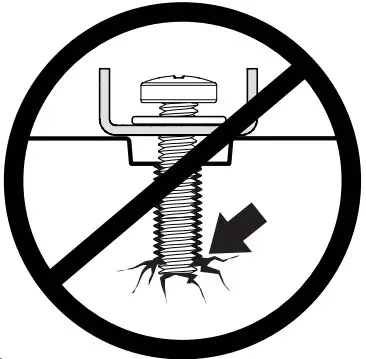
IMPORTANT : Pilot holes must be drilled to a depth of 3 in ( 75 mm ). Never drill into the mortar between blocks.
Insert five concrete anchors ( 10x60mm ) to the wall.
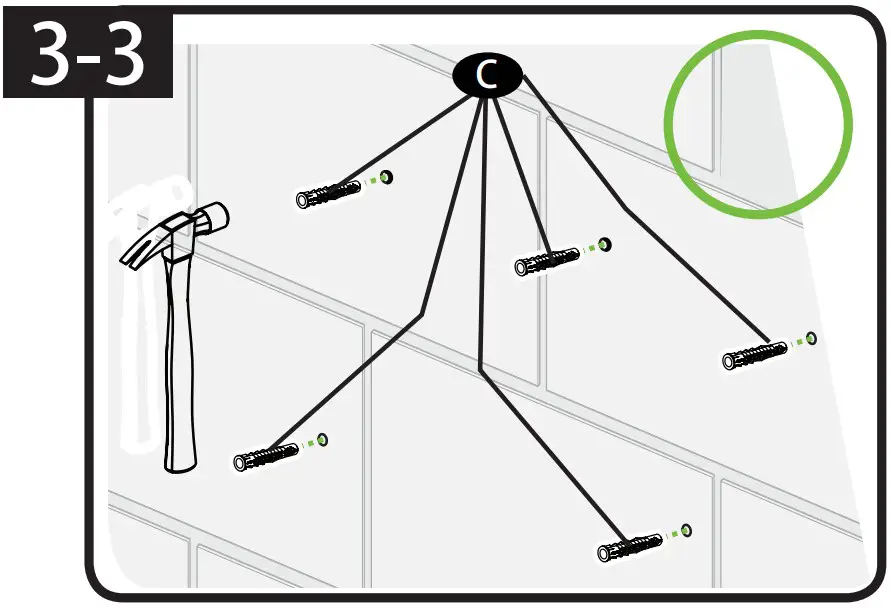
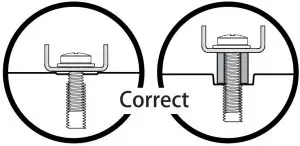
CAUTION: Be sure the anchors are seated flush with the concrete surface.
Install wall plate with five washers and screws .
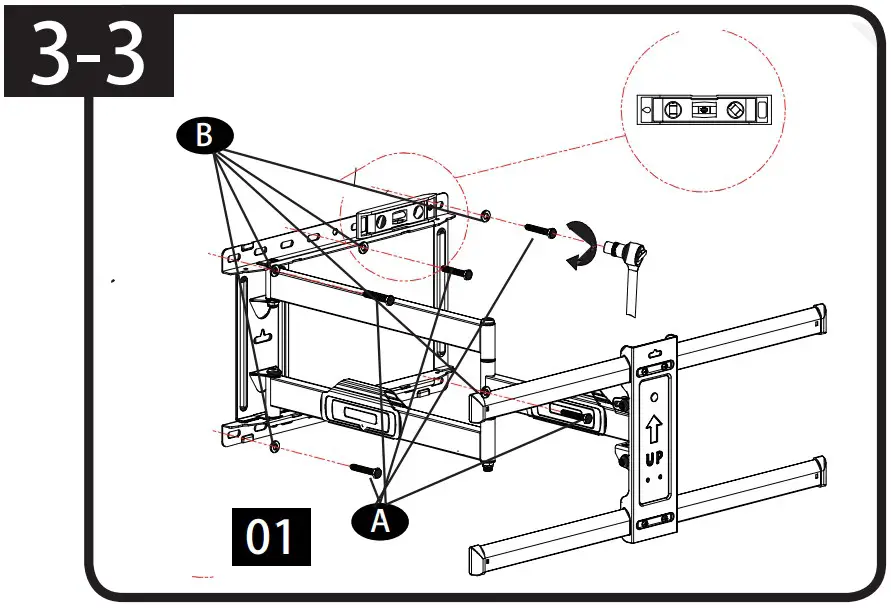
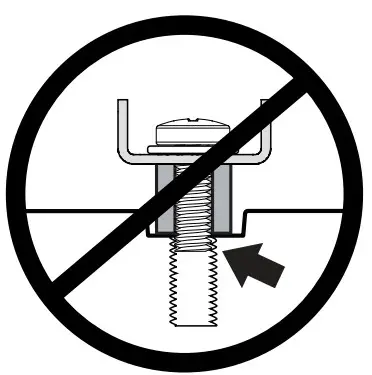
CAUTION: Improper use could reduce the holding power of screws DO NOT over-tighten the screws.
STEP 4 Attach TV Brackets to TV back
CAUTION : Avoid potential personal injuries and property damage! DO NOT use a power screwdriver for this step.
IMPORTANT : Ensure TV bracket is securely fastened before moving on to the next step.
STEP 5 Attach TV to the arm assembly
Attach TV to the mounting bar :
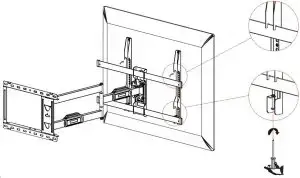
CAUTION: Avoid potential personal injury or property damage! Make sure your locking screws are tightened BEHIND the mounting bar 05 , so the TV is securely fastened in place.
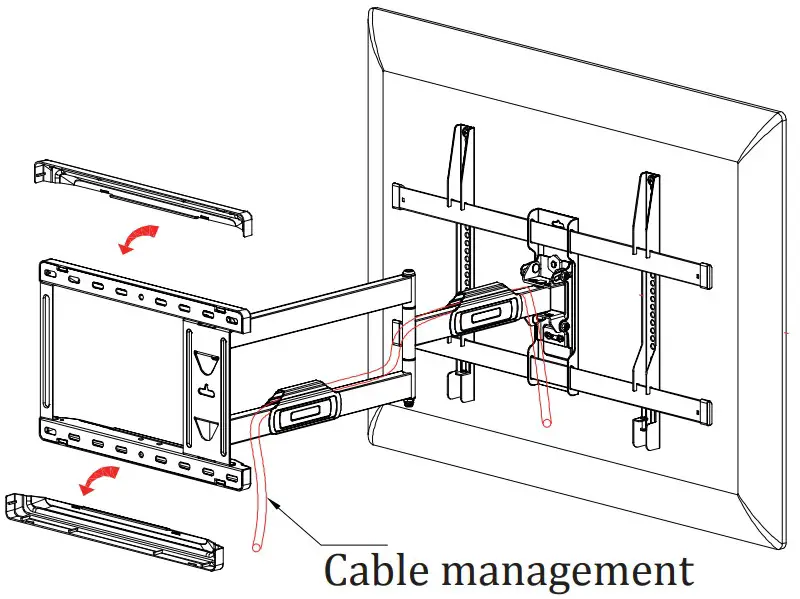
STEP 6 installation wall plate cover and cable management
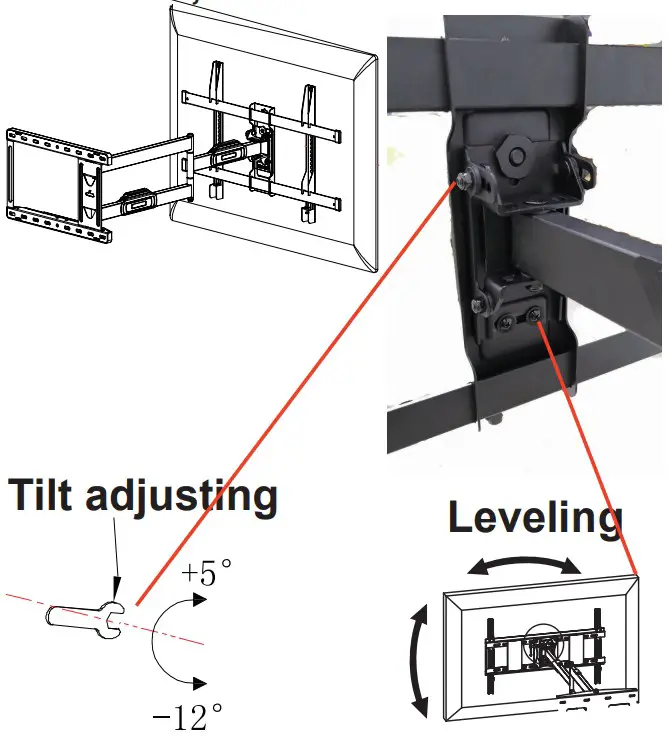
STEP 7 Tilt and level adjustment
Loosen the nut with a wrench to adjust the appropriate tilt Angle and tighten the nut Use screwdriver to adjust the 2 screws for TV level.