PIMFK1
Thank you for choosing our product! We strive to provide the best quality and services for our customers. Would you kindly share your experience on Amazon if you are satisfied? Should you have any issues, please don’t hesitate to contact us.
Telephone:800-556-9829
Mon-Fri 10am – 6pm (PST) (USA)
Email:[email protected] (US/CA/DE/UK/FR/IT/ES/JP/AU)
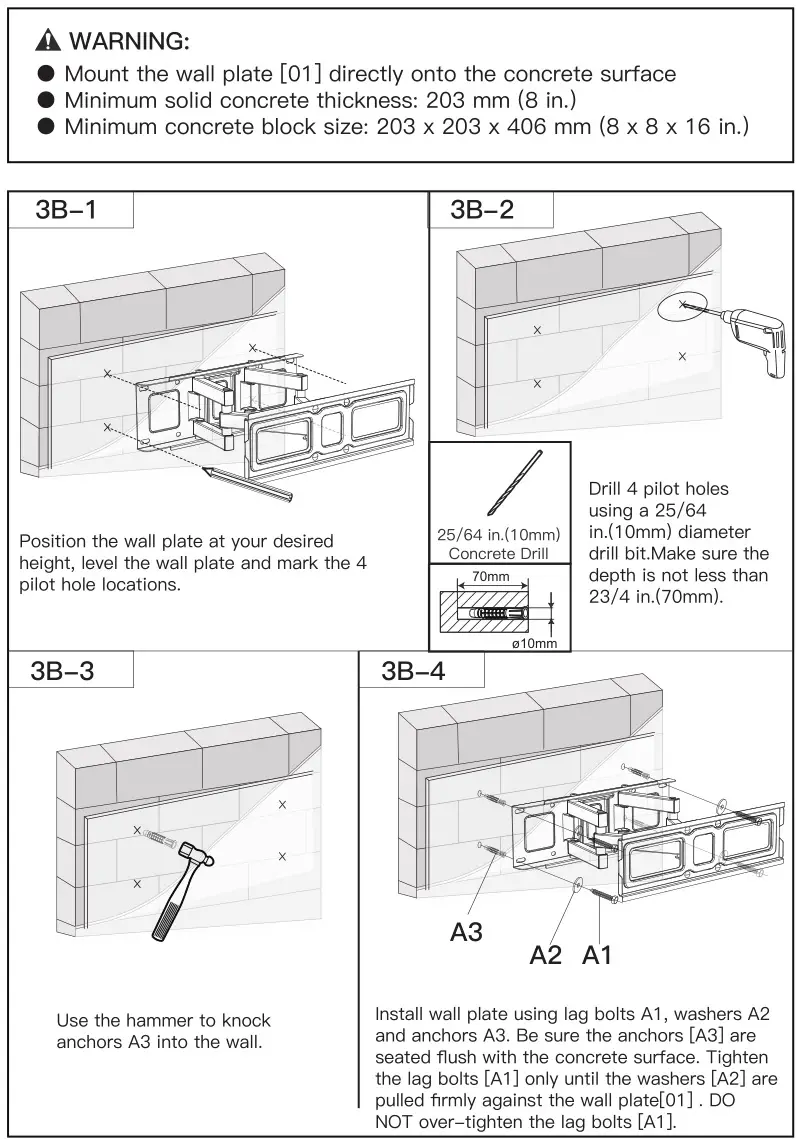
WARNING!
SEVERE PERSONAL INJURY AND PROPERTY DAMAGE CAN RESULT FROM IMPROPER INSTALLATION OR ASSEMBLY. READ THE FOLLOWING WARNINGS BEFORE BEGINNING.
- If you do not understand the instructions or have any concerns or questions, please contact a qualified installer.
- Do not install or assemble if the product or hardware is damaged or missing. Not all parts and hardware included must be used. If you require replacement parts, contact customer service at [email protected]
- This product has been designed for use on a vertical wall constructed of wood studs. Wood studs being defined as a wall consisting of i• minimum of 2″ x 4″ studs with a maximum of 1/2″ of wall covering (drywall, lath, plaster).For custom installations please contact a qualified installer. For safe installation, the wall you are mounting to must support 4 times the weight of the total load. If not, the surface must be reinforced to meet this standard. The installer is responsible for verifying that the wall structure/surface will safely support the total load.
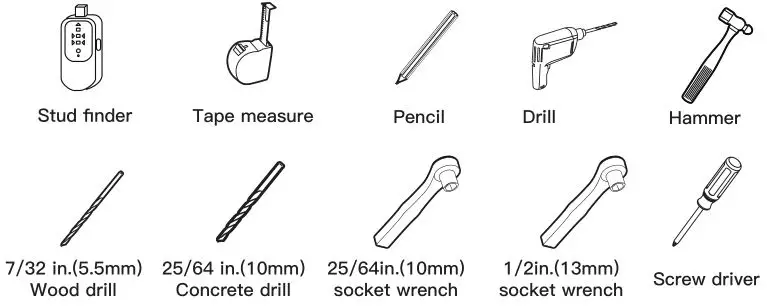
Tools Needed (Not Included)

SUPPLIED HARDWARE

Step 1 Before TV Bracket Installation
75mm =2.95 in. 100mm =3.94 in.
200mm =7.87 in. 300mm =11.81 in.
400mm =15.75 in.
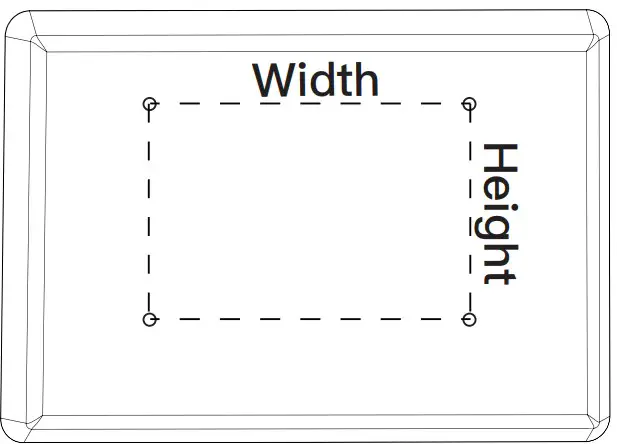
Measure the distance between the holes located at the back of your TV (these measures may form the shape of a square, or a rectangle) and check that these taken measures are within the VESA(*) range for this wall mount (*) VESA: International standard established by the TV manufacturers used to determine if LCD / LED TVs are compatible with wall mounts.

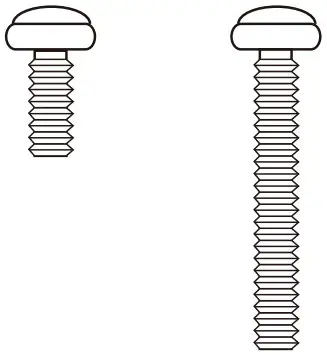
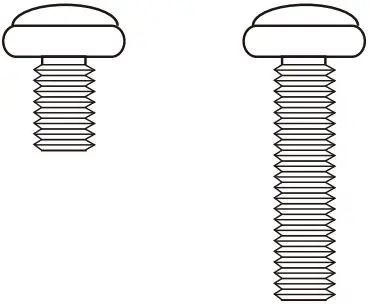
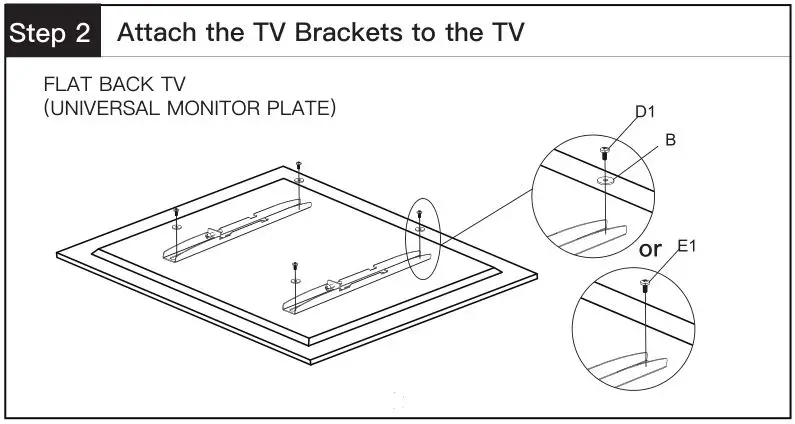
Please select the proper screw length for your TV by hand tightening to your plat panel thread depth.
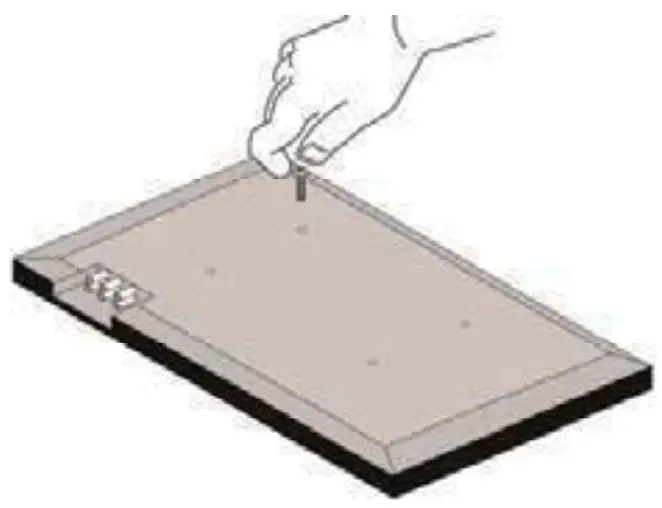
 When attaching brackets to the flat screen, be careful not to over tighten screws and be sure that screws do not bottom out in the mounting holes.

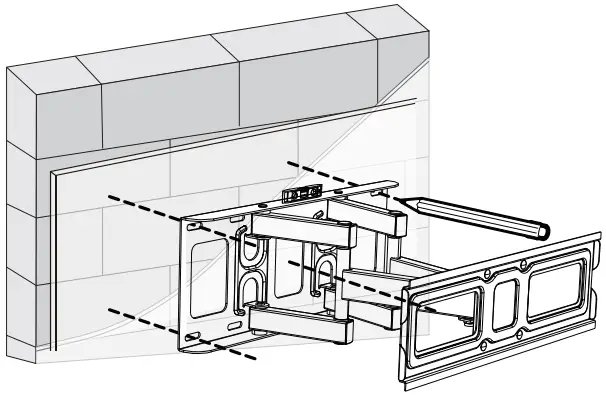
Install TV Bracket
Step 3A
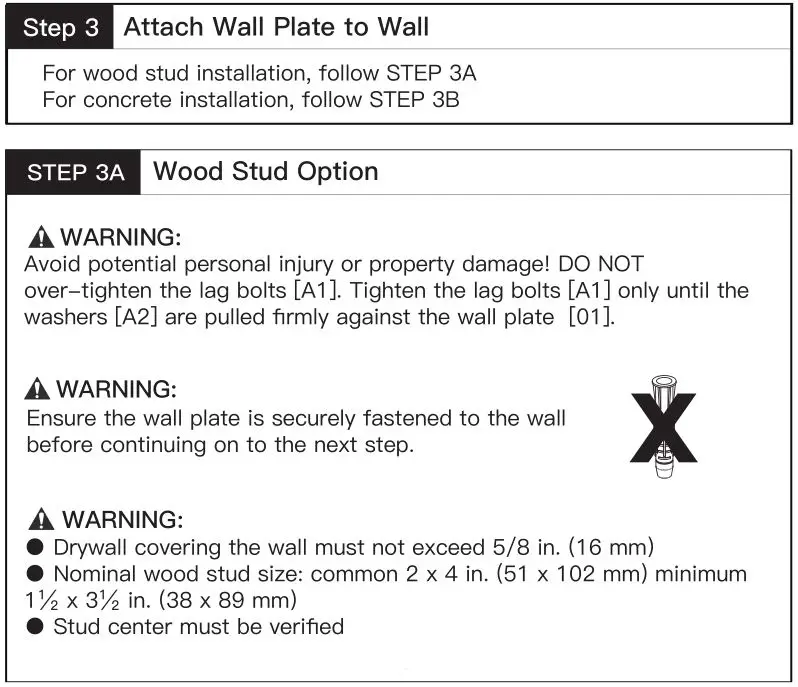
CAUTION:
Ensure the wall plate is securely fastened to the wall before continuing on to the next step:
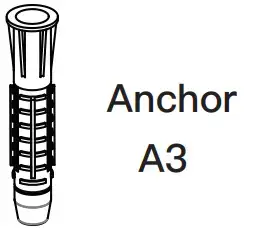
These anchors are for concrete or brick walls ONLY. DO NOT use them in drywall or wood studs.
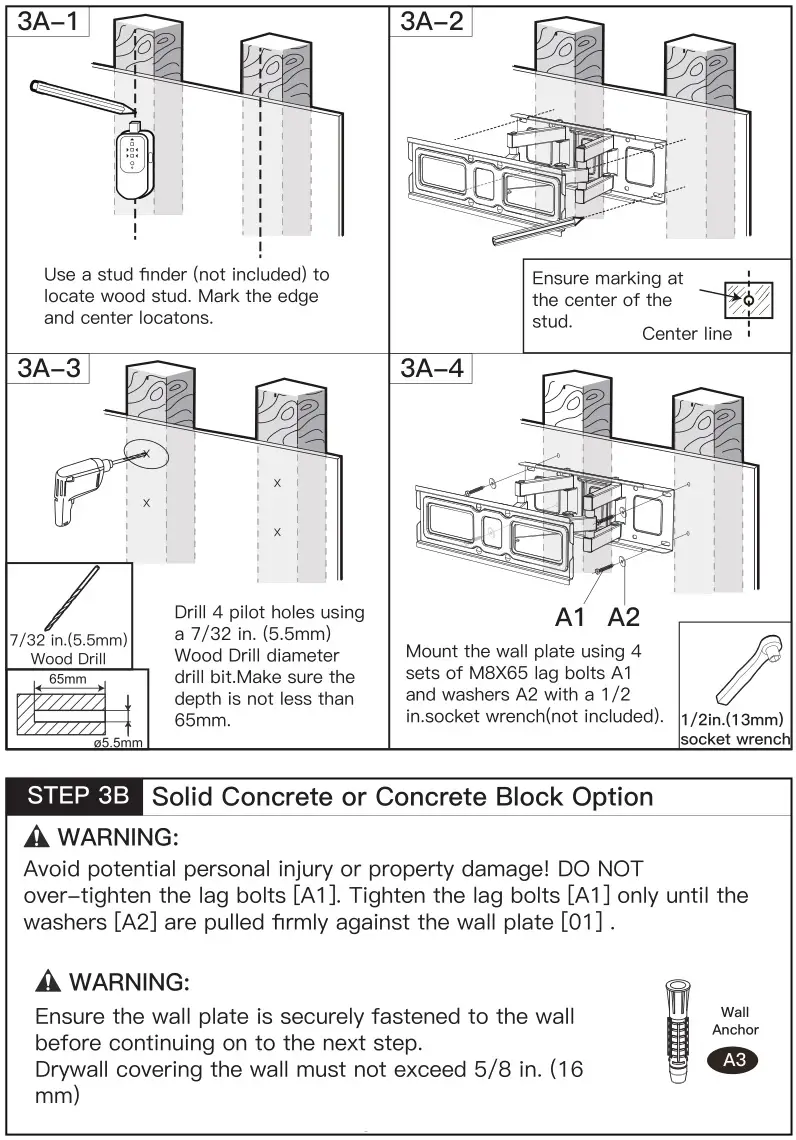
Use a stud finder (not included)to locate wood stud. Mark the edge and center
locations.
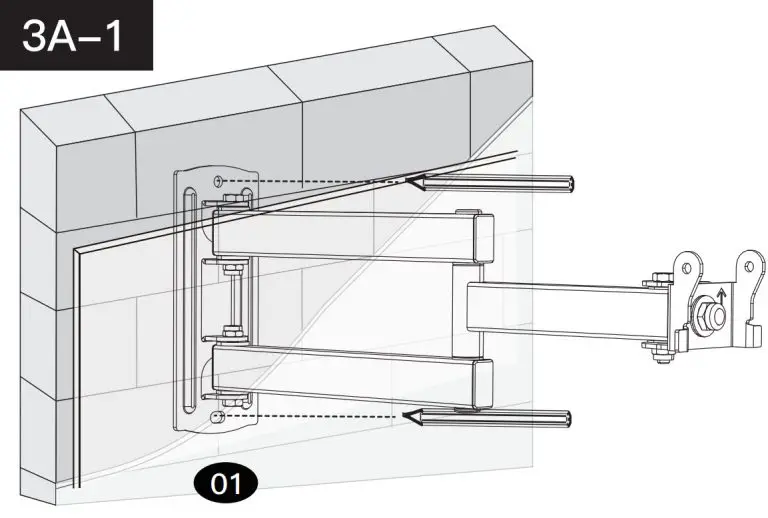
3A-1
3A-3
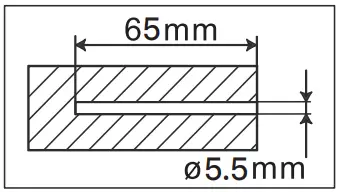
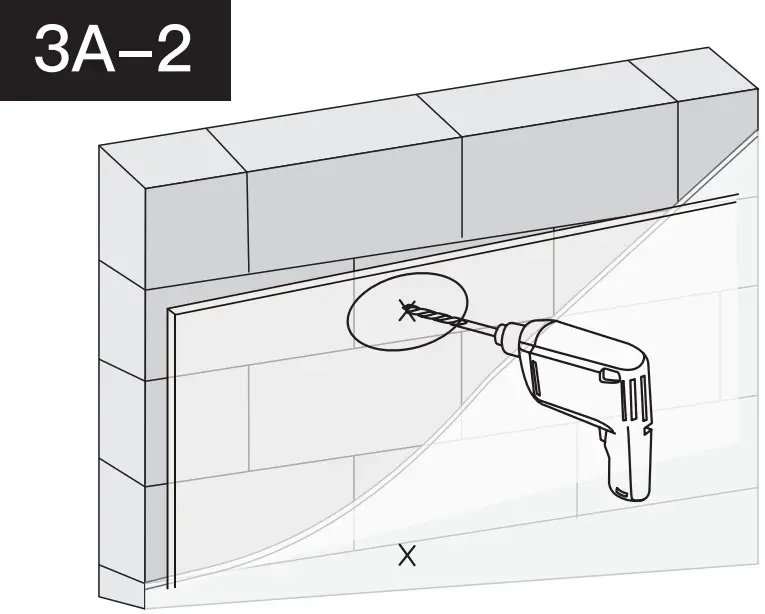
Drill 4 pilots holes using a 1/5 in. (5.5) is not diameter drill hit. make sure the depth less than 25/9 in.(65mm).
3A-4
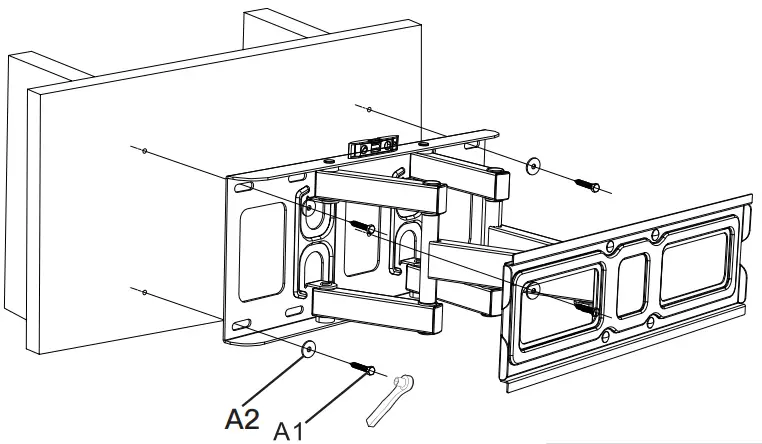
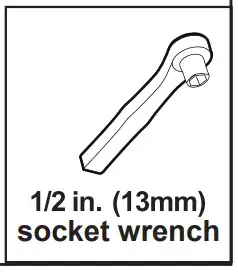
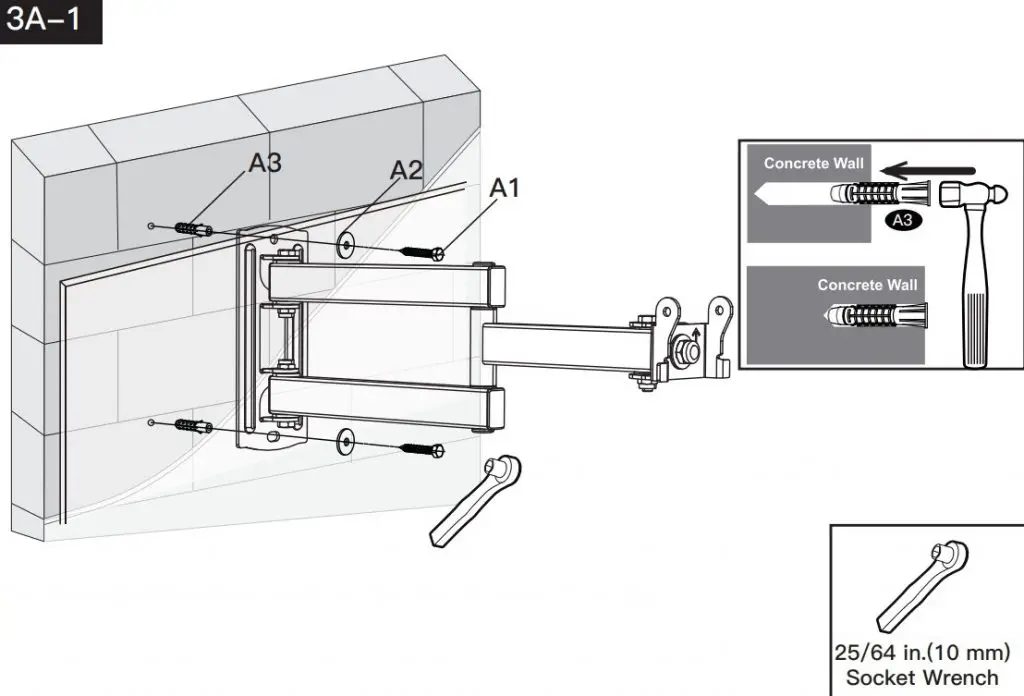
Mount the wall plate using 4 sets of 23/8 in lag bolts A1 and washers A2 with a 1/2 in socket wrench (not included)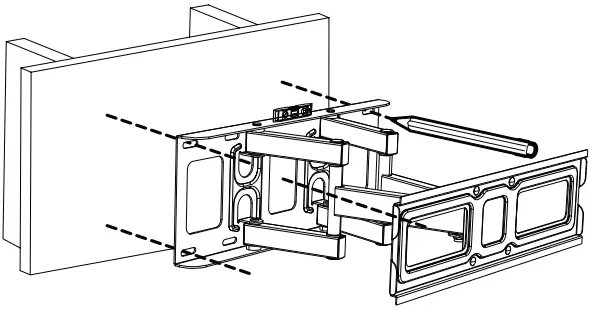
Step 3B
CAUTIOIN: Ensure the wall plate is securely fastened to the wall befoe continuing on to the next step
These anchors are for concrete or brick walls ONLY. DO NOT use them in drywall or wood studs.
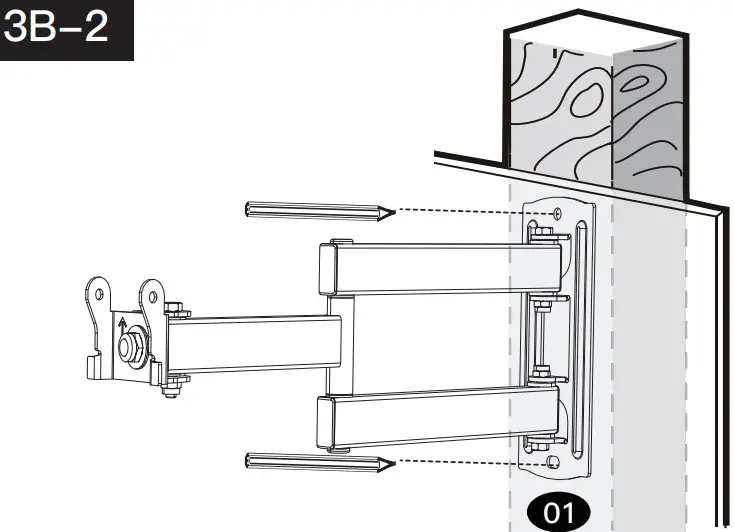
3B-1
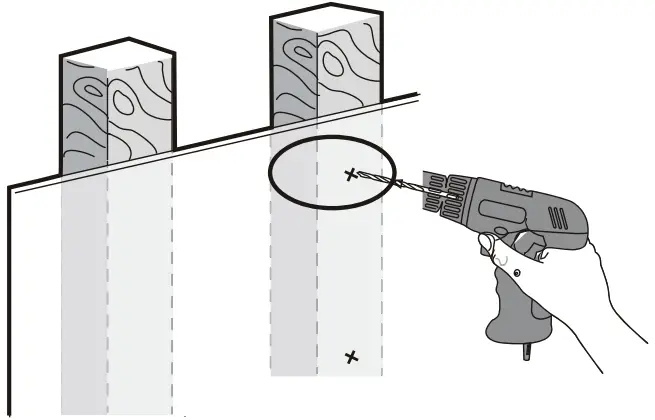
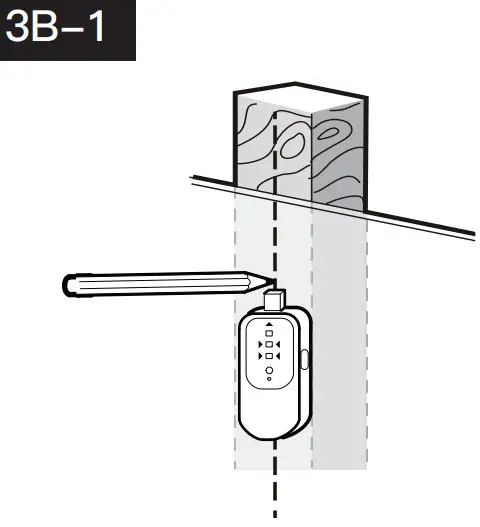
Position the wall plate at your desired height, level the wall plate and mark the polite hole locations.
3B-2
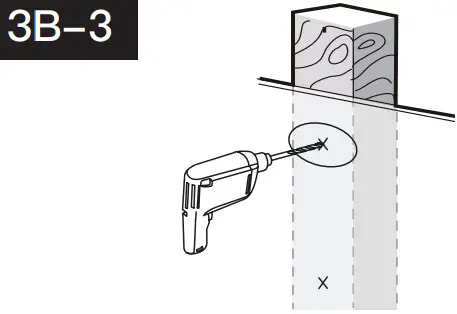
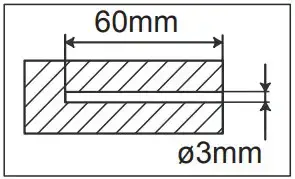
Drill 4 pilot holes using a 2/5 in. (10mm) diameter drill bit. make sure the depth is not less than 2/8 in. (0mm)
3B-3

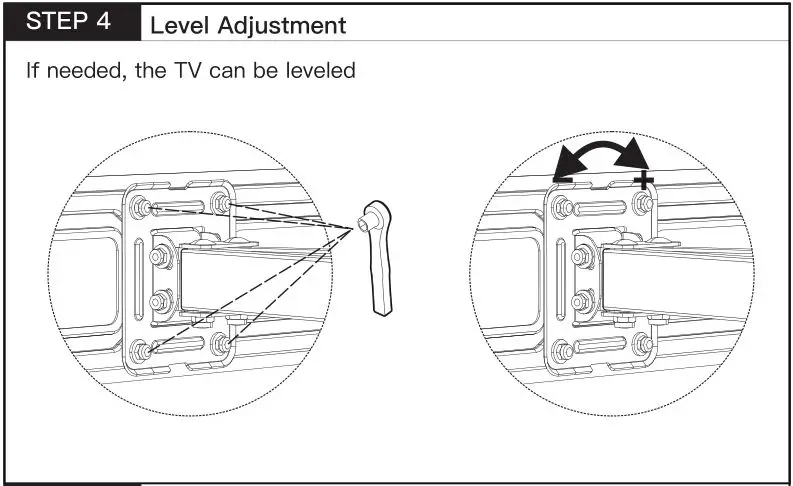
STEP 4
Mounting your TV to the Brackets and lock it
Step 5 Post Installation level
if needed, the TV can be leveled +/-3 degrees
Step 6 Tilt adjustment
]]>
PISF1
Thank you for choosing our product! We strive to provide the best quality and services for our customers. Would you kindly share your experience on Amazon if you are satisfied? Should you have any issues, please don’t hesitate to contact us.
Telephone:800-556-9829 Mon-Fri 10am – 6pm (PST) (USA) (CAN)
Email:[email protected] (US/CA/DE/UK/FR/IT/ES/JP/AU)
WARNING! SEVERE PERSONAL INJURY AND PROPERTY DAMAGE CAN RESULT FROM IMPROPER INSTALLATION OR ASSEMBLY. READ FOLLOWING WARNINGS BEFORE BEGINNING.
- If you do not understand the instructions or have any concerns or questions, please contact a qualified installer.
- Do not install or assemble if the product or hardware is damaged or missing. Not all parts and hardware included must be used.
- lf you require replacement parts, contact customer service at [email protected]
- This product may contain moving parts. Use with caution.
- DO NOT install into drywall alone.
Tools Needed (Not lncluded)
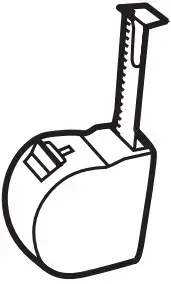
- Stud Finder

- Tape measure
- Pencil

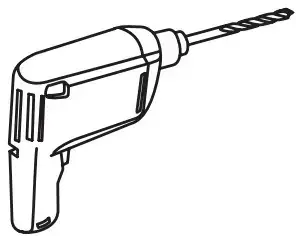
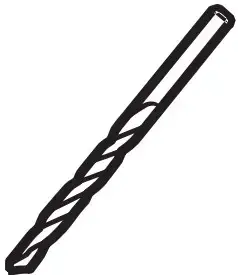
- Drill
Drill
- Hammer
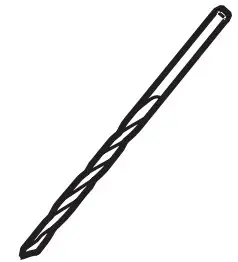
- 1/8 in.(3 mm) Wood Drill
- 25/64 in.(10mm) Concrete Dril

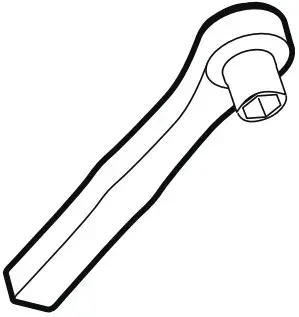
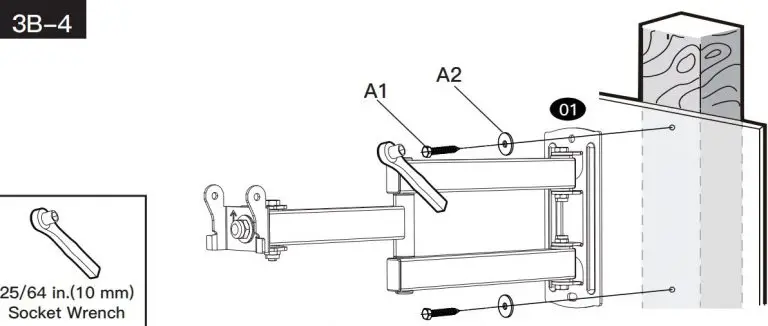
- 25/64 in.(10 mm) Socket Wrench
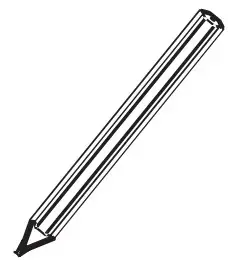
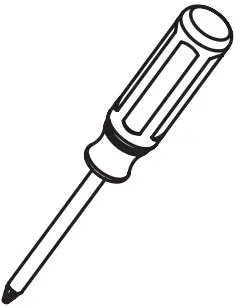
- Screw Driver
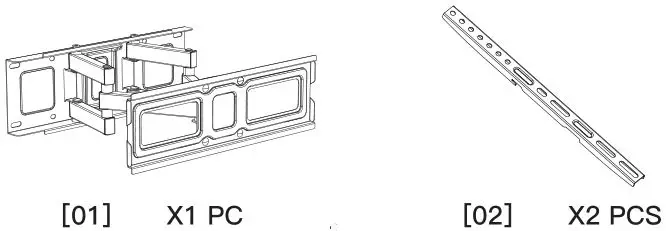
Supplied Parts
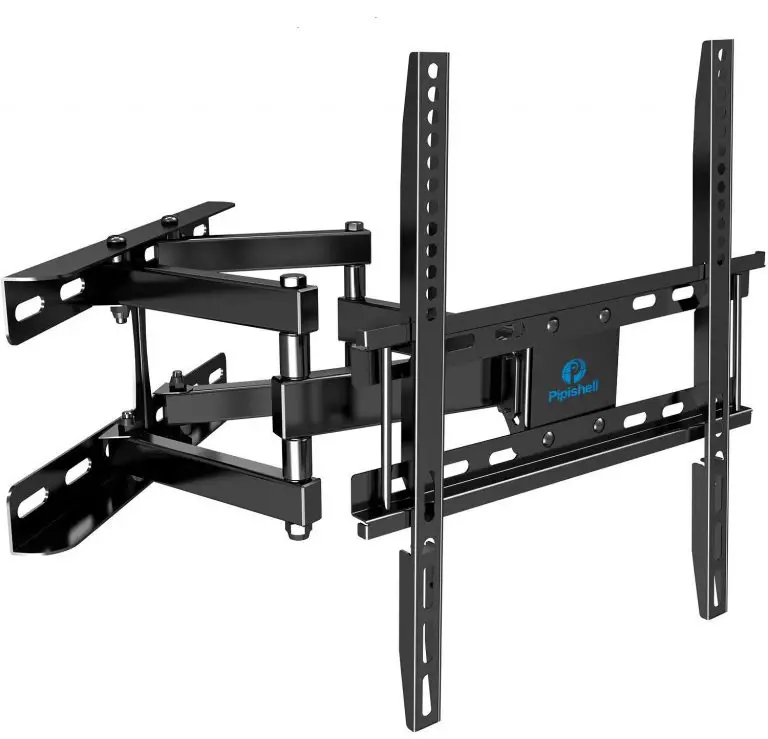
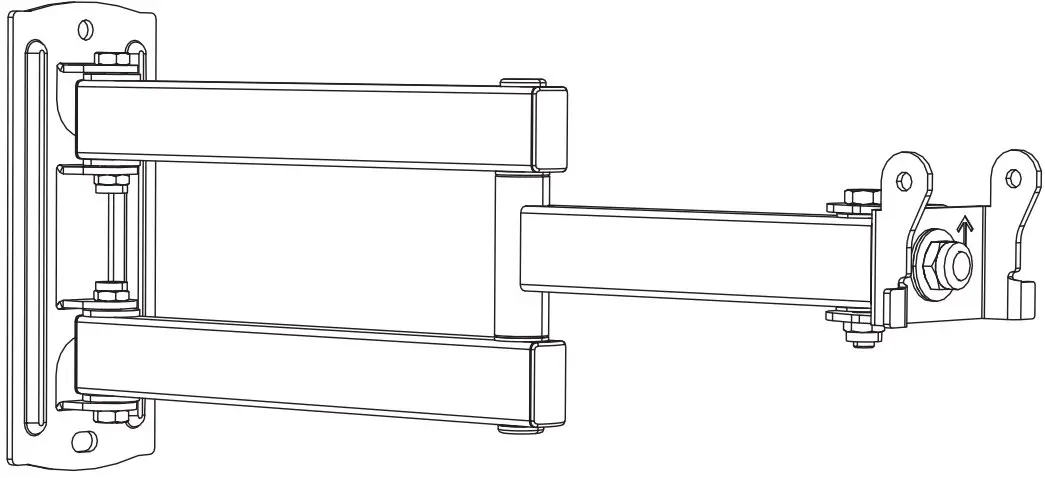
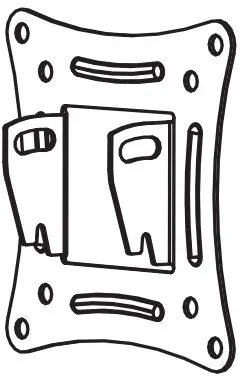
- Wall plate and Arm 01 X1
- TV Bracket 02 X1
- Extender Brackets 03 X4
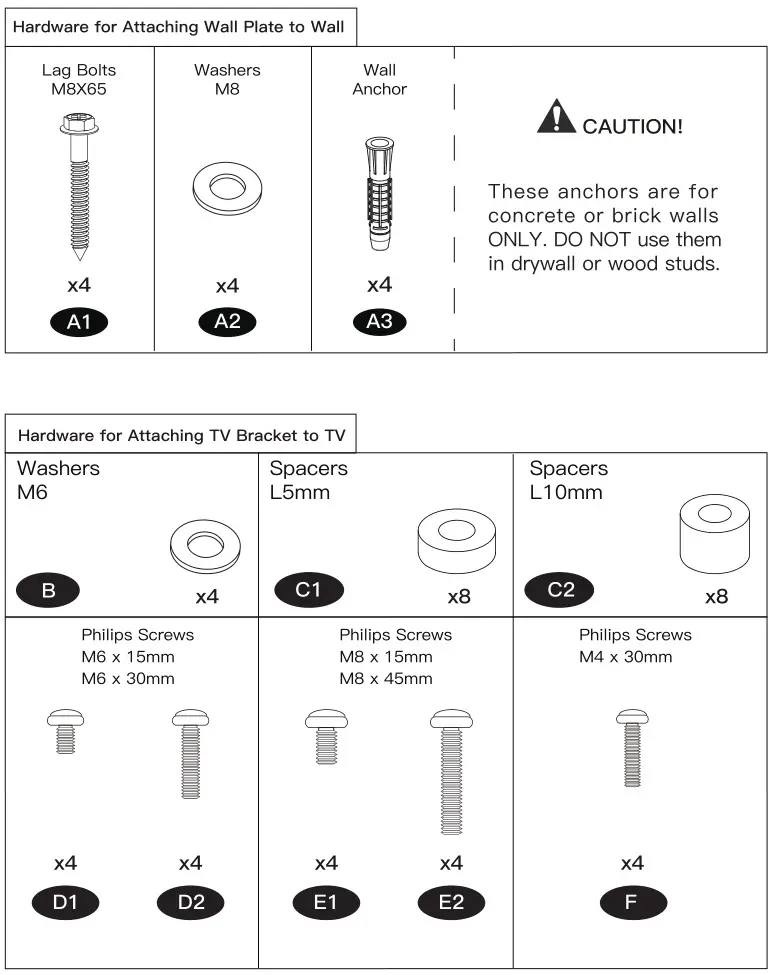
Supplied Hardwar
Hardware for Attaching Wall Plate to Wall
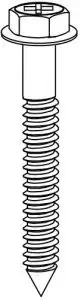
- Lag Bolts (M6X60) x2 A1
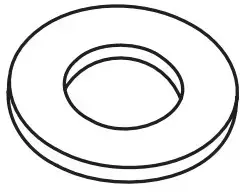
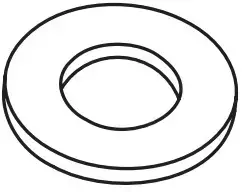
- Washers (6mm) x2 A2

- Carriage Bolts M6 x 12 x4 G
- Nuts M6 x4 H
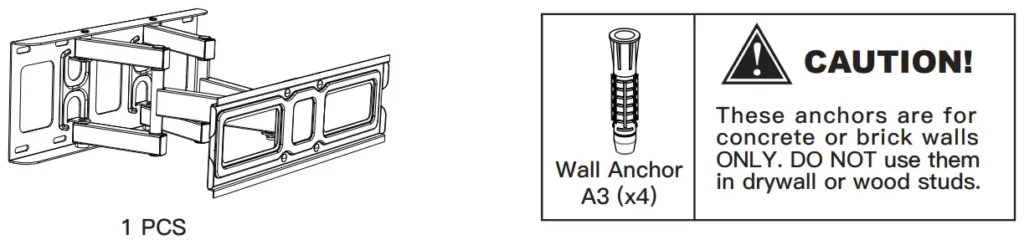
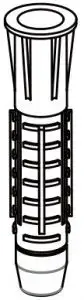
- Wall Anchor x2 A3

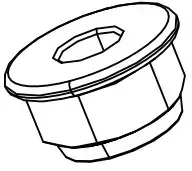
These anchors are for concrete or brick walls ONLY. DO NOT use themin drywall or wood studs.
Hardware for Attaching TV Bracket to TV
- Washers Ø6mm M4-5-6 x4 B1
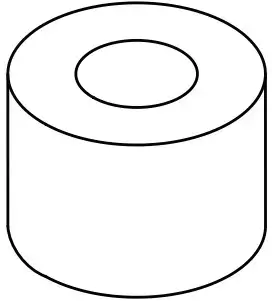
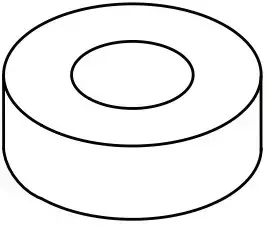
- Spacers L10mm x4 B2
- Spacers L5mm x4 C
- Philips Screws M4 x 15mm M4 x 30mm x4 D1 x4 D2
- Philips Screws M6 x 15mm M6 x 30mm x4 E1 x4 E2
- Philips ScrewsM8 x 15mm M8 x 30mm x4 F1 x4 F2
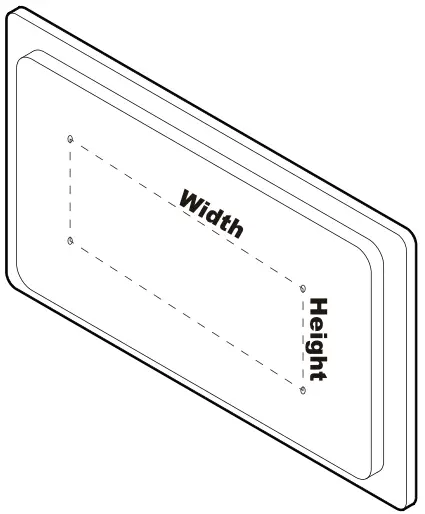
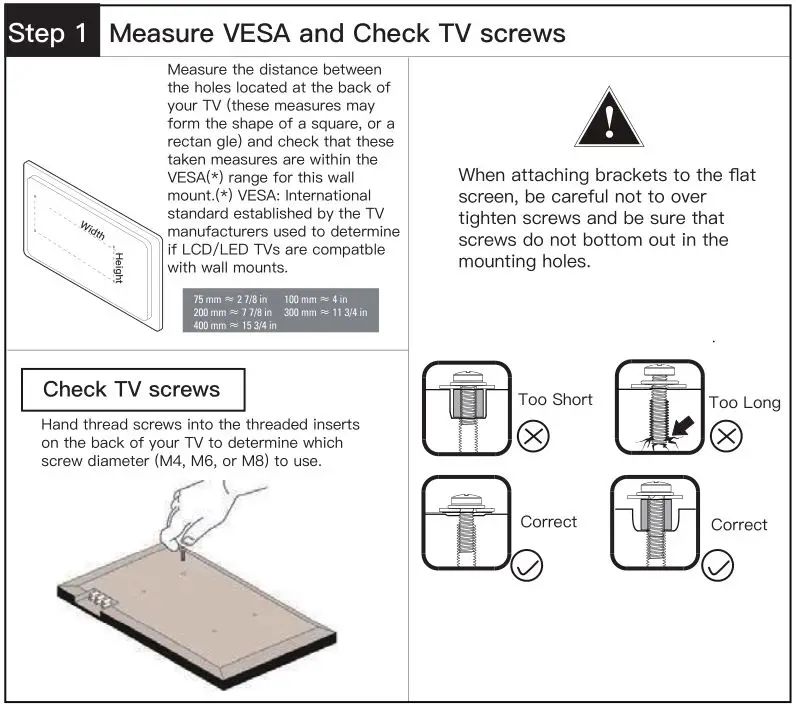
Step 1 Measure VESA
Measure the distance between the holes located at the back of your TV (these measures may form the shape of a square, or a rectangle) and check that these taken measures are within theVESA (*) range for this wall mount. (*) VESA: International standard established by the TV manufacturers used to determine if LCD/LED TVs are compatible with wall mounts.

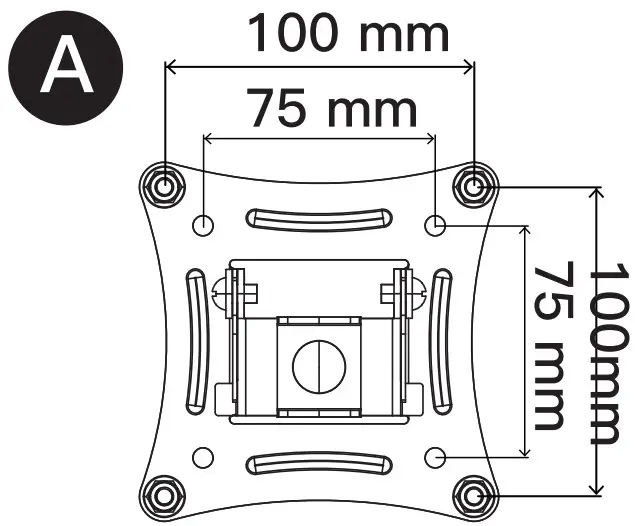
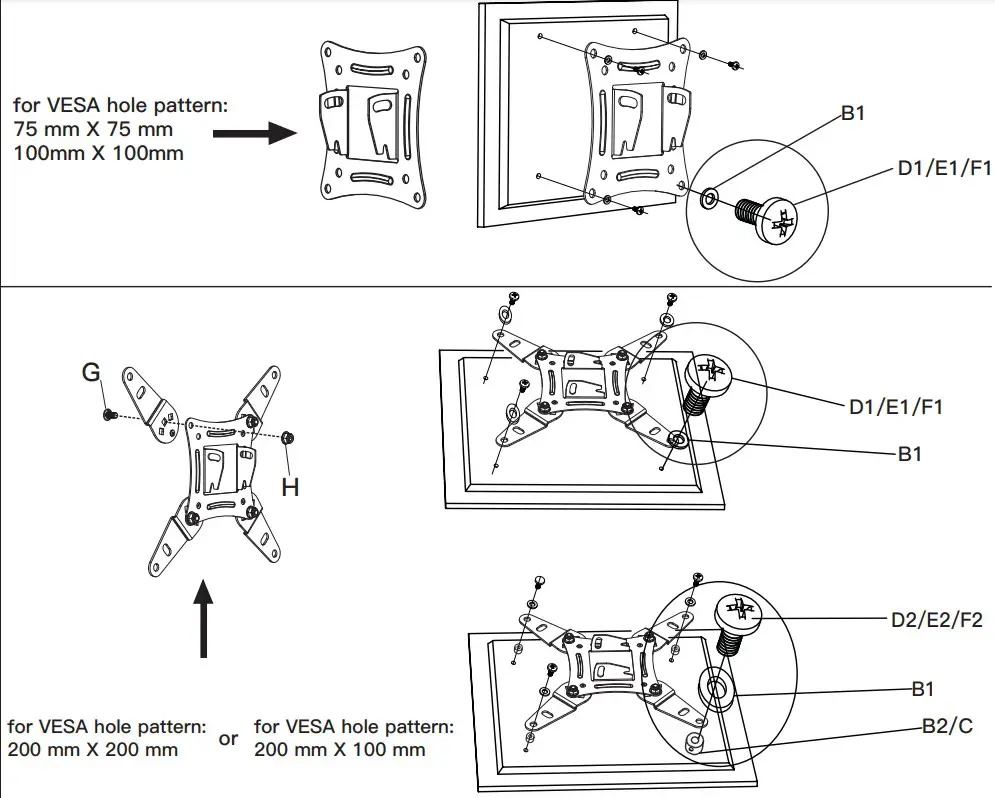
Step 2-1 Choose the Combination that Applies to your VESA
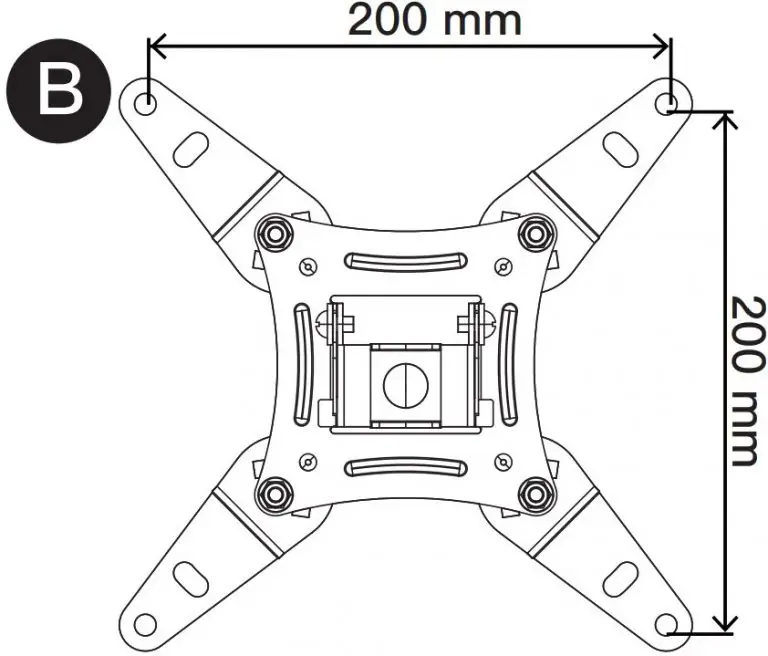
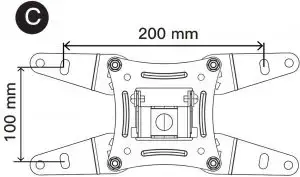
Determine which TV bracket option A, B, or C,to use based on your TV hole pattern measurements from STEP 2.
- for VESA hole pattern: 75 mm X 75 mm 100mm X 100mm
- for VESA hole pattern: 200 mm X 200 mm
- for VESA hole pattern: 200 mm X 100 mm
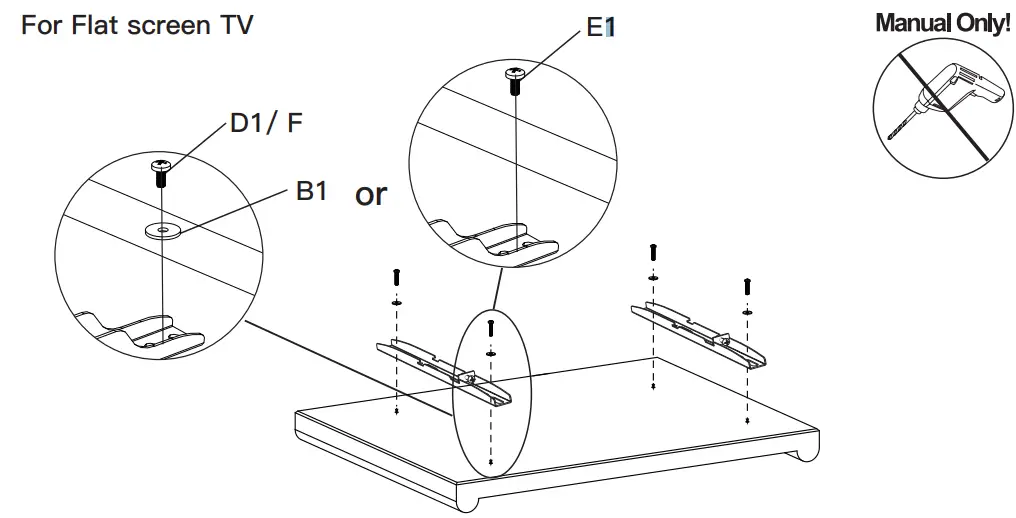
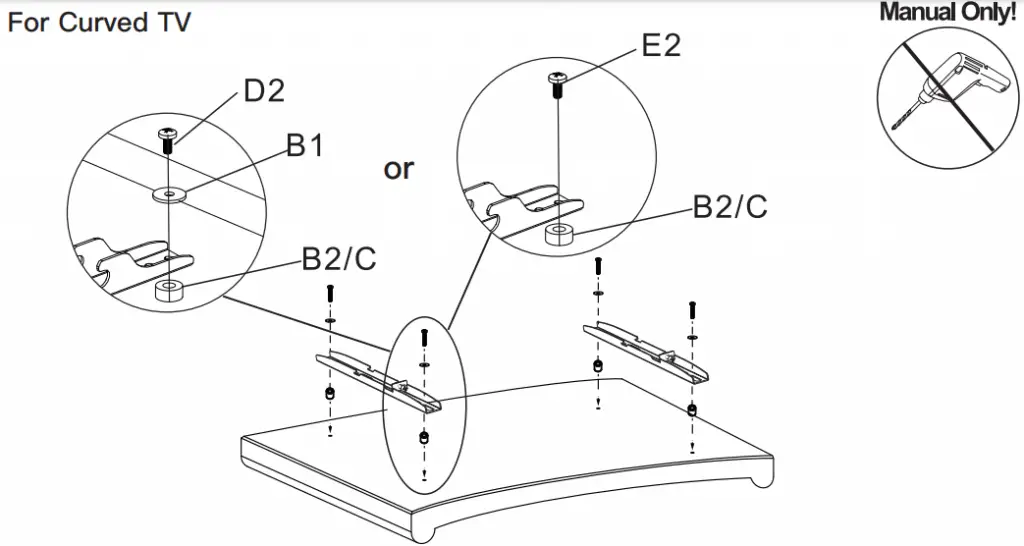
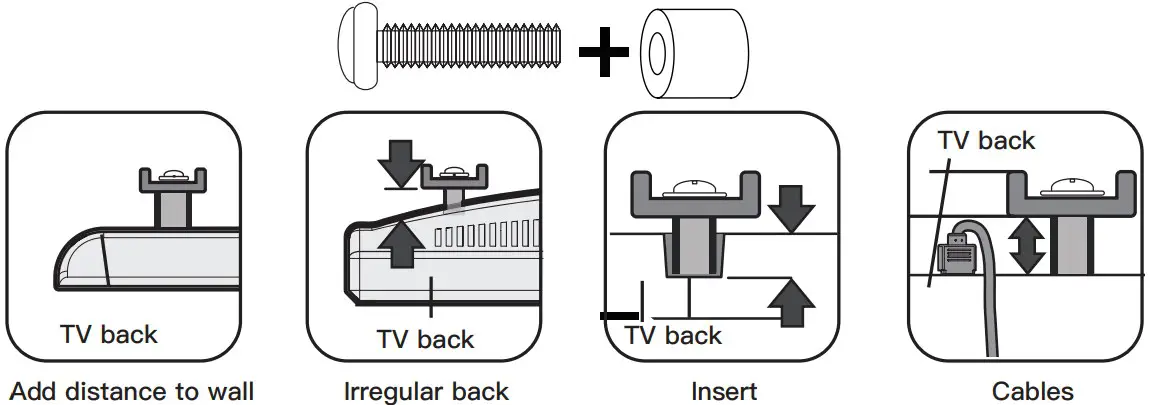
Step 2-2 Select TV Hardware
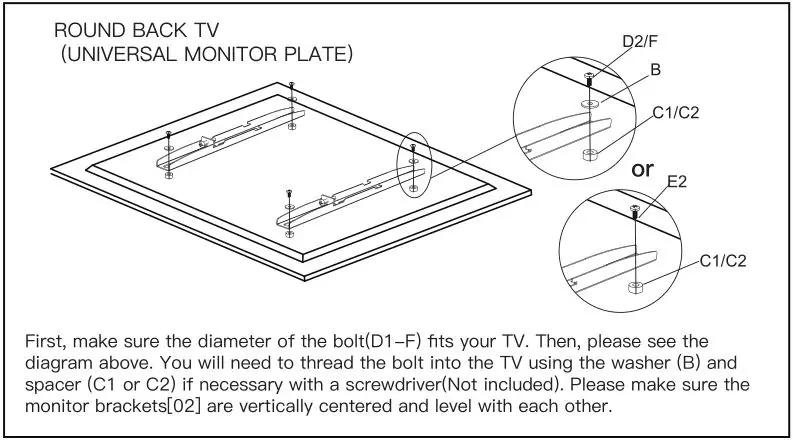
- Bolt diameter: hand thread bolts into threaded inserts on the back of TV to determine the correct bolt diameter(M4, M6, M8)
- Bolt length: verify adequate thread engagement with bolts or bolts/spacers combination. We recommend thread engagement by at least 5 turns.
- Too short will not hold the TV.
- Too long will damage the TV.
- Bolt and spacer combination: spacers sometimes are needed to combine with bolts for several situations as below:

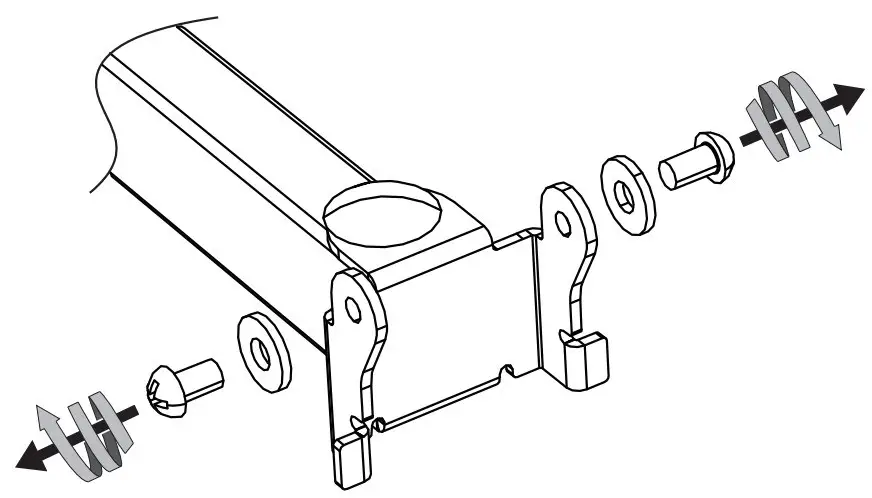
Step 2-3 Attach the TV Bracket
Step 3A Wall Plate Install (Concrete Wall)
- Ensure the wall plate is securely fastened to the wall before continuing on the the next step.
- These anchors are for concrete or brick walls ONLY.
- DO NOT use them in drywall or wood studs.
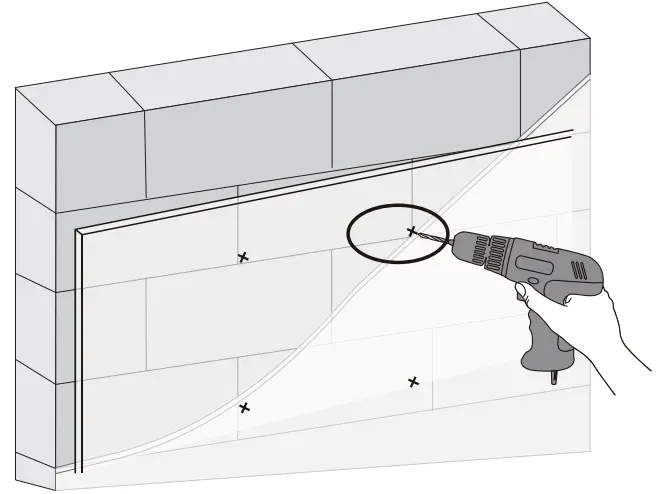
- Position the wall plate at your desired height, level the wall plate and mark the pilot hole locations.
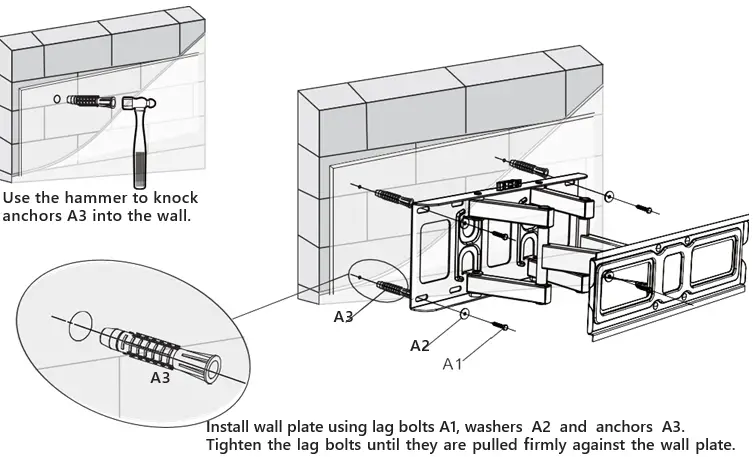
- Drill 2 pilot holes using a 25/64 in.(10 mm)diameter drill bit. Make sure the depth is not less than 2.75in. (70mm)
- Install wall plate using lag bolts A1, washers A2 and anchors A3.Tighten the lag bolts until they are pulled firmly against the wall plate.
Step 3B Wall Plate Install (Wood stud)
Ensure the wall plate is securely fastened to the wall before continuing on to the next step. These anchors are for concrete or brick walls ONLY. DO NOT use them in drywall or wood studs.
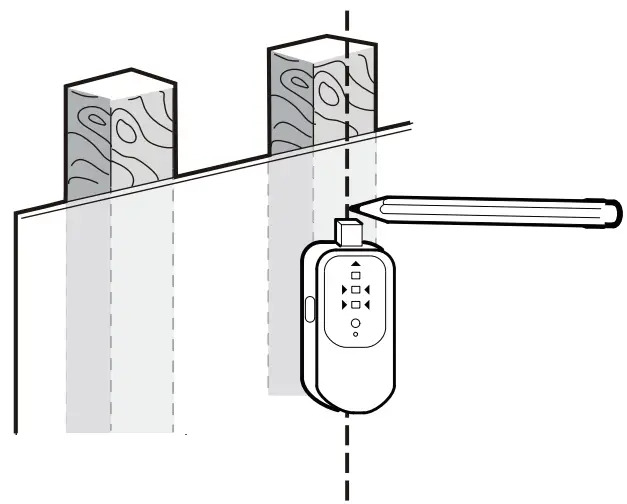
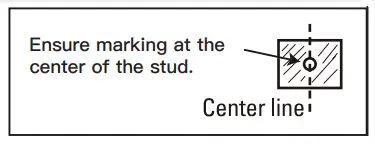
- Use a stud finder(not included)to locate wood studs. Mark the edge and center locations.
- Position the wall plate at your desired height and lineup the holes with your stud center line. Level the wall plate and mark the holes.
- Drill 2 pilot holes using a 1/8 in.(3 mm) diameter drill bit. Make sure the depth is not less than 2.36in. (60mm)
- Install the wall plate 01 using lag bolts A1 and washer A2. Tighten the lag bolts A1 until they are pulled firmly against the wall plate 01.
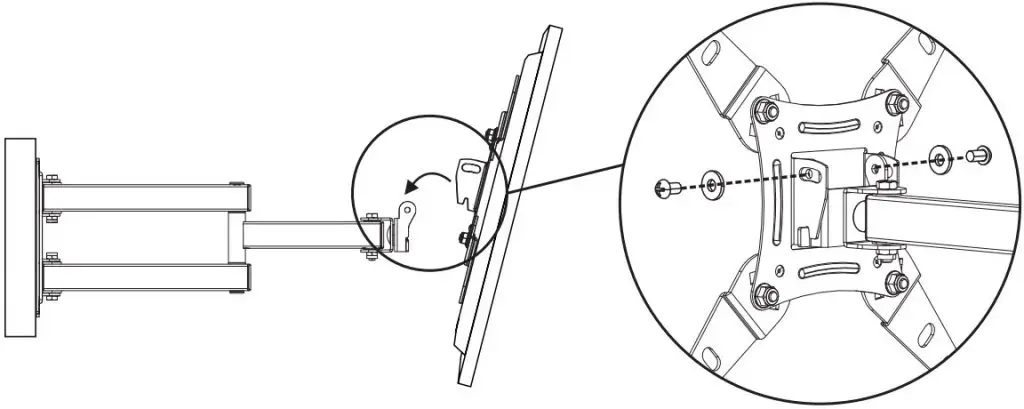
Step 4 Hang the TV onto the wall plate
- Take this apart.
- Mounting your TV to the brackets and lock it.
- If needed, the TV can be tilted +5/-15 degrees and rotate 360 degrees from left to right.
Thank you for choosing our product! We strive to provide the best quality and services for our customers. Would you kindly share your experience on Amazon if you are satisfied? Should you have any issues, please don’t hesitate to contact us. Telephone800-556-9829 Mon-Fri 10am – 6pm (PST) (USA) (CAN)
Email : [email protected] (US/CA/DE/UK/FR/IT/ES/JP/AU)
IMPORTANT SAFETY INFORMATION
- Check package contents against Supplied Parts and Hardware Lists to assure that all components were received undamaged. Do not use damaged or defective parts. If you require replacement parts, contact customer service at [email protected]
- Not all parts and hardware included will be used.
- Carefully read all instructions before attempting installation. If you do not understand the instructions or have any concerns or questions, please contact customer service at [email protected]
- This product may contain moving parts. Use with caution.
- Do not use this product for any purpose or in any configuration not explicitly specified in this instruction. We hereby disclaims any liability for injury or damage arising from incorrect assembly, incorrect mounting, or incorrect use of this product.
- DO NOT INSTALL INTO DRYWALL ALONE.
Tools Needed (Not lncluded)
Supplied Parts
Supplied Hardware
Step 1 Measure VESA and Check TV screws
Step 2 Attach the TV Brackets to the TV
Step 3 Attach Wall Plate to Wall
STEP 4 Level Adjustment
STEP 5 Hang the TV onto the wall plate