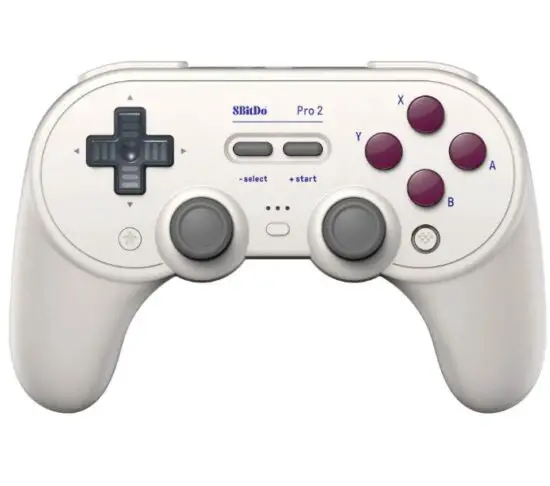
8BitDo Pro 2 Bluetooth Gamepad/Controller
Instruction
- Press & hold start for 3 seconds to turn off the controller
- Press start to turn on the controller

Switch
- NFC scanning, IR camera, HD rumble, notification LED are not supported, nor can the system be waken up wirelessly
Bluetooth connection
- Turn the mode switch to S
- Press start to turn on the controller. LED starts to rotate from left to right
- Press pair button for 3 seconds to enter its pairing mode. LED stops blinking for a short moment then starts to rotate again (this is required for the very first time only)
- Go to your Switch Home Page to click on Controllers, then click on Change Grip/0rder
- LED becomes solid when the connection is successful controller will auto reconnect to your Switch with the press of start once it has been paired
Wired connection
- Turn the mode switch to S
- Press start to turn on the controller. LED starts to rotate from left to right
- Connect the controller to your Switch dock via its USB cable
- Wait till the controller is successfully recognized by your Switch to play
- Switch system needs to be 3.0.0 or above for wired connection. Go to System Setting > Controller and Sensors> turn on Pro Controller Wired Communication
- LED lights indicate the player number,1 LED indicates player 1, 2 LEDs indicate player 2, 4 is the maximum number of players the controller supports
Windows (X – input)
Bluetooth connection
Required system: Windows 10 (1703) or above. Bluetooth 4.0 is supported
- Turn the mode switch to X
- Press start to turn on the controller. LEDs 1&2 start to blink
- Press pair button for 3 seconds to enter its pairing mode. LED starts to rotate from left to right (this is required for the very first time only)
- Go to your Windows Settings>Devices> Bluetooth&other devices> turn it on
- Choose Add Bluetooth or other device Bluetooth
- Pair with [8BitDo Pro 2]
- LED becomes solid when the connection is successful
The controller will auto-reconnect to your Windows device with the press of start once it has been paired
Wired connection
- Turn the mode switch to X
- Press start to turn on the controller. LEDs 1 &2 starts to blink
- Connect the controller to your Windows device via its USB cable
- Wait till the controller is successfully recognized by your Windows device to play
- LED lights indicate the player number, 1 LED indicates player 1,2 LEDs indicate player 2, 4 is the maximum number of players the controller supports
Android (D – input)
- Required system: Android 4.0 or above
Bluetooth connection
- Turn the mode switch to D
- Press start to turn on the controller. LED 1 starts to blink
- Press pair button for 3 seconds to enter its pairing mode. LED starts to rotate from left to right (this is required for the very first time only)
- Go to your Android device’s Bluetooth setting, pair with [8BitDo Pro 2]
- LED becomes solid when connection is successful
Controller will auto-reconnect to your Android device with the press of start once it has been paired
Wired connection
- Turn the mode switch to D
- Press start to turn on the controller. LED 1 starts to blink
- Connect the controller to your Android device via its USB cable
- Wait till the controller is successfully recognized by your Android device to play
OTG support is required on your Android device
macOS
- Required system: 0S X Lion C10.10) or above
Bluetooth connection
- Turn the mode switch to A
- Press start to turn on the controller. LEDs 1 & 2 &3 start to blink
- Press pair button for 3 seconds to enter its pairing mode. LED starts to rotate from left to right (this is required for the very first time only)
- Go to your macOS device’s Bluetooth setting and turn it on
- Pair with [Wireless Controller)
- LED becomes solid when the connection is successful
- the controller will auto-reconnect to your macOS device with the press of start once it has been paired
Wired connection
- Turn the mode switch toA
- Press start to turn on the controller, and LEDs 1,2&3 start to blink
- Connect the controller to your mac0S device via its USB cable
- Wait till the controller is successfully recognized by your macOS device to play
Turbo function
- Hold the button you would like to set turbo functionality to and then press the start button to activate its turbo functionality
- home LED blinks continuously when the button with turbo functionality is pressed
- Hold the button with turbo functionality then press star to deactivate its turbo functionality
- D-pad joysticks, home, select and start buttons are not included
- This does not apply to Switch mode
Battery
- 20 hours of play time with a 1000 mAh built-in battery pack
- Rechargeable with 4 hours charging time
- Replaceable with two AA batteries with 20 hours of play time
- Controller will turn off in 1 minute with no connection and 15 minutes with Bluetooth connection but no use
- Controller stays on with wired connection
Ultimate Software
- It gives you elite control over every piece of your controller: Customize button mapping, adjust stick & trigger sensitivity, vibration control and create macros with any button combination
- Please visit support.8bitdo.com/utimate-software.html for the application
support
- Please visit :support.8bitdo.com for further information & additional support