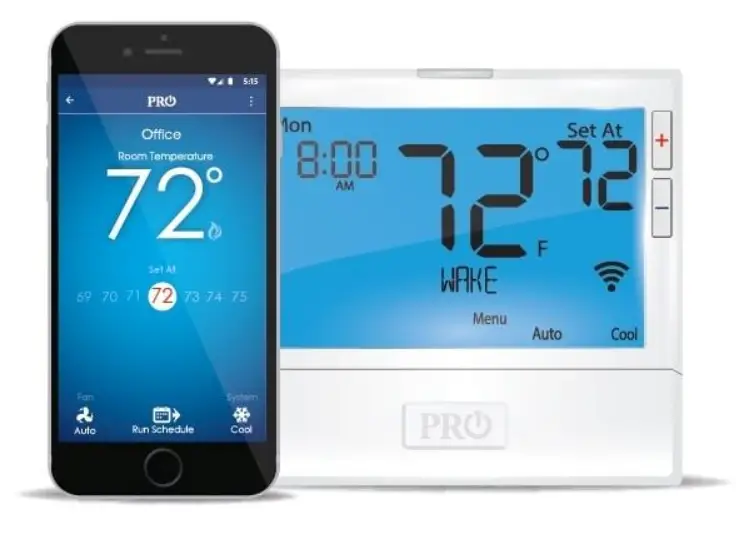
PRO1 T855ISH-Wifi Programmable Thermostat
Pro1 Technologies
P.O. Box 3377
Springfield, MO 65808-3377
Toll Free : 888-776-1427
Web: www.pro1iaq.com/wifi
Hours of Operation: M-F 9AM – 6PM Eastern
Creating An Account

Before You Begin
Download the Pro1 Connect App from the Apple Store or Google Play Store. You must have your WIFI network password ready.
Step 1 – Log In or Create an AccountLog in or create a new account.
Note: Multiple people can use the same account by sharing the login information after setup is complete.
Step 2 – Register Account
After completing the required fields you will receive an email containing a verification code which is required to complete the next step.
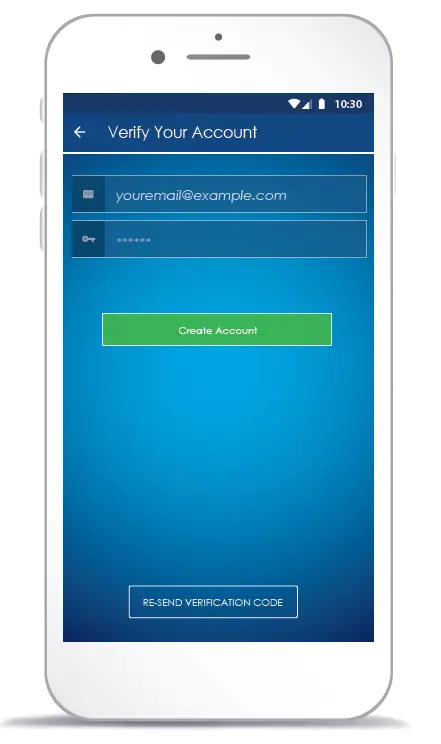
Step 3 – Verify Account
Now enter the verification code from the email and select Create New Account.
Note: If you did not receive an email please check your junk folder. If you return back to this screen after selecting Create New Account, press Login.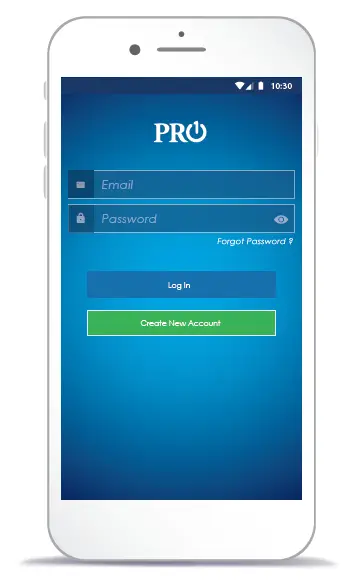
Connecting Your Thermostat
Step 4 – Add A Thermostat
Select the Add A Thermostat button to add a thermostat to your account.
Step 5 – Connecting To The Thermostat
Press and hold the light button on your unconnected thermostat until the screen flashes three times. The thermostat WIFI network name will then appear at the top of the thermostat screen. (It will begin with “TSTAT”). Make a note of this. Use the “WIFI Settings” button below to go to your device settings and connect to the thermostat WIFI network. Once connected, return to this app, and press “Continue”. Note: If you are using an Android phone press the lower right back button to return to this screen.
 Note: If you are using an a T855i thermostat the WIFI network name will appear in the lower text field and does not require holding the light button.
Step 6 – Connect To Your WIFI Network
Select the WIFI Network you want the thermostat to connect to, enter the WIFI password, and press “Connect”.
Note: On an Android device you must disable mobile data through the phone settings in order to see this step.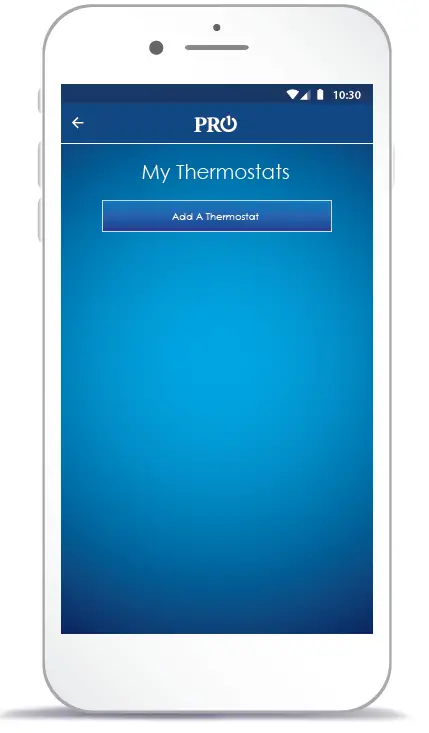
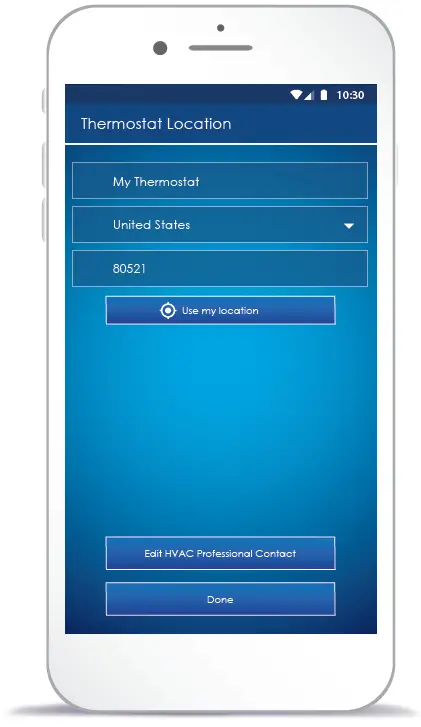
Step 7 – Thermostat Location
Enter the location of the thermostat you are connecting. Note: iPhone users may be required to reconnect to the thermostat to complete this process. (Example TSTAT-####). Return to the app to complete step 7.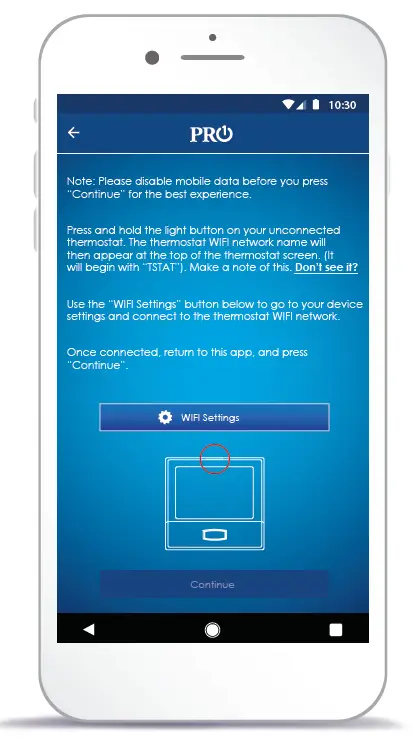
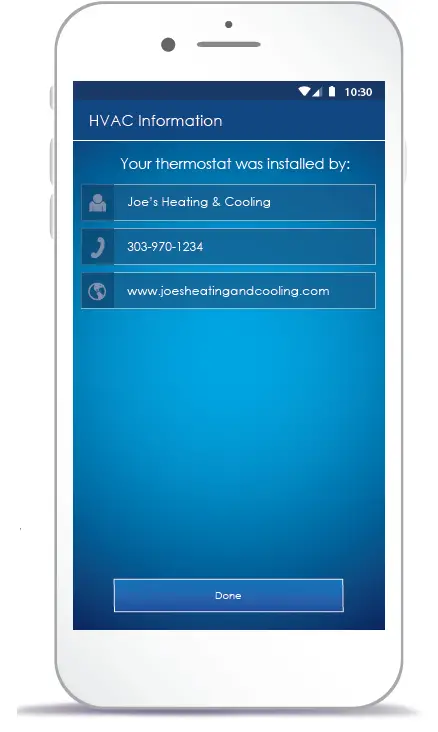
Step 8 – Enter Your HVAC Professional’s Contact Info (Recommended)
Before completing the process, you have the option to enter the contact information of your trusted HVAC professional. This will be stored throughout the app for quick access whenever your system requires servicing.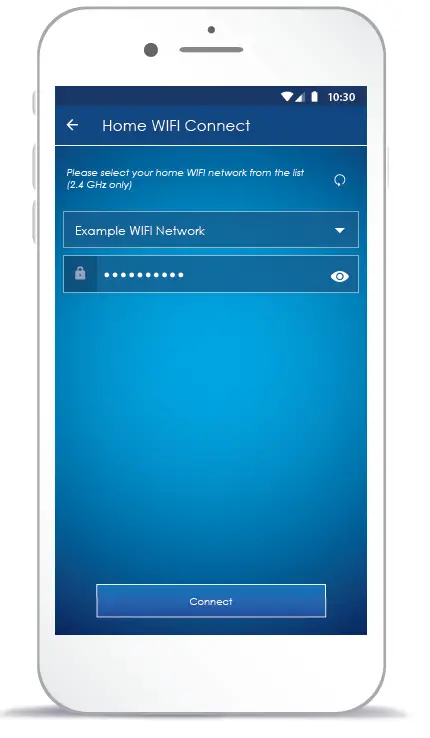
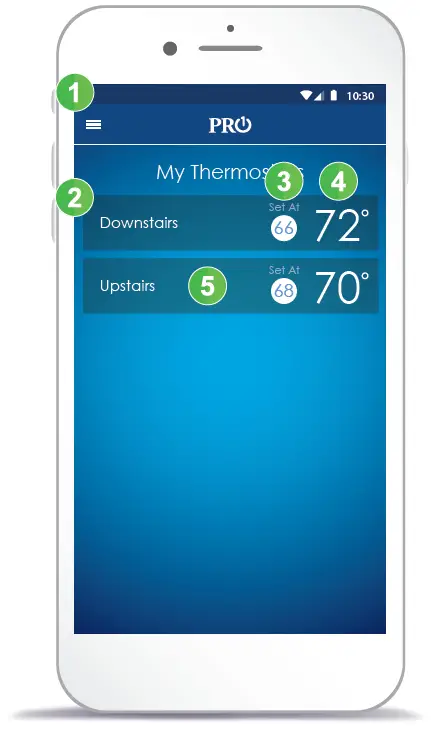
My Thermostats Overview
- Main Menu
Access Help, My Thermostats, Settings and more. - List Of Thermostats
View and select all thermostats registered to your account. - Set At Temperature
Displays the current Set At temperature for the listed thermostat. Red indicates the system is currently in heat and blue indicates cooling. - Room Temperature
Displays the current ambient room temperature for each thermostat. - Control Thermostat
Select the thermostat you want to control.
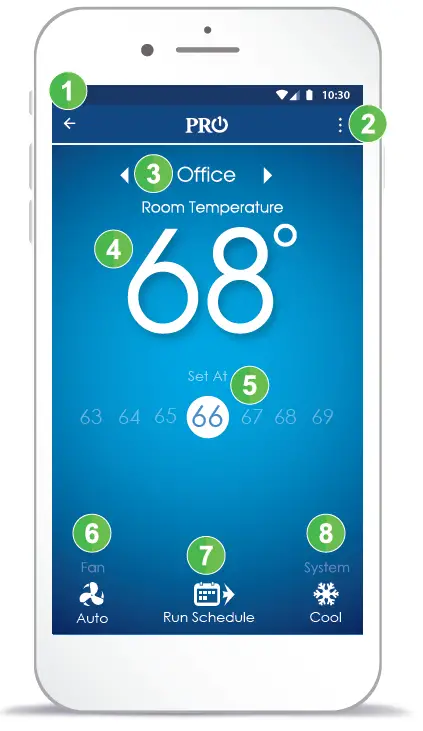
Control Screen Overview
- Back Button
Return back to My Thermostats screen. - Thermostat Menu
Access settings specific to currently viewed thermostat including scheduling. - Thermostat Name
Use the left and right arrows to switch between thermostats.
Note: Arrows only appear if you have multiple thermostats installed. - Room Temperature
The current ambient temperature of the space. - Setpoint Temperature
Set the desired temperature of your space using the setpoint slider. The color of the setpoint will change to red in heat or blue in cooling. - Fan Setting
Select your Fan mode (Auto, On). - Schedule Setting
Program your custom daily schedule. Note: Scheduling must be turned on in the thermostats menu. - System Setting
Select your System mode (Heat, Cool, Off).
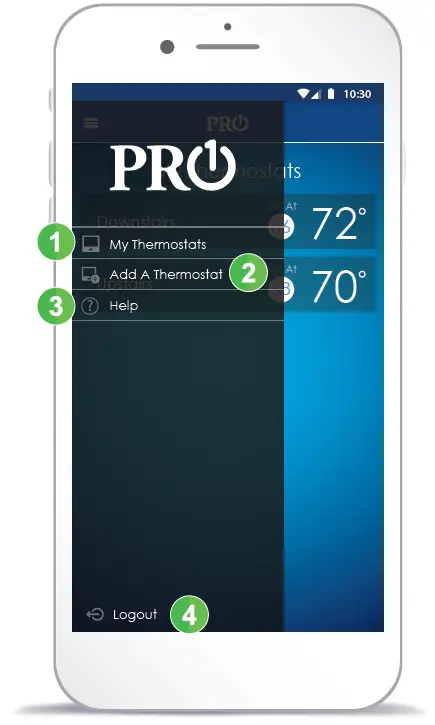
Main Menu
- My Thermostats
Displays a list of all thermostats associated with your account. - Add A Thermostat
Allows you to quickly add a thermostat to your existing account. - Help
Access Help for any screen. - Logout
Log out of your account.
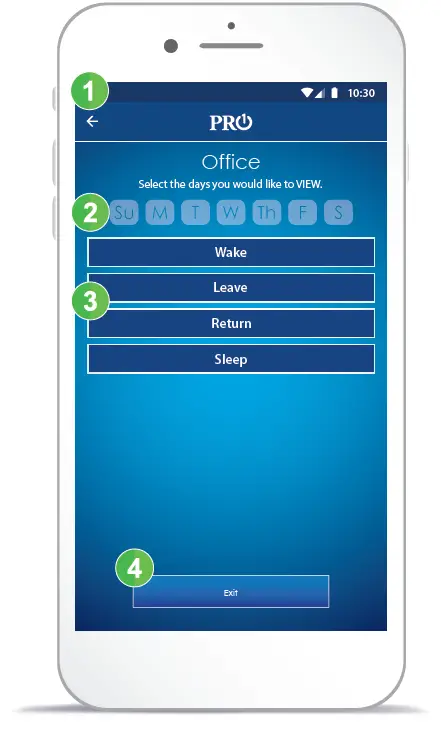
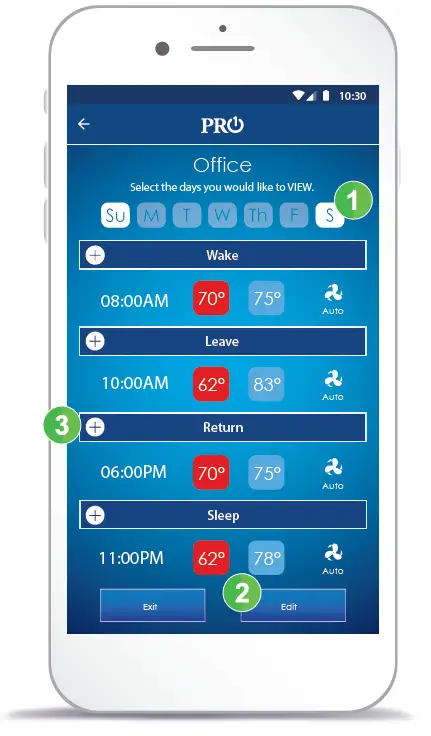
Scheduling Overview
- Back Button
Return to the thermostat control screen. - Days of The Week
Select the group of days you want to view or edit. - Time Periods
View the settings for each time period (Wake, Leave Return, and Sleep). - Exit Scheduling
Exit back to the thermostat control screen.
Note: You must save your changes before exiting.
Scheduling Guide
Note: The T701i is shipped as a non-programmable thermostat. If you would like to use this feature, you must first turn scheduling on through the thermostat menu located in the top right corner of the thermostat home screen.
- Step 1 – Select Days
Select a day of the week to view which days are grouped together. - Step 2 – Edit Time Periods Select the edit button to reveal the plus signs next to the time periods.
- Step 3 – Select Time Period Press the plus sign to expand the time period you wish to edit.
Scheduling
- Step 4 – Setting The Time Adjust the time you want to schedule by scrolling up or down.
- Step 5 – Setting The Heat Temperature
Set the heat temperature you want to schedule by scrolling up or down. - Step 6 – Setting The Cool Temperature
Set the cool temperature you want to schedule by scrolling up or down. - Step 7 – Setting The Fan
Set the fan you want to schedule by scrolling up or down. - Step 8 – Return To Schedule Press the minus button to return to main schedule screen.
- Step 9 – Save Your Schedule Press save to apply changes.
Help
- Main Menu
Access Help, My Thermostats, Settings and more. - Customer Support Options
Visit our website for additional self help resources or call our US based customer service team. - App Version
Displays the current version of our the app. (Customer Support may ask for this information.)
Congratulations on your new professionally installed thermostat. For more information please visit www.pro1iaq.com/wifi
pro1iaq.com/wifi