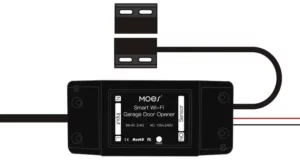

Wi-Fi SMART
GARAGE DOOR CONTROLLER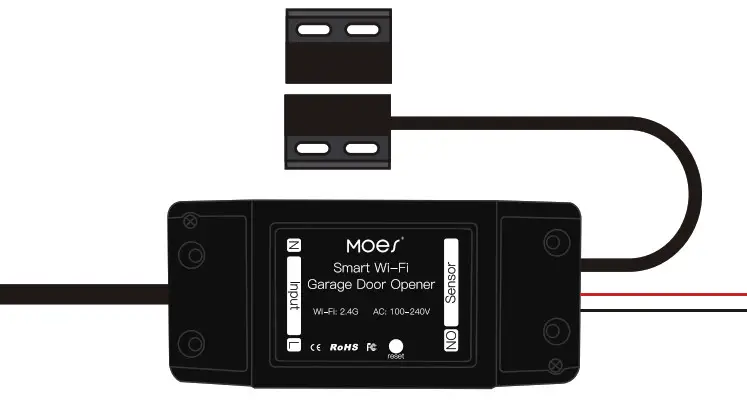

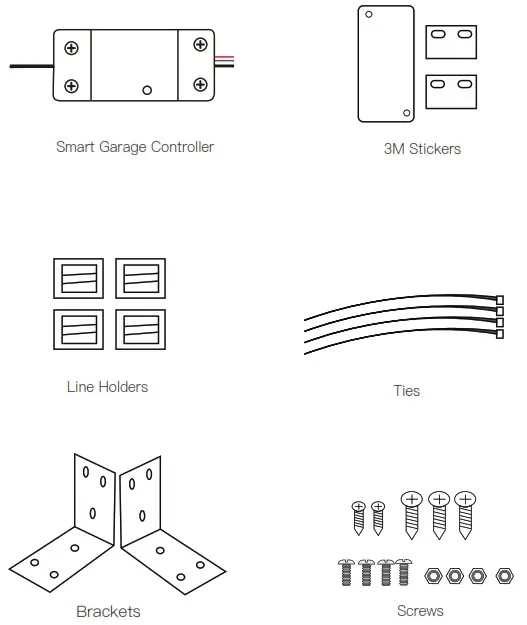
Packing List
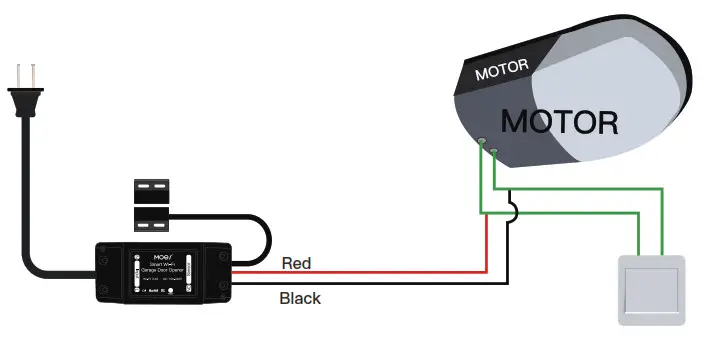
Test Device For Module Compatibility
- Turn off all power, use the included Red & Black wire connect the device to your module.
- Power up all device, you will see the lights on the module automatically switch from red to slow flashing blue, which means the device has been powered up successfully.
- Click the button in the device, your garage door should be activated.

If this test fails,your device may not be compatible. Please check additional installation Instructions and the list of compatible models, and contact us online directly.
If the test is ok, then you can control the garage door through the module every time!
Checklist before using the device
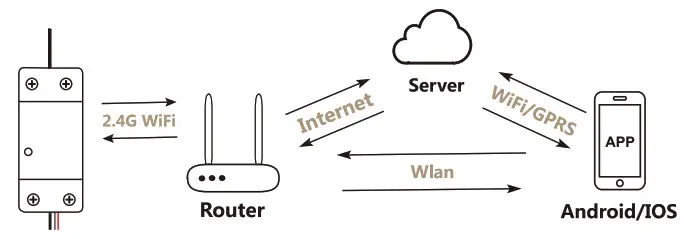
- Your smart phone or tablet should have connected a 2.4G WiFi with internet.
- The device only supports 2.4G Wi-Fi. If you use a 5G router (it provides two Wi-Fi signals: 5G and 2.4G ), please select the 2.4G Wi-Fi to connect your smart phone.
- Download the APPs: “Smart Life” APP from APP Store or Google play store.
 http://smartapp.tuya.com/smartlife
 - During pairing process, make sure that your IOS or Android device and the garage are within your 2.4G WiFi coverage.
- Make sure your router is MAC-open. If not, please cancel the router’s MAC filtering setting first.
Add Device
*Please keep your door closed at first, the garage door will be activated if added successfully (when the blue LED stop blinking).
- After installing the garage door controller, press and hold the `reset’ button for five seconds until the blue light goes from slow to rapidly blink.
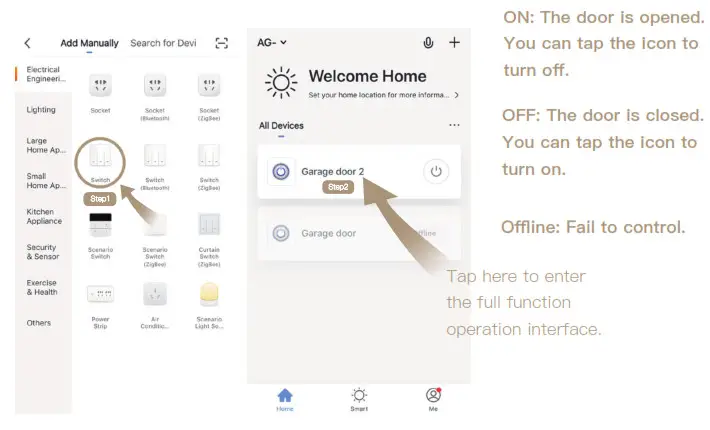
- Launch APP, tap the icon “+” In the upper right corner of the interface.
- Select the “All Devices” Slecet the “Wi-Fi Connector” type.
- Tap “Confirm indicator rapidly blink”.
- Input the correct 2.4G WiFi passwords. Then, tap Comfirm.
- It will auto-connect with the device. Once the process is completed, it will prompt that you can rename the device. Enter a new name and Save.
 *The APP can add many different types of devices together.
INSTALLATION
*Keep your garage door closed
Do this installation After you successfully added the device to your app.
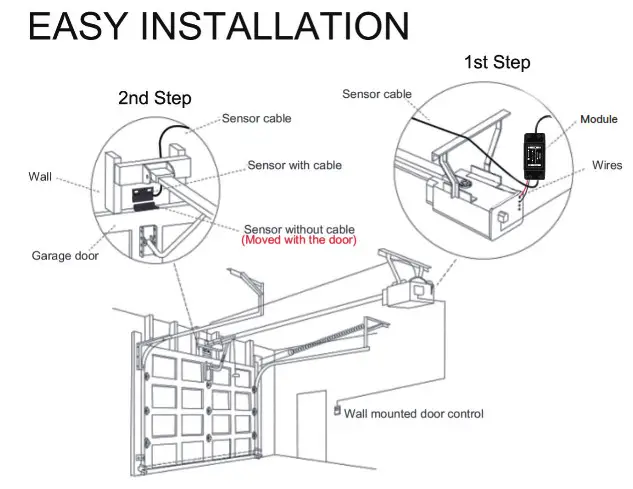
 1st Step: Power up the garage door controller and connect to the garage door motor.
If it is hard to install with screws, you can also use the 3M gums to finish. If you are worried that this is not firm, you can use both screws and 3M gums.
2nd Step: Connect to the garage door.
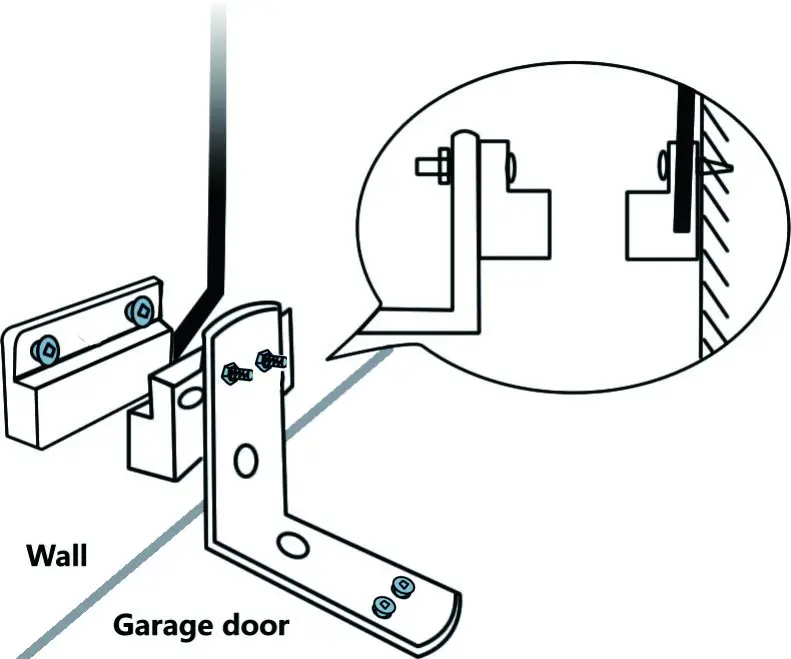
Insert the 2.0mm terminal of the sensor to the garage, then install the sensor well and the magnet of the gap within 3mm to 15mm on your garage door with screws/bracket/3M gums/wall nail/line holders/ties.
If it is hard to install with screws, you can also use the 3M gums to finish. If you are worried that this is not firm, you can use both screws and 3M gums.
![]()
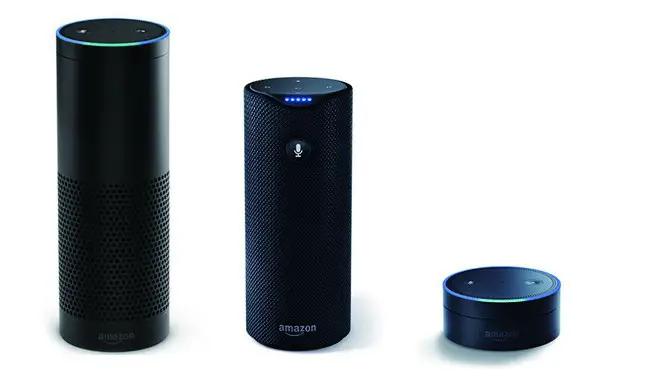
Works With Alexa
 Voice commands:
“Alexa,turn on (device name)”
“Alexa,turn off (device name)”
“Alexa,is the(device name) closed?”
- Open Alexa APP, tap the upper left corner on the menu .Go to Skills.
- Enter “Smart Life” in the search field and search it.
- Tap “Smart Life”.
- Enable the skill.
- Enter your account information and tap on `log in’ to link your account to your Amazon account.If your account is a phone number, you should select your country. If your account is an email address, please select a random country/region code.
More setting: Select routines to creat a single command, which you can perform a series of actions. Like when you open the garage door, the Alex will also trun on your light and report the weather.
![]()
Works With Google Home

- Launch Google Home app, tap the menu.
- Tap Home control.
- Under Devices,tap the + icon.
- Tap “Smart Life”.
- Enter your account information and tap on `log in’ to link your account to your Google account.If your account is a phone number, you should select your country. If your account is an email address, please select a random country/region code.
Voice commands:
“Hey Google,turn on (device name)”
“Hey Google,turn off (device name)”
“OK Google, is (device name) ON or OFF?”
![]()
Works With IFTTT

- Launch IFTTT APP, tap Search. Enter “Smart Life” to search.
- Enter “Smart Life” page.
- Then you’ll need to enter your own IFTTT account and log in.
- Go to My Applets, tap “+” to create your own appler.