blinds 2go Vertical Blinds Installation Guide

We’ve made a handy video version of this fitting guide, just click the play button to view it. If you prefer to print the instructions or simply to follow them step-by-step, just keep reading.
Fitting the brackets
There are two types of brackets for vertical blinds, each of which offers a different method of installation: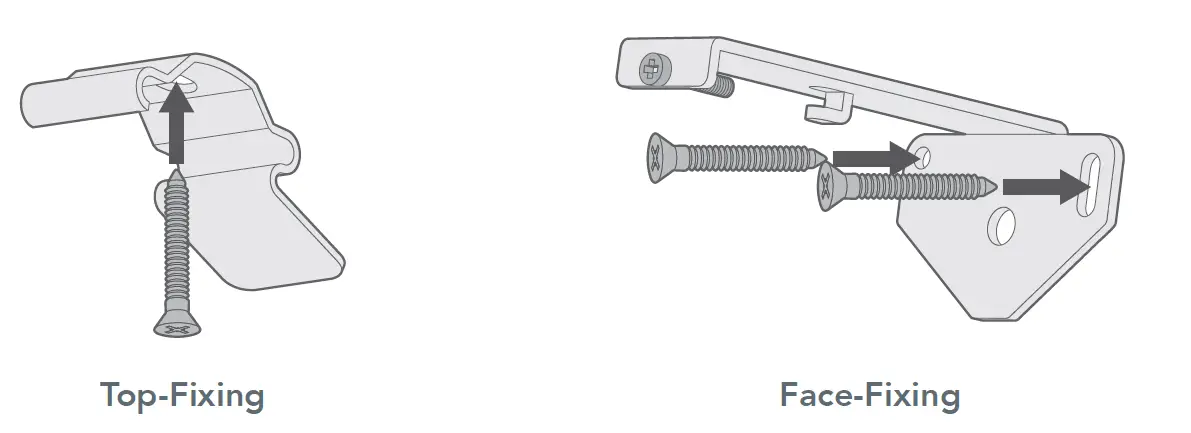
Top-Fixing
Use the single hole in the top of the bracket to fix to the lintel (the ‘ceiling’ of the recess).
Face-Fixing
Use two screws through the back plate to mount onto a facing surface (a wall or window frame)
Note that the position of the outermost brackets should be at least 5cm away from the ends of the rail, with any other brackets evenly distributed across the width.
If you’re using top-fix brackets, make sure that you mount them at least 7.5cm in front of either the window frame or any protruding vents or hands, if there are any. This allows space for the louvers to turn open and closed.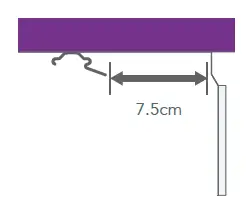
For safety reasons, always ensure that the top of the blind is installed at least 150cm (1500mm) from the floor.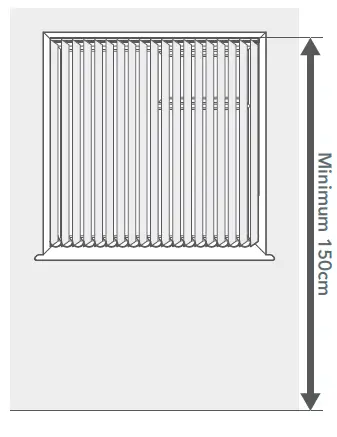
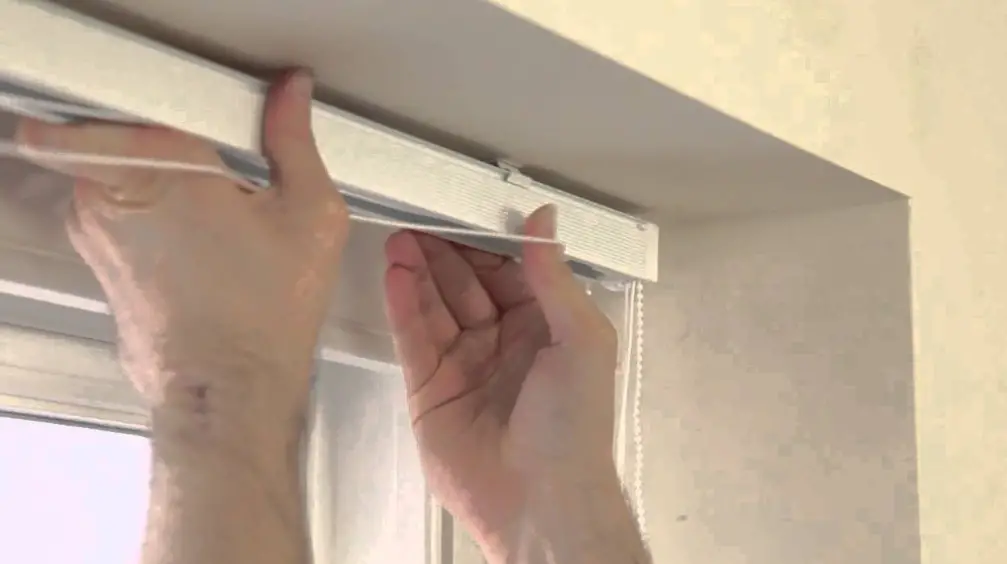
Fitting the blind
Situate the front lip of the headrail into the front of the bracket. Lift the back of the headrail and push up firmly to secure the back of the rail into the bracket.
Face-Fixing
Situate the back lip of the headrail into the back hook of the bracket. Lift the front of the headrail so it’s level, then tighten the screw in the front of the bracket to secure the rail in place.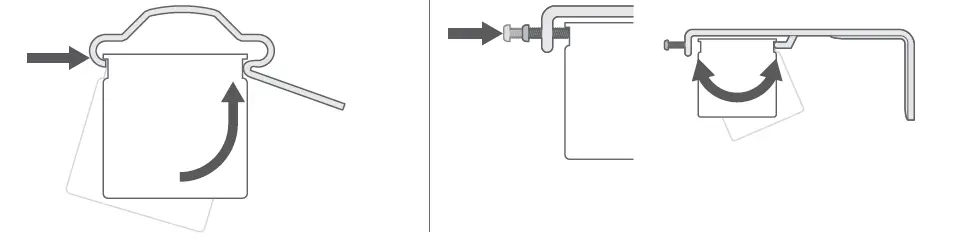
There are several semi-circular components fitted to the underside of the headrail. These are to keep the control cords tidy in transit and are not required once the rail is fitted.
Simply twist the stoppers to remove them from the rail.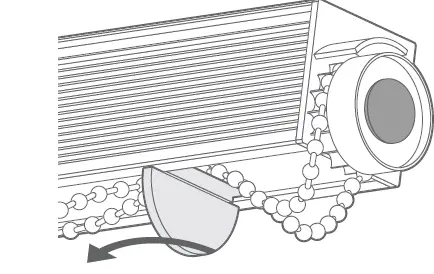
Vertical Blinds
Hook the louvers onto the rail. Slide the weights into the pockets at the bottom of the louvers.
Child Safety
Your vertical blind is fully compliant with the latest safety standards. It has been supplied with a ‘P-Clip’ tensioning device to keep the cords and the chain child safe.
Slot both the cord and the beaded chain into the ‘P-Clip’ and secure it to the wall or window frame (if you are fixing to the facing surface then the cord and chain will form a figure of eight, this is fine and will not affect the operation of your blind).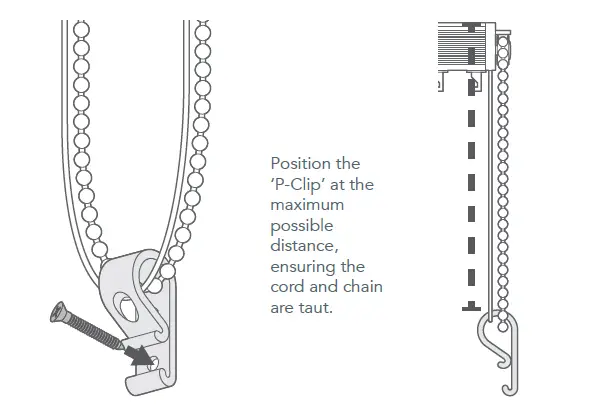
Young children can be strangled by loops in pull cords, chains, tapes, and inner cords that operate the product. To avoid strangulation and entanglement, keep cords out of the reach of young children. Cords may become wrapped around a child’s neck. Move beds, cots, and furniture away from window-covering cords. Do not tie cords together. Make sure cords do not twist and create a loop.
Top Tip
Please note that the P-clip must be installed. The cord must be kept under tension to prevent it from sagging down from the headrail when the blind is drawn open.
Hanging the louvers
Before hooking the louvers on the rail, use the beaded chain to turn the hooks so that they all face side on. This makes it far quicker to hook the louvers on and also ensures that the louvers will not clash when you first use the blind.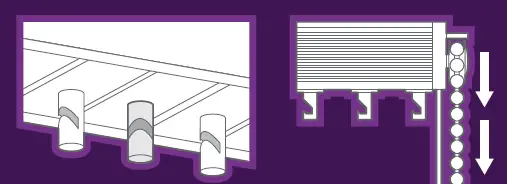
Check that none of the hooks are facing a different direction to the rest. If you find that this is the case, then this is easy to rectify. Simply pull on the beaded chain and keep pulling – don’t worry about the resistance and the grinding sound, they’re normal when doing this. Eventually, the hooks should all turn back into alignment and the chain will run smoothly.
