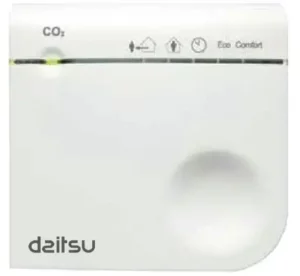
dsitsu RHR 150 Heat Recovery Freshome RHR

Children over the age of 8, people with reduced physical or mental abilities and those with little knowledge or experience may use this system provided they are supervised or have received instructions on how to use the system safely and are aware of the associated dangers. Children below the age of 3 must be kept away from the system, unless they are always supervised. Children between the ages of 3 and 8 can only turn the system on and off, but always under supervision or if they have received clear instructions on how to use the system safely and are aware of the potential dangers, and provided the system has been placed and installed in the normal position of use. Children between the ages of 3 and 8 must not insert the plug into the socket, clean the system, make changes to its configuration or carry out any of the maintenance tasks that the user normally performs. Children must not play with the system
If you need a new power cable, always request the spare part from Daitsu to prevent dangerous situations from occurring. Only qualified experts can replace damaged mains connections.
Keep the manual in a safe place close to the unit.
ABOUT THIS MANUAL
ABOUT THE DEVICE
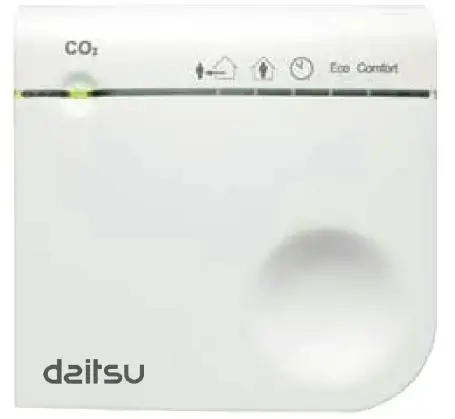
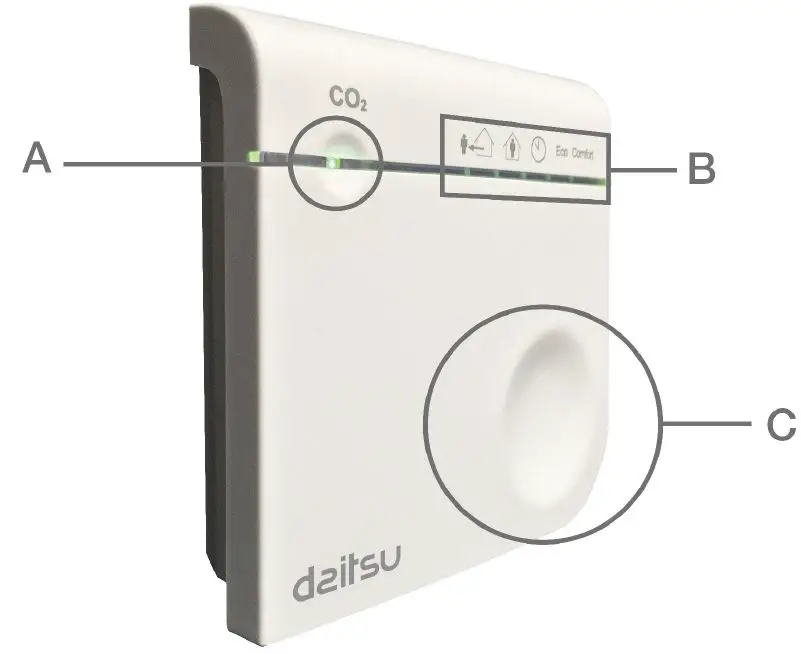
The wireless CO2 probe is a user control and a CO2 sensor for the ventilation system. The device communicates information on the ventilation speed request and the system status via wireless communications with the central control device.
HOW TO USE THIS MANUAL
This manual is designed as a reference book for qualified installers to be able to install the wireless CO2 probe (hereinafter “device”) and for users to be able to use the device for its intended purpose. Make sure you have read and understood the manual before installing and/or using the device.
ORIGINAL INSTRUCTIONS
The original instructions for this manual were written in Spanish. Versions of this manual in other languages are a translation of the original instructions.
WARNINGS
NOTE: It is used to highlight additional information.
DANGER: It identifies a danger that could cause personal injury, including death.
SAFETY
DIRECTIVES
The device complies with the following EC directives:
- EMC Directive: 2004/108/EC
- Low Voltage Directive: 2006/95/EC
- RTTE Directive: 1999/5/EC
- RoHS Directive: 2002/95/EC
- WEEE Directive: 2002/96/EC
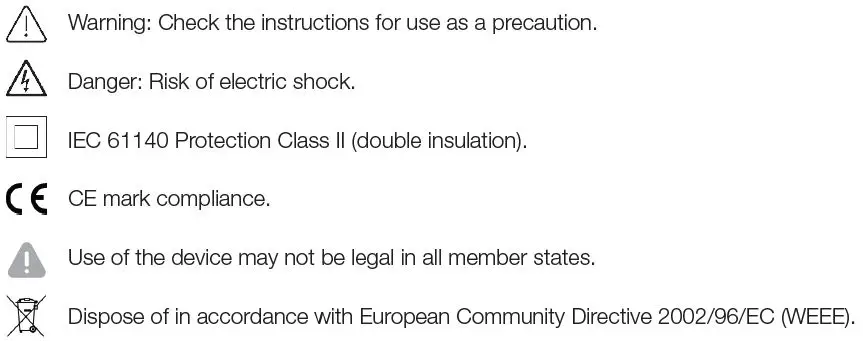
SIGNS ON THE UNIT
GENERAL SAFETY INSTRUCTIONS
- This product was designed and manufactured to ensure maximum safety during installation, operation and service.
- Always read the safety instructions before installing, maintaining or repairing the product and strictly observe these instructions.
- Parts of the device carry mains power, which is a potentially lethal voltage.
- Disconnect the power supply to the supply line, circuit breaker or fuse before installing, repairing or removing the device.
- The device is designed for indoor use only. Do not expose the device to rain or moisture in order to prevent short circuits.
- A short circuit can cause fire or electric shock.
- Operate the device between 0°C and 40°C.
- Only use a soft, damp cloth to clean the unit.
- Never use abrasive or chemical products. Do not paint the device.
DESCRIPTION
INTENDED USE
The device is designed for the following purposes:
- To set the ventilation level via the fan speed, according to the user input or the measured level of CO2.
- Configure the parameters for controlling the ventilation. Any other use or additional use is not in compliance with the intended use.
OPERATING PRINCIPLE
The device communicates with the control device via wireless communications for controlling the ventilation. Via the button and the LEDs, you can read and configure the control mode that the ventilation system is currently in. When it is in Eco mode or Comfort mode, the device requests the ventilation level according to the amount of CO2 in the air.
VENTILATION SPEEDS AND MODES
The ventilation system operates in one of the following modes. In each of these modes, the control device adjusts the ventilation system to a configured ventilation level.
 ABSENCE MODE:
It represents periods of non-occupancy, when the heat recovery unit will operate at the lowest capacity.
 AT HOME MODE:
It represents occupancy of the home or a room. By selecting this button, the heat recovery system knows that there is one person (or more) in the room or home. It will set the speed to the default level.
 MAXIMUM TIMER:
High fan speed, for a limited time. When the button is pressed, the heat recovery unit will reach maximum speed for 30 minutes.
 ECO MODE:
Sensor-based automatic ventilation. In ECO, the system will begin at a higher CO2 level to ventilate like in COMFORT mode.
 COMFORT MODE:
Sensor-based automatic ventilation. The system will accelerate the CO2-based ventilation after a certain default activation value is exceeded.
The control device drives the fan according to the highest values sent by the linked wireless sensors. When you start the timer mode from this device, the ventilation will be active for 30 minutes.
CO2 SETPOINT
The device measures the level of CO2 in the air continuously and compares the measured value to a configured setpoint. The device controls the ventilation accordingly to keep the measured level of CO2 below the requested level. When it is in Comfort mode, the requested level is the same as the configured value. In Eco mode, the requested level is 250 ppm above the configured value.
NOTE: The device stores the fan speed values configured on the control device and requests them from there. The device stores the CO2 setpoint itself and does not communicate it to any other device.
VISUAL SIGNALS
| LED STATUS | LED MODES | ||||||
 |
 |
 |
 |
 |
 |
||
| Start-up | |||||||
| STEADY WHITE | ON | ON | ON | ON | ON | ||
| System status | |||||||
| STEADY GREEN | <800 PPM | ||||||
| STEADY YELLOW | 800-1900 ppm | ||||||
| STEADY | RED | >1900 ppm | |||||
| 1 flash | Communication error | ||||||
| 2 flashes | Dirty filter | ||||||
| 3 flashes | Fan error | ||||||
| 4 flashes | CO2 sensor error | ||||||
| 5 flashes | Low battery | ||||||
| Selection | |||||||
| ABSENCE MODE | OFF | · | |||||
| AT HOME MODE | · | ||||||
| MAXIMUM TIMER | · | ||||||
| ECO MODE | · | ||||||
| COMFORT MODE | · | ||||||
OPERATION
SHOW STATUS
- Tap the button.
The LED status and the LED modes show the system status.
SETTING MODE
From the status screen:
- Tap the button. The mode LEDs show the following selection.
- If necessary, tap the button within 2 seconds, repeat until the selection shows the required mode.
- Wait 2 seconds. The device applies the requested mode.
The LED status and the LED modes show the system status.
INSTALLATION
PREPARATION
DANGER: Disconnect the power supply to the supply line, circuit breaker or fuse before installing the device.
NOTE Do not place the device in a metal housing.
- Press the clip and pull the upper section of the lower section.

- Open the safety cover. Use a small flat-head screwdriver to loosen the clip.
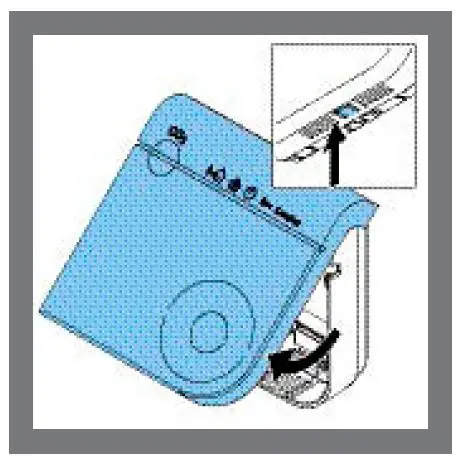
When the device is not placed in a recessed wall box:
- Prepare the wall, if necessary. Use the mounting plate as a template.
- Remove the detachable plastic from the cable entry on the housing.
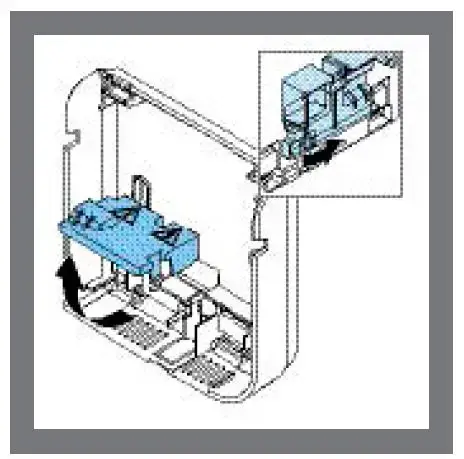
INSTALLATION PROCEDURE
DANGER
Make sure that the power supply is turned off.
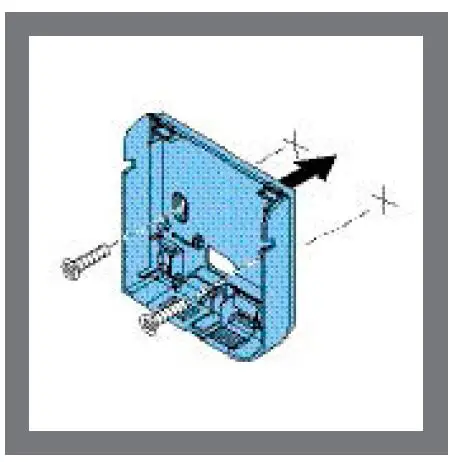
- Pass the power cable through the rear hole (A) or the cable entry (B).
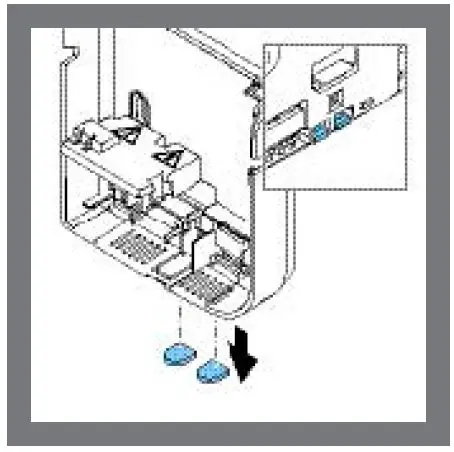
- Position the lower section of the device.
- Secure the lower section with the bolts.
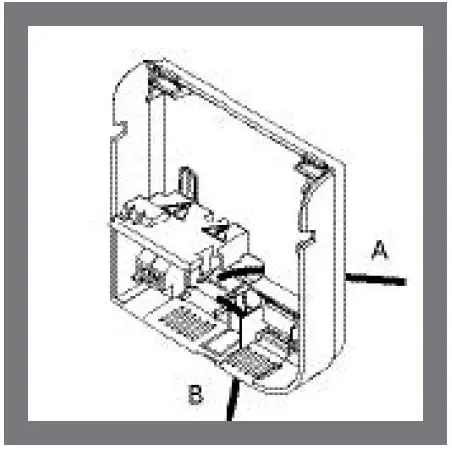
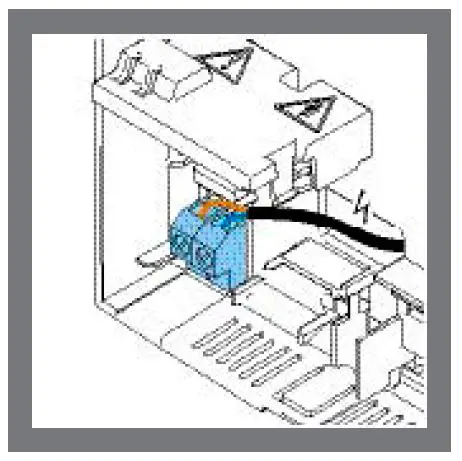
- Connect the power cable to the bolt terminals.
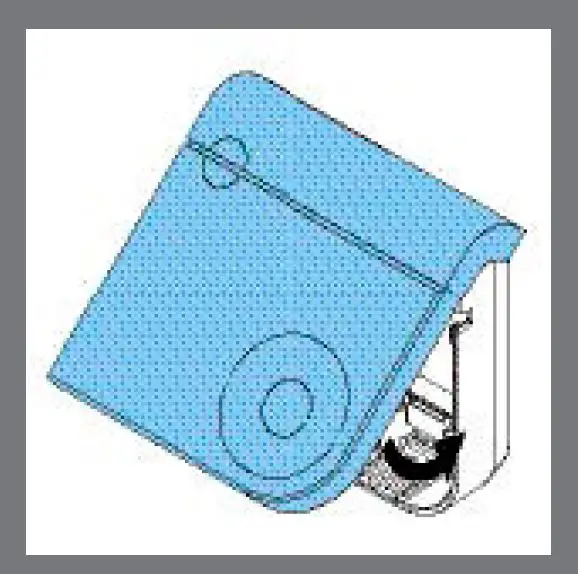
- Position the upper section of the device on the lower section.
- Position the clips.
- Close and press until it clicks.
START-UP
- Enable the 230 V power supply.
All of the LEDs will light up for 3 seconds. - Wait until the status LED displays link mode.
If the device shows another indication, the device is already linked. See 6.2 on how to link the device again. - Make sure that the fan box is in link mode.
- Tap the button. The device tries to link to the control device.
It displays the result in the LED status.
When the communication fails, make sure that the control device is in link mode and try again.
CONFIGURATION
| LED STATUS | LED MODES | ||||||
 |
 |
 |
 |
 |
 |
||
| Configuration | |||||||
| LOW SPEED | OFF | · | |||||
| MEDIUM SPEED | · | ||||||
| HIGH SPEED | · | ||||||
| CO2 SETPOINT | · | ||||||
| LINKING | · | ||||||
| VALUE | Blue/red | Low speed | Off | 10% | 20% | 30% | 40% |
| Blue/green | Medium speed | 30% | 40% | 50% | 60% | 70% | |
| Red/green/blue | High speed | 60% | 70% | 80% | 90% | 100% | |
| Blue (flashing) | CO2 setpoint | 700 ppm | 800 ppm | 900 ppm | 1000 ppm | 1100 ppm | |
| Red/green | Linking | ||||||
CONFIGURING SETTINGS
From the status screen (see 4.1):
- Tap the button. The mode LEDs show the following selection.
- If necessary, tap the button within 2 seconds, until the selection shows the element to be configured.
- Keep the button pressed until the status LED starts flashing white.
- Release the button. The status LED shows the selected element, and the LED flashing modes show its current value.
- If necessary, tap the button within 10 seconds, until the mode LEDs show the value to be set.
NOTE When configuring the fan speeds, make sure that the average fan speed is between the low fan speed and the high fan speed. - Wait 10 seconds and the device will apply the configured value. The LED status and the LED modes show the system status.
TECHNICAL DATA
| DAITSU WIRELESS CO2 PROBE | |||
| TOTAL DIMENSIONS | 100 x 100 x 25 mm (height x width x depth) | ||
| WEIGHT | ± 125g | ||
| ENVIRONMENTAL CONDITIONS | Temperature | Operating | 0 to 40°C |
| Transport and storage | -20 to 55° | ||
| Relative humidity | 0 – 90%, without condensation | ||
| Electrical protection (IEC60529) | IP30 | ||
| ELECTRICAL SPECIFICATIONS | Main power supply | 195 – 253 VAC, 50 Hz. | |
| Maximum energy consumption | 4 VA | ||
| Cable diameter | 0.25 to 2.5 mm2 | ||
| CO2 MEASUREMENT SPECIFICATIONS | Optimal measuring range | Measurement accuracy (within the optimal range, >10 min after start-up):
400 to 2000 PPM. |
|
| Stabilization period after start-up | 40 PPM + 2% of reading at 20°C 2 minutes | ||
Eurofred S.A.
Marqués de Sentmenat 97 08029 Barcelona
www.eurofred.es