![]() Sku# 1110263
Sku# 1110263
DuMor Rabbit Hutch Assembly Manual
Distributed by:
TRACTOR SUPPLY COMPANY
5401 VIRGINIA WAY,
BRENTWOOD, TN 37027
For customer support, call: 1-888-376-9601
www.TractorSupply.com
MADE IN CHINA
PARTS LIST
| Part | Image | Description | Quantity |
| 1 |  |
24” Cage | 1 pc |
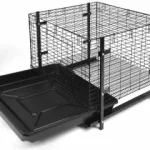
| 2 | 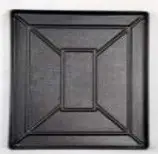 |
24” Plastic Tray | 1pc |
| 3 | 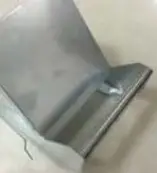 |
Galvanized Feeder | 1pc |
| 4 |  |
Water Bottle | 1pc |
| 5 |  |
Frame Legs 24in | 4pcs |
| 6 |  |
Cross Rod | 2pcs |
| 7 | 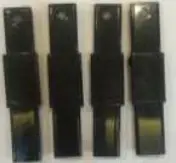 |
Stacking Lugs | 4pcs |
| 8 | 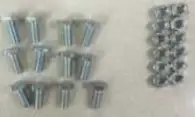 |
Screw& Nuts | 12 sets |
ASSEMBLY INSTRUCTION
Step 1. Rabbit Cage Set Up
1. Remove your new DuMor rabbit cage from box and set on flat surface. The door located on the front panel must be locked in a closed position to keep it secured during assembly. (Figure A)

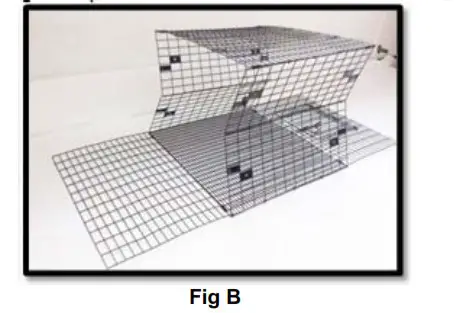
2. Unfold front and back panel’s completely and set it on the ground.(Figure B)
Step 2. Frame Legs Set Up
1. Position one frame leg on the side of the cage so that the top of the leg is aligned with the top of the cage and the bottom of the leg extends4-3/4” past the bottom of the cage. Line up holes in frame leg with holes in leg mounting bracket. (Figure C)
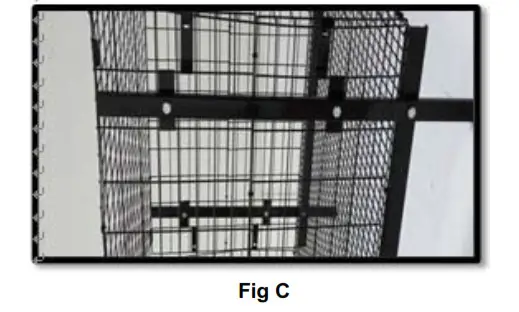
2. Push the screw through the upper hole in the leg from outside of the cage. Put a nut onto the screw and tighten .Repeat for the other three legs.
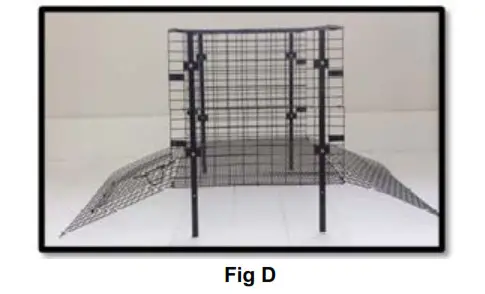
3. Turn the cage upright so that the bottom now faces downward. The cage bottom should be approximately 4-3/4″ off the ground. (Figure D)
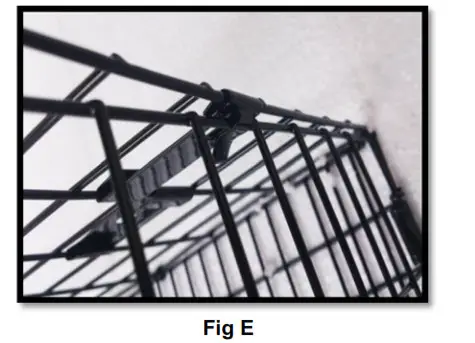
4. Fold the front (door panel) and back panel up to the inside of the cage and pull back into panel clips on the top and sides. Bend tab on panel clips slightly to fully secure in place. (Figure E)
5.Next, install the tray rails by positioning them just below the cage and secure in place with provided screws and nuts. (Figure F)

Step 3. Rabbit tray& Feeder & Water Bottle Set Up
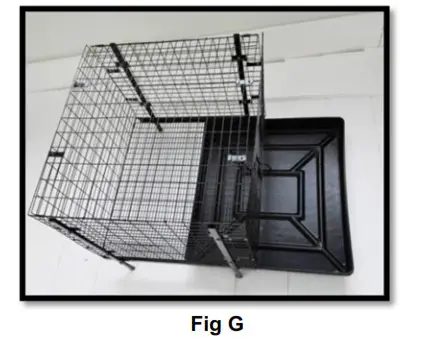
1. The tray can now slide onto the rail and will have approximately 1-1/2″ of clearance beneath it. (Figure G)
2. To install the rabbit feeder, a small opening must be cut in the side of the cage. The bottom chute of the feeder requires a 2″x6″opening. (Figure H)
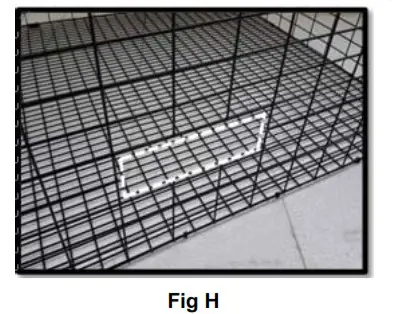
3. Determine the desired placement of the feeder. It should be low enough so it can be reached comfortably.
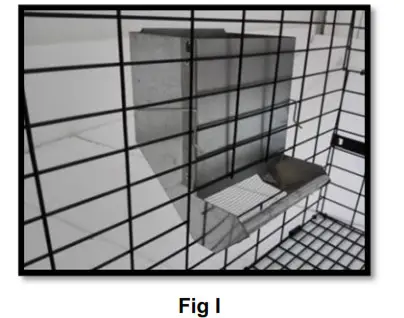
4. With small wire cutters (not supplied), cut two adjacent horizontal wires and two adjacent vertical wires close to the outer wires. This yields a 2″x6″ opening. Be sure to down the sharp ends left by the cutting. Fit the bottom spout of the feeder through the opening and using the wire clips built into the feeder, attach the feeder to the side. (Figure I)
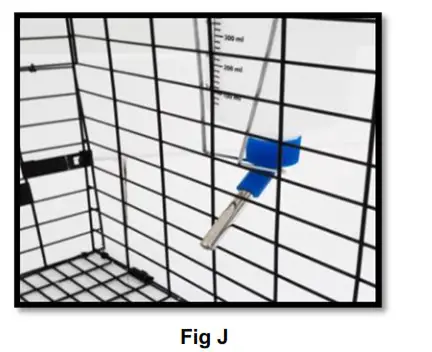
5. Determine the proper height of the nozzle for your pet.
6. Hang the water bottle supports at appropriate upper wire.
7. Fill the bottle and secure the lid and attached nozzle.
8. Place water bottle nozzle down in water bottle supports. The bottle must be completely vertical to allow proper nozzle ball seating, in order to prevent leaks. (Figure J)