ICED COFFEE MAKER.

USER MANUAL
GCM3210
IMPORTANT, RETAIN FOR FUTURE REFERENCE:
READ CAREFULLY
FOR CUSTOMER SERVICE
QUESTIONS OR COMMENTS
VISIT WWW.GOURMIA.COM
EMAIL: [email protected]
OR CALL 888.552.0033
MON-THU 9:00 AM TO 6:00 PM ET
AND FRI 9:00 AM TO 3:00 PM ET
LANGUAGES SUPPORTED: ENGLISH
Model: GCM3210
© 2021 Gourmia
www.gourmia.com
The Steelstone Group
Brooklyn, NY
All rights reserved. No portion of this manual may be reproduced by any means whatsoever without written permission from The Steelstone Group, except for the inclusion of quotations in a media review.
Although every precaution has been taken in the preparation of this manual, The Steelstone Group assumes no responsibility for errors or omissions. Nor is any liability assumed for damages resulting from the use of the information contained herein. Although every effort has been made to ensure that the information contained in this manual is complete and accurate, The Steelstone Group is not engaged in rendering professional advice or services to the individual consumer; further, The Steelstone Group shall not be held responsible for any loss or damage allegedly arising from any information or suggestions in this manual.
Congratulations on the purchase of your
Iced Coffee Maker from Gourmia!
Here at Gourmia, we’re all about helping cooks make easy, healthy, and delicious meals an everyday possibility. We know how fast-paced life is and that sometimes a home-cooked meal doesn’t make the top of the priority list, no matter how bad you want it. Our dependable, easy-to-use units are here to help you change that. We’re giving you the tools to eat better and healthier without spending hours in the kitchen prepping and cooking.
We want you to get the most out of your coffee maker, which is why our team is available to help with any questions you may have. Whether you have a question with setup or need some guidance on which preset to use, we’re happy to walk you through it. Welcome to the ease of cooking with Gourmia.
This manual provides instructions for all of the coffee maker’s functions and features along with directions for assembling, operating, cleaning, and maintaining the appliance. Please read all safety instructions and directions for safe usage at all times. Keep this manual for future use.
Thank you for choosing Gourmia!
We love hearing from you! Share your thoughts, recipes, and photos with us.
@gourmia
![]()

IMPORTANT SAFEGUARDS
When using electrical appliances, basic safety precautions should always be followed to reduce the risk of fire, electric shock, and/or injury, including the following:
- Read all instructions.
- Do not touch hot surfaces. Use handles or knobs.
- To protect against fire, electric shock, and injury to persons, do not immerse cords, plugs, or coffee makers in water or other liquid.
- This appliance is not intended for use by children or by persons with reduced physical, sensory or mental capabilities, or lack of experience and knowledge. Close supervision is necessary when any appliance is used near children. Children should be supervised to ensure that they do not play with the appliance. Keep the appliance and its cord out of reach of children.
- Never leave the appliance unattended when in use.
- Unplug from outlet when not in use and before cleaning.
- Allow cooling before putting on or taking off parts, and before cleaning the appliance.
- Do not operate any appliance with a damaged cord or plug or after the appliance malfunctions or has been damaged in any manner. Return the appliance to an authorized
service center for examination and repair. - The use of any accessory not recommended by the appliance manufacturer for use with this appliance may result in fire, electric shock, or injury to persons.
- Do not let the cord hang over edge of the table or counter, or touch hot surfaces.
- Do not place on or near a hot gas or electric burner, or in a heated oven.
- Do not use appliances other than intended use.
- Water reservoir lid should be closed during use.
- Scalding may occur if the lid is removed or the brew basket door is opened during or immediately after the brewing cycles. Contents may be hot. Allow cooling before opening the lid.
- Do not use outdoors.
FOR CUSTOMER SERVICE VISIT WWW.GOURMIA.COM OR CALL 888.552.0033
CORD AND PLUG SAFETY
- A short power-supply cord is provided to reduce the risk of becoming entangled in or tripping over a longer cord.
- Extension cords may be used if care is exercised in their use.
- If an extension cord is used:
a. The marked electrical rating of the extension cord should be at least equal to the electrical rating of the appliance; and
b. The longer cord should be arranged so that it will not drape over the countertop or tabletop where it can be pulled on by children or tripped over.
ELECTRICAL POLARIZED PLUG
This unit has a polarized plug (one blade is wider than the other). To reduce the risk of electric shock, the plug is intended to be used by inserting it into the electrical outlet in only one way. If the plug does not fit securely into the outlet, reverse the plug and re-insert. If it still does not fit, contact a qualified electrician for assistance. Do not modify the plugin anyway.
| Power: | 120V 60HZ 700W |
SAVE THESE INSTRUCTIONS
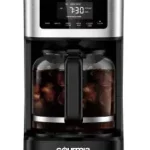
KNOW YOUR COFFEE MAKER

BEFORE FIRST USE
WARNING: To prevent injury from hot steam or potential damage to the unit, do not plug the unit in until the water is in the reservoir and the tumbler is in position under the brew spout.
- Wash the tumbler, lid, straw, coffee filter, and brew-basket with mild detergent and water and rinse well.
- Start with the unit unplugged.
- Fill the tumbler with water to the “WATER” line and pour it into the water reservoir.
- Replace the brew basket on top of the water reservoir and place the filter into the brew basket.
- Close the lid and turn the knob to Regular. Position tumbler under the brew spout.
- Plugin the unit and press START. The Power light turns on.
- When brewing is complete, throw out the water from the tumbler and rinse them well with clean water.
- Your iced coffee maker is now ready for use.
USING YOUR COFFEE MAKER
WARNING: To prevent injury from hot steam or potential damage to the unit, do not plug the unit in until the water is in the reservoir and the tumbler is in
position under the brew spout.
- Open the lid of the unit and remove the brew basket to open the water reservoir.
- Fill the tumbler to the “WATER” line with clean water and pour it into the reservoir.
Note: Do not add water to the reservoir beyond the “MAX” line. - Replace the brew basket on top of the water reservoir and place the filter into the brew basket.
- Using the scoop, pour 1 scoop of coffee grounds into the filter for regular. strength coffee, or 1½ – 2 scoops for strong coffee.
- Close the lid and turn the knob to REGULAR or STRONG, depending on your desired coffee strength.
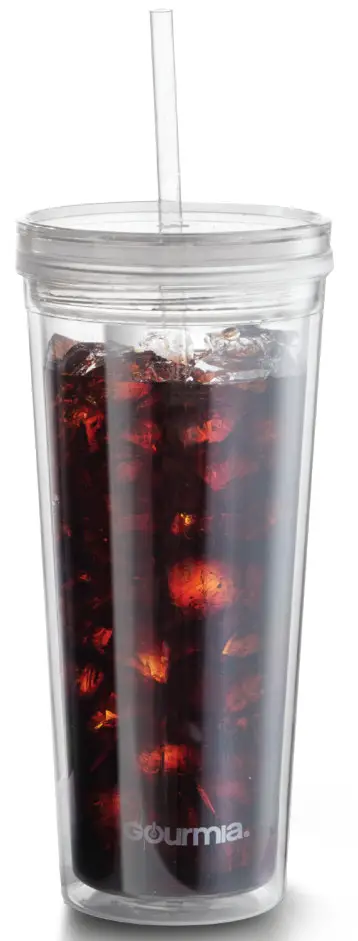
- Fill the tumbler with ice cubes to the “ICE” line and position the ice-filled tumbler under the brew spout.
- Plug the unit in and press the START button. The Power light turns on and brewing begins.
- Brewing takes 3-4 minutes. When the dripping stops, turn the knob to the closed position.
- Remove the tumbler, insert a straw into the lid, securely place the lid onto the tumbler, and enjoy!
CLEANING and MAINTENANCE
The filter and brew basket are top-rack dishwasher-safe.
WARNING: NEVER immerse cord, plug, or air fryer in water or any other liquid.
DESCALING THE COFFEEMAKER
After using your coffee maker for a while, limescale will begin to build up inside the machine. It is important to descale your appliance every 2-3 months. If the machine
is used daily, the descaling process should be done monthly.
- Mix equal parts vinegar and water and pour it into the water reservoir. Close the lid.
- Insert the filter, or a 12-cup paper basket filter, into the brew basket and close the lid.
- Place the tumbler under the brew spout, plug in the unit, and press the START button.
- Once the brew cycle is complete, discard the contents of the tumbler. Remove the filter from the brew basket.
- Rinse out the tumbler, filter and brew basket with clean water.
- Fill the tumbler to “WATER” line with clean water and pour it into the water reservoir.
- Position the tumbler under the brew spout and press the START button.
- When the brew cycle is complete, discard the water and rinse the tumbler well with clean water.
- Repeat steps 6-8 at least one more time, to ensure the coffee maker is well rinsed and the vinegar odor is gone.
WARRANTY and SERVICE
This Limited Warranty is for one full year from the date of purchase and requires proof of purchase from an authorized seller. It is applicable to the original purchaser only and is not transferable to a third-party user. Repair or replacement of defective parts is solely at Gourmia’s discretion. In the event that repair isn’t possible, Gourmia will replace the
product/part. If product repair/replacement won’t suffice, Gourmia has the option of refunding the cash value of the product or component returned.
Product defects not covered under the Warranty provisions include normal wear and damage incurred from the use or accidental negligence, misuse of instruction specifications, or repair by unauthorized parties. Gourmia is not liable for any incidental or consequential damages incurred by such circumstances.
Only valid within the United States.
Register your product at www.Gourmia.com/warranty
Get cooking with Gourmia
![]()
We’d love to hear from you!
888.552.0033
[email protected]