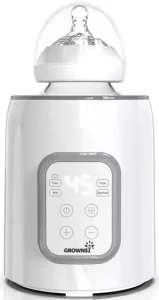
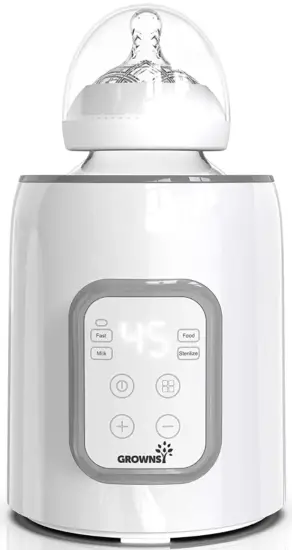
GROWNS N1T_0526 Portable Bottle Warmer 5-in-1 Bottle Sterilizer User Manual
After-sales Service: htts://grwonsyoffcial.com/warranty
After-sales Email: [email protected]
Heartfelt Thank you
Thank you so much for purchasing from us and placing your trust in our brand.
Grownsy – Parent’s best helper.
Grownsy committed to creating modern and thoughtful baby products that let parents enjoy the parenthood. We are always passionate and devote to making the ideal products that show love and care. Customer satisfaction is our first priority. For any product issue, please don’t hesitate to contact us.
For any questions or issues, please email us:
We will go above and beyond to resolve any customer issue with in 24 hours.
Best Regard,
Randell
Founder of GROWNSY

P.s. we mean it when we say we are grateful for every single customer…and that’s why would love to send you a free wipe warmer!
Visit: grownsyofficial.com/gift
Introductions
Note: Pay attention to prevent burns during use. Please don’t touch until it cooling down.
Explanation of settings
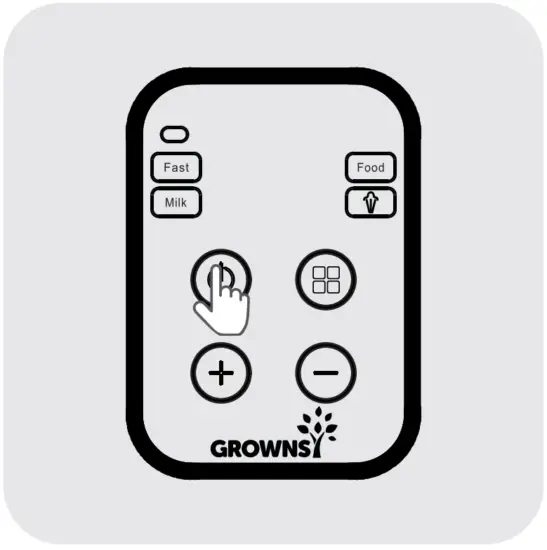
ON/OFF:
Press this button to turn on the appliance and the light is on. Press again to turn off and the light is off.
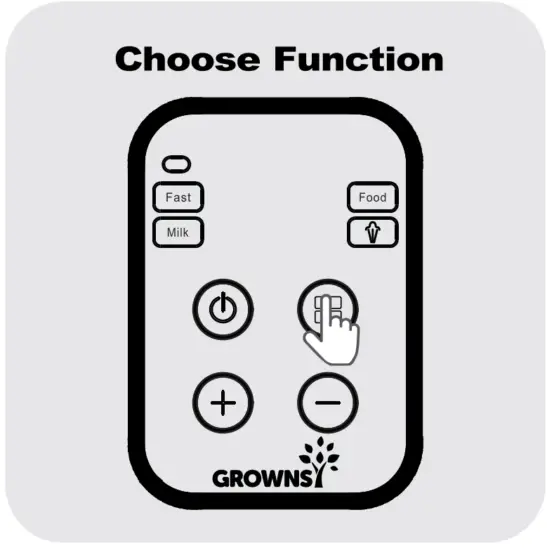
Choose Function:
Press this button to choose function.
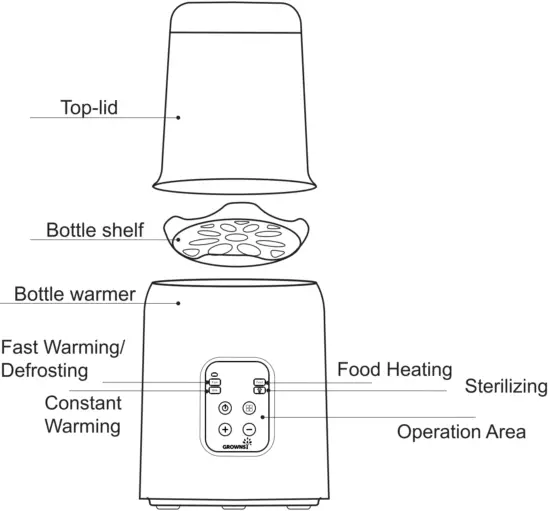
This appliance has 4 functions:
 : Select this setting when you want to quickly warm a bottle of milk. This function can also be used as express defrost setting. Take the bottle out immediately after warming to the right temperature to avoid overheating.
(Note: If you overheat breast milk, valuable nutrients and vitamins may be lost.) Remember to put lid on while use this function.
 : Milk is warmed at a slower speed and be kept at right temperature. This function can also be used to defrost a bottle/container of milk/baby food to liquid state.
 : Select this setting when you want to warm a container/jar of baby food.
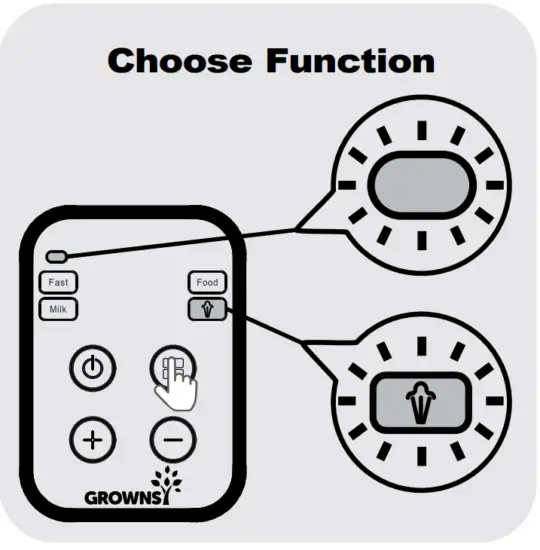
 : Select this setting when you want to sterilize your bottle or pacifiers.
Warning
- Please check all parts of this bottle warmer to ensure safety and cleanliness before using.
- Put the bottle warmer on a horizontal place.
- Make sure that the bottle warmer has been filled with appropriate amount of distilled water to avoid dry burning before plug in.(Bottle should not be floating after adding water).
- After you plug in the power, the bottle warmer will “beep” prompts that the power is connected.
- Press the power button, Power light is on.
- Before connecting the power supply, make sure that the supply voltage is the same as the required voltage for the bottle warmer.
- Transformer is needed for different voltage.
Below manual is for” fast / milk/food ” function only.
For “sterilize” function, please refer to the detail explanation as followed.
This bottle warmer has smart memory function. The last used warming time is remembered for your next use.
Fast Warming/Defrosting
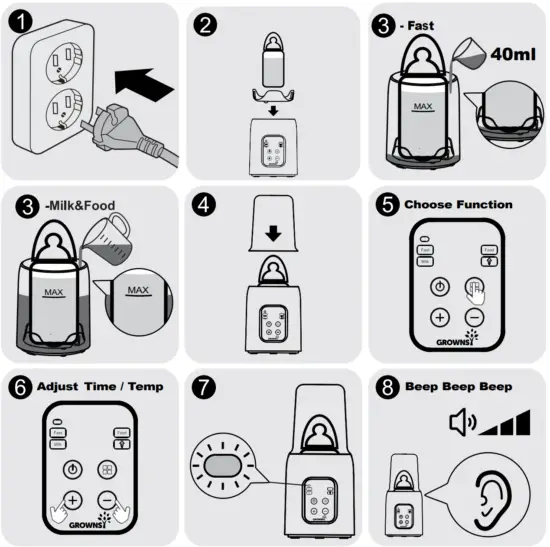
- Put the milk bottle into the bottle warmer.
- Pour 40ml distilled water into the bottle warmer (It is recommended to use distilled water to prevent scale).
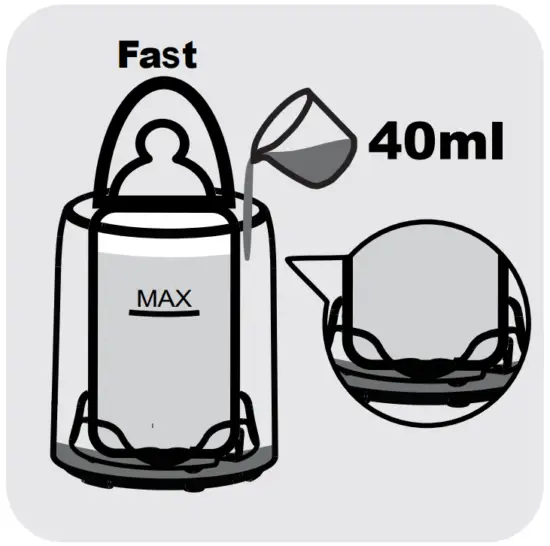
- Press the power button, Power light is on. Then press“
 ” to choose the“Fast ” function.
See the express warming reference table as the followed to check how long the milk needs to be warmed and press “+” , “-” to adjust the time.
The default heating time is 3mins. The bottle warmer will start working automatically in 5 seconds after you finished selecting function.
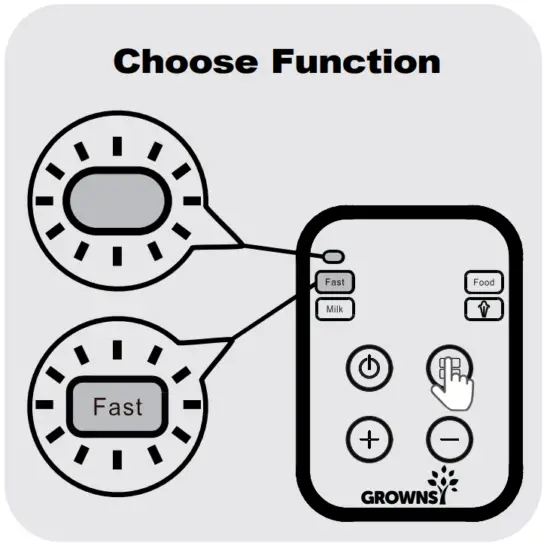
- The bottle warmer will count down automatically and the screen shows the remaining heating time; it will turn to keep warm setting when time is up. Please take it out in time to prevent overheating.
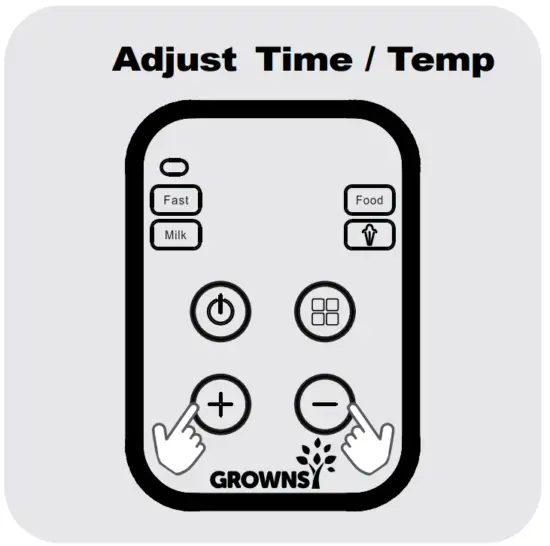
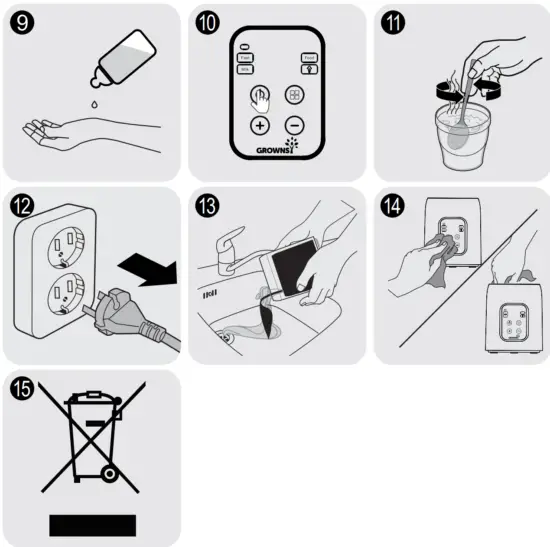
- Before feeding, shake the milk well and make sure the temp is suitable for feeding.
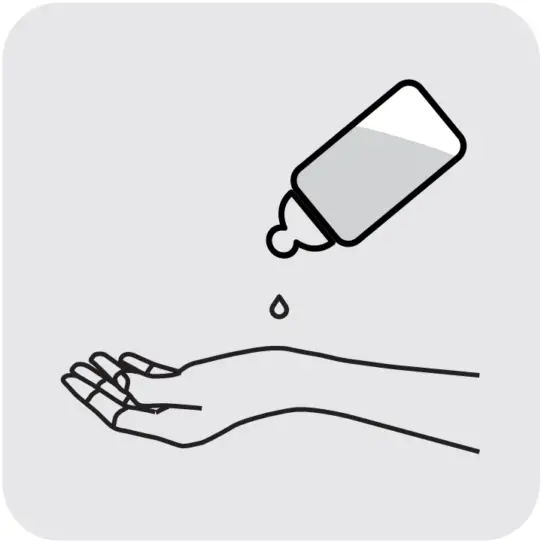
Note:
- The speed of warming milk depends on the amount of the milk warmed and on its initial temperature, i.e. room temperature (20°C) or fridge temperature (4°C).
- When you find the milk is not warm enough, you can place the bottle back into the appliance for a maximum of 0.5-1 minute of extra warming.
This will create a slightly warmer result but without overheating. - If you leave the bottle in the bottle warmer longer than the time indicated in the settings table, the milk may become overheated.
Note: If you overheat breast milk, valuable nutrients and vitamins may be lost. - Always check the temperature before you feed your baby. Gently shake the bottle or milk storage container and check the temperature of the milk by sprinkling a few drops on the inside of your wrist.
Caution: The water in the bottle warmer might be hot after finishing warming milk / baby food. Be careful that hot water can cause serious burns.
| 1. Please set heating time according to this sheet. Final temp may vary ±50°F at most due to different milk volume/temp and bottle material. | ||||||
| 2. This bottle warmer has smart memory function for fasting warming.The last used warming time is remembered for your next use. | ||||||
| Reference chart Only for fast warming function | ||||||
| Bottle | Initial temp |
Add Water | Milk Volume | |||
| 60m1/2oz | 120m1/4oz | 180m1/6oz | 240mI/8oz | |||
| Glass | 41 °F/ 4C |
40ML / 1.4oz | 3 min | 4 min | 5 min | 6 min |
| 68 °F/ 20C |
2.5 min | 3 min | 4 min | 4.5 min | ||
| Plastic | 41 °F/ 4C |
4 min | 5.5 min | 6 min | 7 min | |
| 68 °F/ 20C |
3 min | 3.5 min | 4.5 min | 5 min | ||
| Tips: Please put lid on while fast warming | ||||||
Constant Warming Milk at 37 °C/98.6 °F
- Pour distilled water into the bottle warmer to the Max line. (the scale line is inside the bottle warmer).
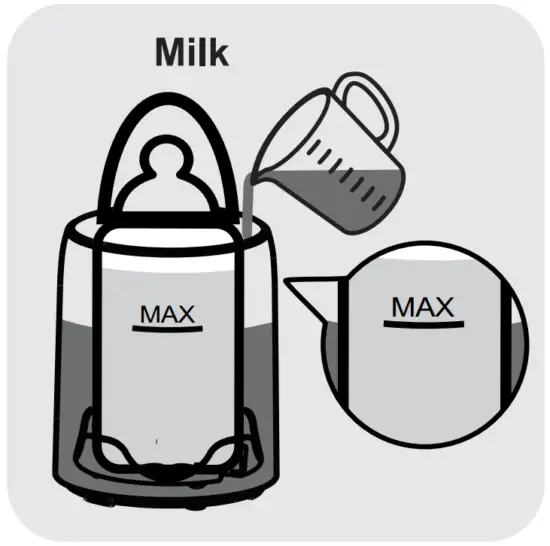
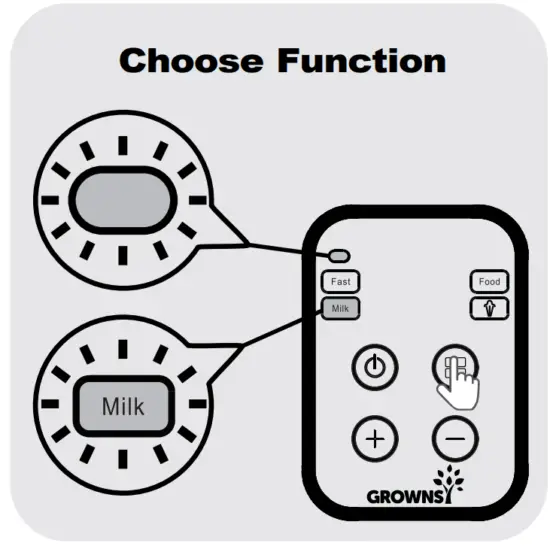
- Place bottle into the bottle warmer and press the “
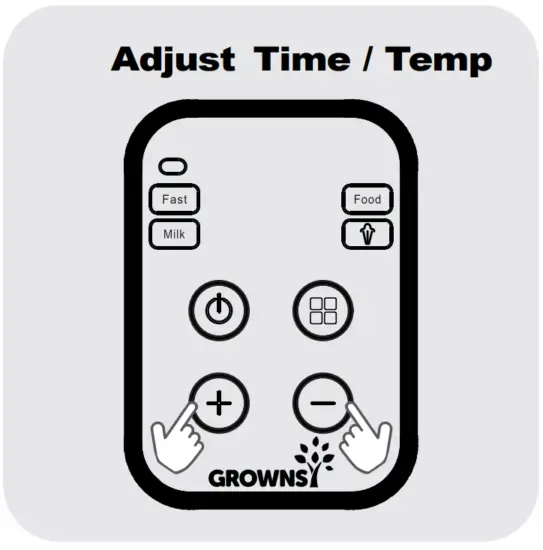
 ” to choose “Milk” function. The default temp is 37℃/ 98.6℉and you can also adjust the temperature you need by touching “+”“-”button. The bottle warmer will start working automatically in 5 seconds after you finished selecting function.
- The screen shows real-time temperature in degree centigrade after warmer works.
- Before feeding, shake the milk well and make sure the tempis suitable for feeding.
- The bottle warmer will precisely keep the milk / water at the target temperature for 24 hours in “constant warming” to ift every baby’s preferences and to avoid overheating or too cold. (It is not recommended to heat breast milk for too long).
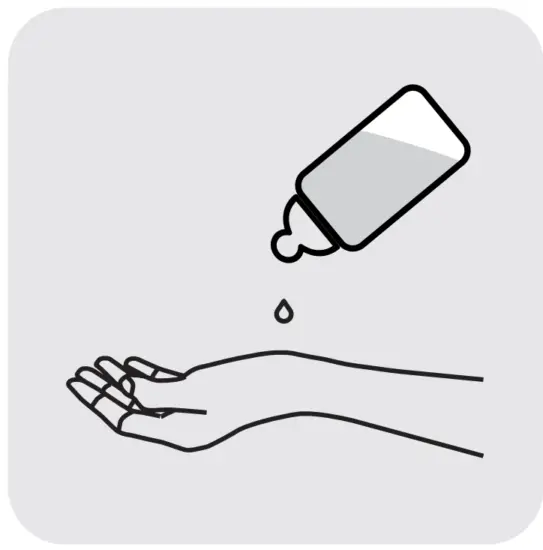
*Note:
At this setting, you can warm your milk at a slow pace and keep it warm at the right end temperature. E.g. to warm a bottle of 4oz milk starting from room temperature, it will take 15-20min. The warming time may be longer or shorter depends on the milk volumes and initial temperature.
Sterilizing
- Put the bottle shelf into the bottle warmer first then Put the bottles and the pacifier upside down into the bottle warmer. Pour 100-150ml distilled water into bottle warmer.(It’s recommended to use distilled water to prevent scale then put the top lid on.
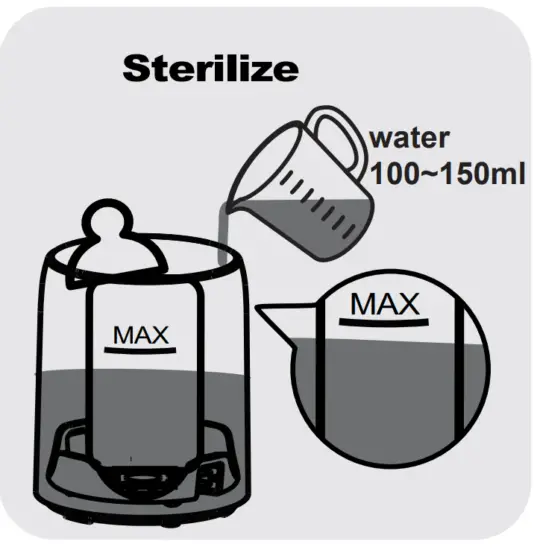
- Press the “
 ” to choose “
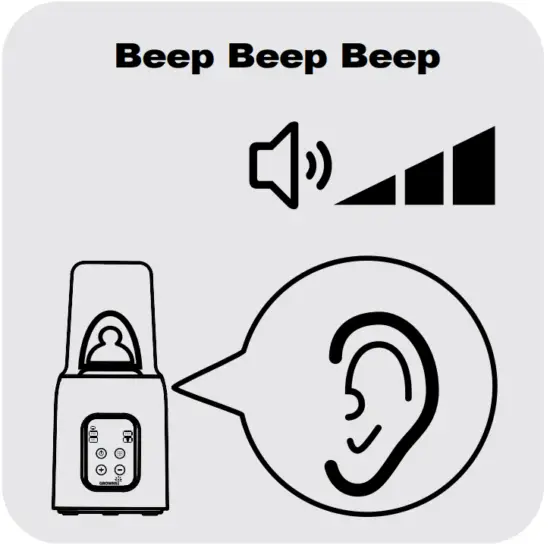
 ”function. Bottle warmer will automatically work on sterilizing after 5 seconds you finished selecting function. Please take out the bottle/pacifier when the appliance Beep.
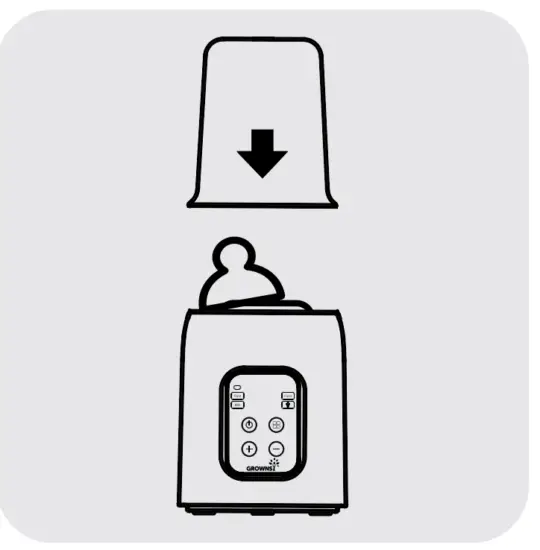
- When the appliance Beep, you can stop it with “
 ” button.
- Be careful not to get burned when take the bottle out after sterilization.
Heating Food at 70 °C/158 °F
- Put the baby food in a heat-resistant container and then put them into the bottle warmer.
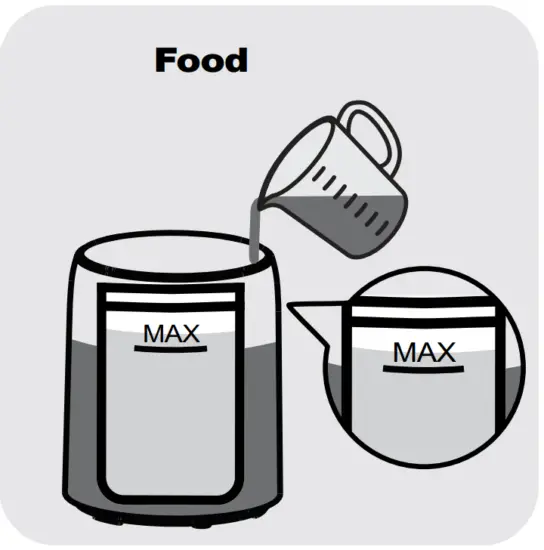
- Pour distilled water into the bottle warmer to the scale line (the scale line is inside the bottle warmer).
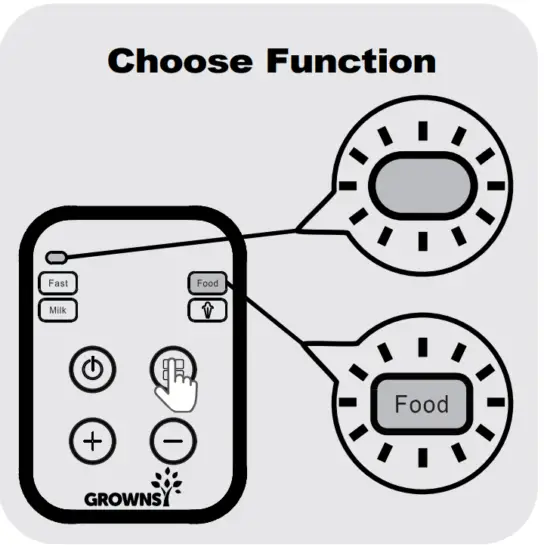
- Press the “
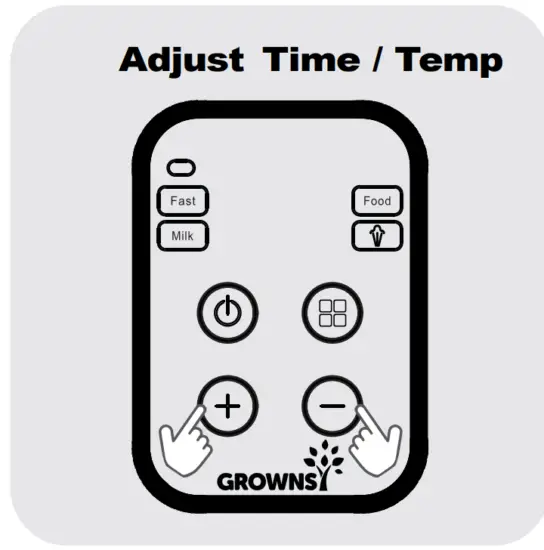
 ” button to select ” Food ” setting. The default temp is 70°C/158°F and you can also adjust the temperature you need by touching “+”or “-” button. The bottle warmer will start working automatically in 5 seconds after you finished selecting function.
- The screen shows real -time temperature in degree centigrade after warmer works.
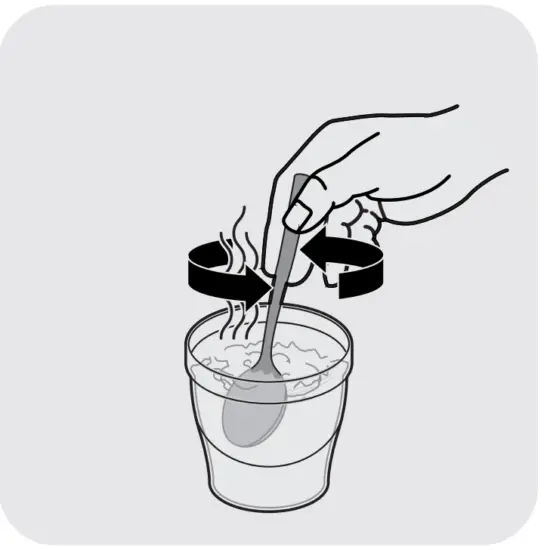
- Before heating and feeding, please remember to stir the food well and make sure the food can be heated evenly.
* Note:
- Make sure to stir the baby food during warming as it does not circulate automatically.
- Be careful not to burn your fingers when holding the container/jar while stirring.
Cleaning
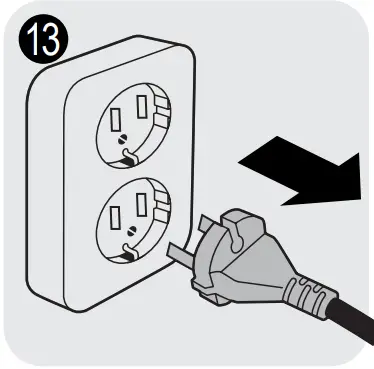
- Unplug the bottle warmer and make sure it cooling down before cleaning.
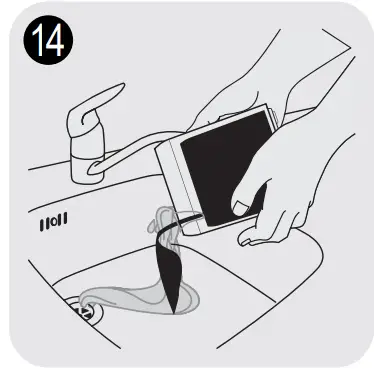
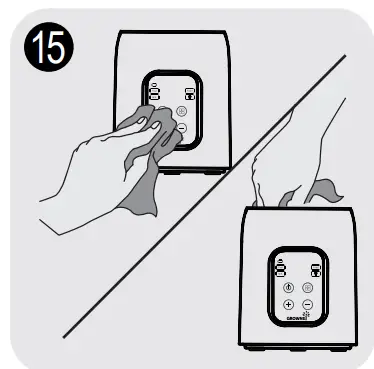
- Do not immerse the working base for cleaning.
- It is recommended to use distilled water to prevent scale. Acetic acid or other descalers can help you clean the scale efficiently.
Descaling
It is recommended to descale the bottle warmer every four weeks to ensure it continues to work efficiently.
- Mix l0g citric acid cleaner with 200mI/3.4oz of cold water to descale the bottle warmer. Turn on the bottle warmer, select the STERILIZING FUNCTION then wait for 2-3 minutes after boiling, the descaling is completed.
- Mix 50m1/1.7 oz of white vinegar with 100mI/3.4oz of cold water to descale the bottle warmer. Switch on the bottle warmer, select the MILK WARMING FUNCTION and wait for 10 minutes. Leave the solution in the bottle warmer until all scale has dissolved.
*Note: 1.Never dry out 2.Do not use other types of descalers.
Specifications
- Product Name: Bottle Warmer
- Warranty : 12 Months
- Product Model: N1T
- US Version :120V-,60Hz
- Rate Power: 210W
- Recommended temperature: 15-30 C
- Recommended humidity: 50-80%
- Package: 1pc
- Recommended environment: Indoor
- Product capacity: 200m1
Warranty and Customer Support
GROWNSY strives for user friendly products for newborn and household items. We aim not only to create a product, but also an item that is filled with care love from us to our customers.
If you have any issues at all, please contact us directly ([email protected]) and we will help you out.
Register Your Free Warranty
At GROWNSY we only use the highest quality products standard – but please don’t forget to register for your FREE one year warranty just in case…
www.grownsyofficial.com/warranty
