![]()
Instructions
Written By: Kaitlyn Jones

INTRODUCTION
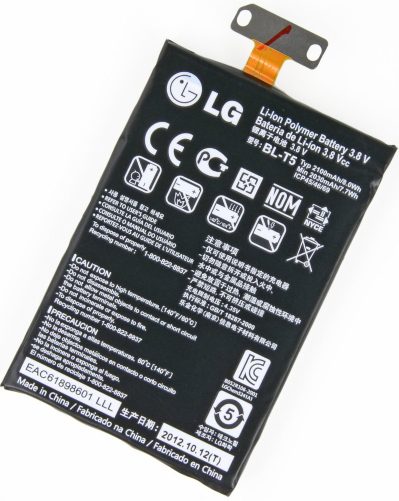
Use this guide to replace the battery in the Nexus 4’s battery or to disconnect the battery before accessing the internal components. This short repair will only take a few minutes.
![]() TOOLS:
TOOLS:
- SIM Card Eject Tool (1)
- T5 Torx Screwdriver (1)
- iFixit Opening Tool (1)
- Phillips #00 Screwdriver (1)
Step 1 — Back Cover
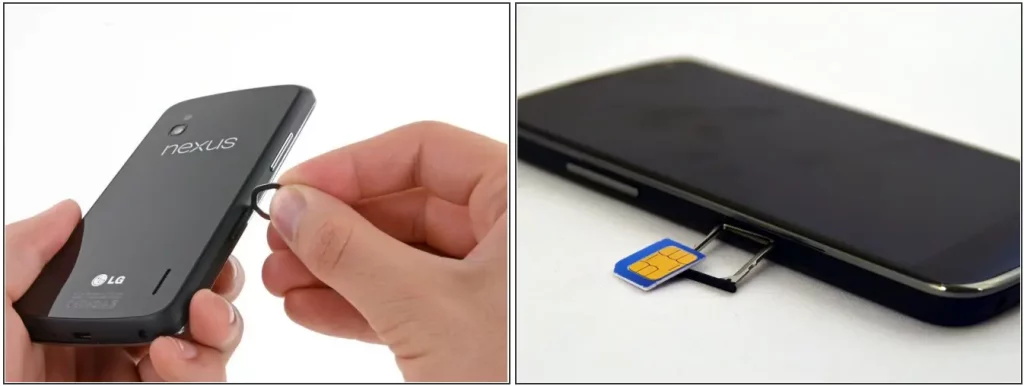
- Power off the phone, by long-pressing the power button and touching Power off.
- Remove the SIM tray using the SIM Card Eject Tool.
![]()
Step 2
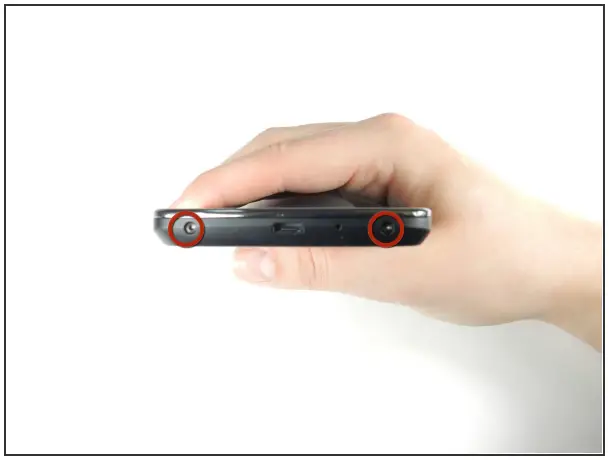
- Remove the two screws from the bottom of the phone with a T5 Torx Screwdriver.
Step 3
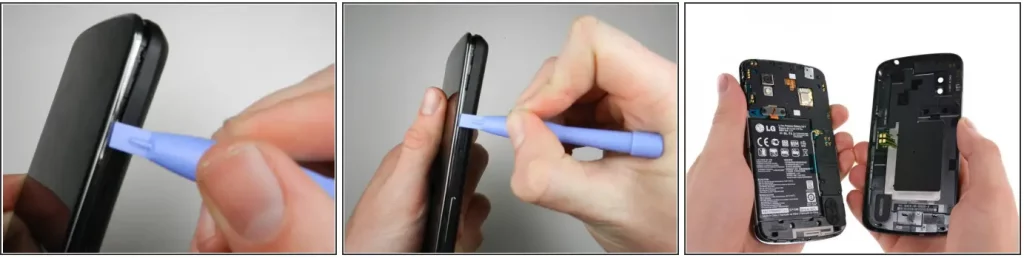
- Gently open the back case by prying along the edge of the cover, starting at a corner of the phone and circling around the phone using a plastic opening tool.
![]() The opening process may take a few minutes. The plastic will make a light snapping noise as the back cover separates from the rest of the phone.
The opening process may take a few minutes. The plastic will make a light snapping noise as the back cover separates from the rest of the phone.
Step 4 — Battery
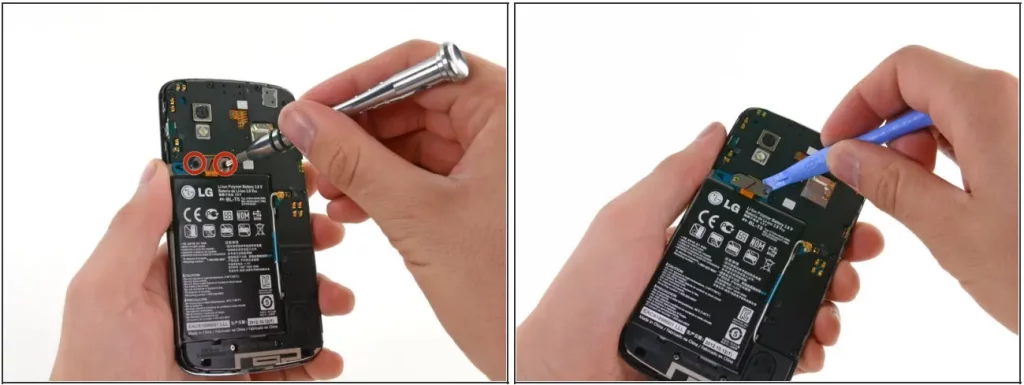
- Remove the two 1.8 mm Phillips screws holding down the battery connector.
- Using a plastic opening tool, disconnect the battery cable from its socket on the motherboard.
Step 5 — Battery removal
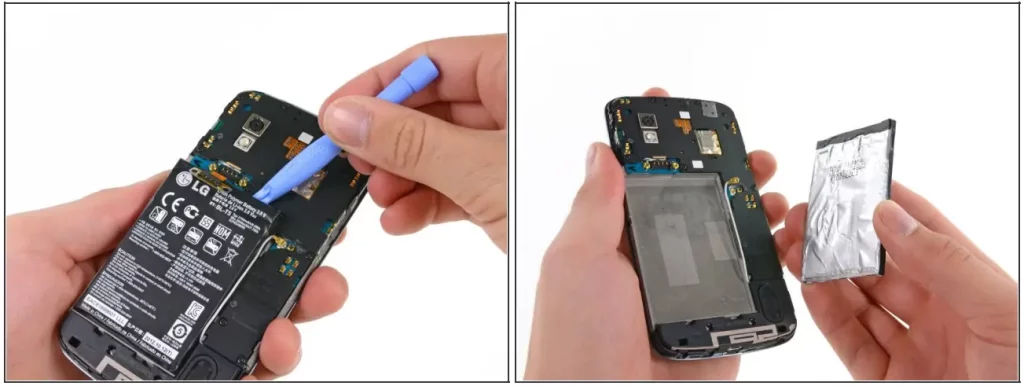
- Remove the blue tape that secures the white antenna cable to the battery.
- Using a spudger, carefully disconnect the white antenna cable.
- Carefully pry the battery out with a Plastic Opening Tool, starting at the top left-hand corner and working down towards the bottom right-hand corner.
![]() If necessary, you can also use a Plastic Cards – iFixit Store to separate the battery from the metal midframe.
If necessary, you can also use a Plastic Cards – iFixit Store to separate the battery from the metal midframe.
![]()
To reassemble your device, follow these instructions in reverse order. Start by seating the top of the back to the phone, then gently snap the back in place working from the top to the bottom.
![]()
© iFixit — CC BY-NC-SA
www.iFixit.com