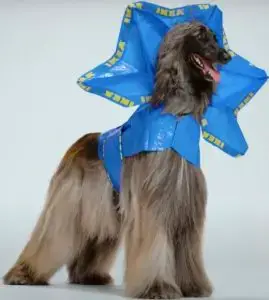
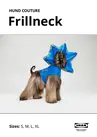
IKEA Hund Couture Frillneck Instructions
Frillneck
What you’ll need
Equipment
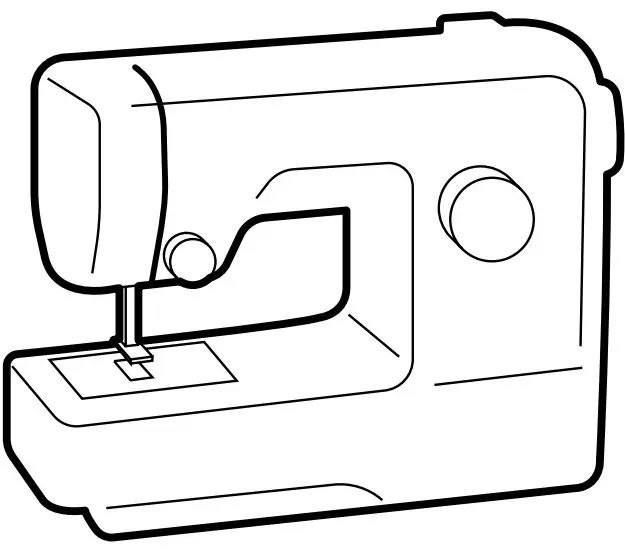
1x Sewing Machine
1x Pair of Scissors
Body
1x FRAKTA Bag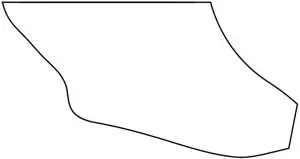
1x 20cm Velcro
Optional Trimming
1x FRAKTA Bag
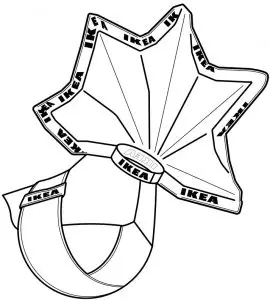
Frillneck
2x FRAKTA Bag
1x 15cm Velcro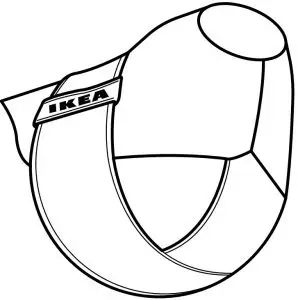
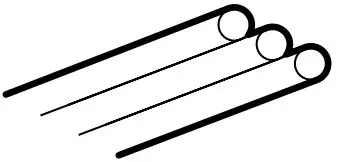
3x 35cm armature wire (optional)
Pattern Piece
Available to download here
Frillneck Body
- Preparing your bag
Cut lines at handle attachment of bags. Keep for later use. Body.
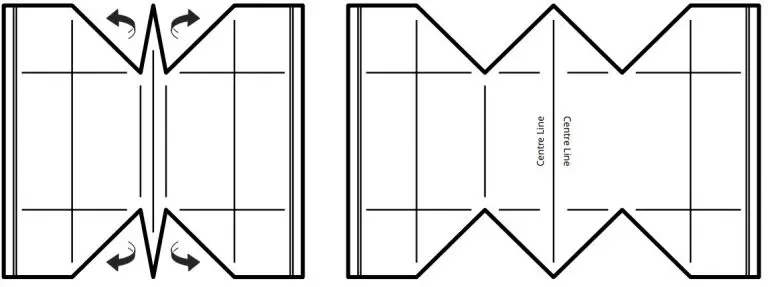
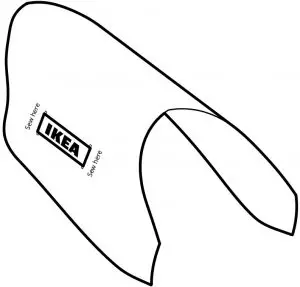
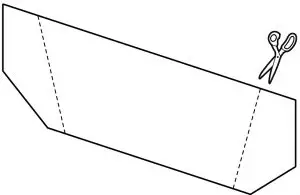
- Cutting body piece
Lay your FRAKTA bag flat and cut along side seams.
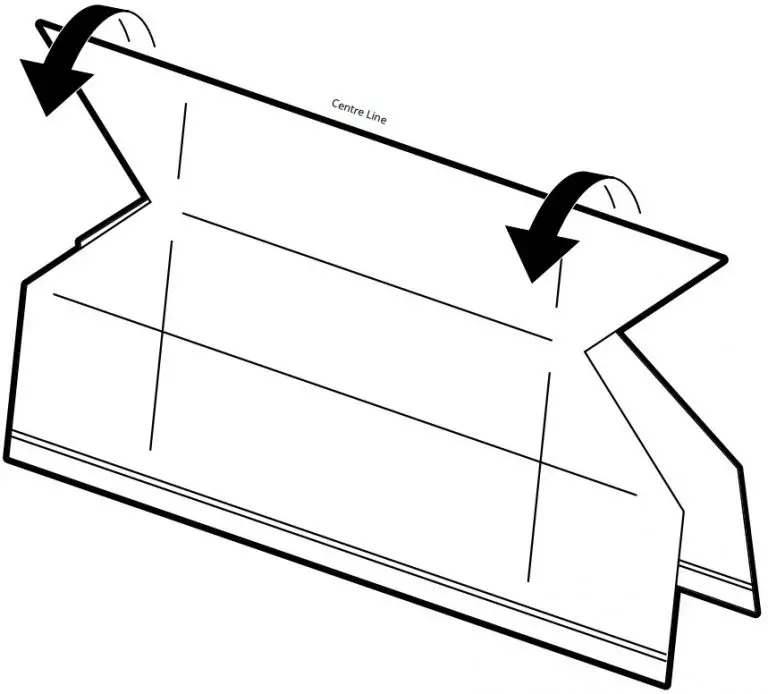
- Cutting body piece
Open bag up then refold along centre line.
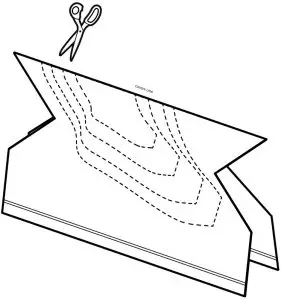
- Cutting body piece
Position body pattern piece along centerfold and cut to appropriate size. Fit and further trim to adjust design to your hund.
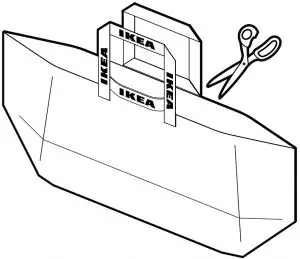
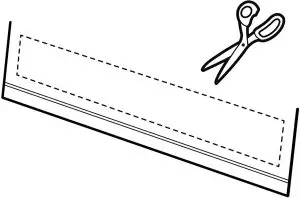
- Cutting belt piece
Position belt pattern piece anywhere on the remaining bag and cut one side of bag to create single sided belt band.
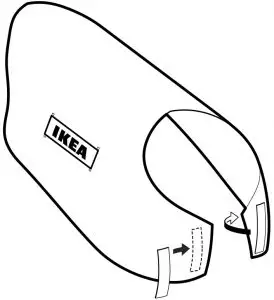
- Creating and attaching belt loops
Cut bag handle to the right width for your belt band to create your two belt loops. Then sew one on either side of body piece, attaching them by sewing only the ends to create a loop for the belt to be threaded through.
- Attaching chest fastening
Attach and secure velcro to create chest fastening as shown. Ensure the loop (soft) side of the velcro is facing the dog and the hook (grippy) side is away from them.
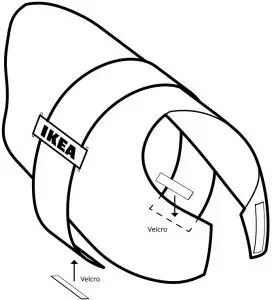
- Attaching belt fastening
Thread belt through the loops, fit and trim to comfortably fit under your hund’s belly. Remove then attach and secure velcro to create belt fastening as shown. Ensure the loop (soft) side of the velcro is facing the dog and the hook (grippy) side away from them.

Frillneck Neck
- Preparing your bags
Cut lines at handle attachment of 2x bags. Keep for later use.

- Cutting collar pieces
Lay FRAKTA bags flat. Position and cut pattern piece as shown on both bags to give you the 4x collar pieces needed. The bag’s side seams remain intact, saving you some sewing.
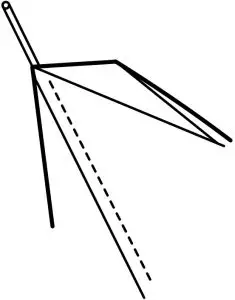
- Preparing neck pieces
Cut small slits along the bottom collar pieces, as shown. This makes them easier to sew later on.
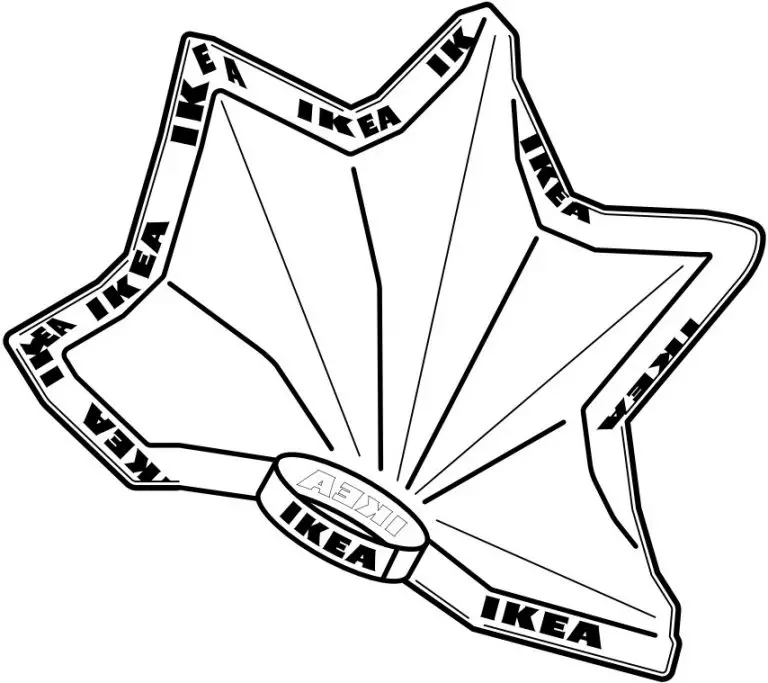
- Joining neck pieces
Open out all four pieces.
- Joining neck pieces
Pin and sew them together in a line as shown.
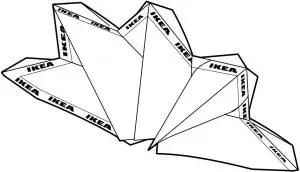
OPTIONAL: If you want the neck piece to be more rigid, sew second row of stitching on your join to make a pocket to thread armature wire through.
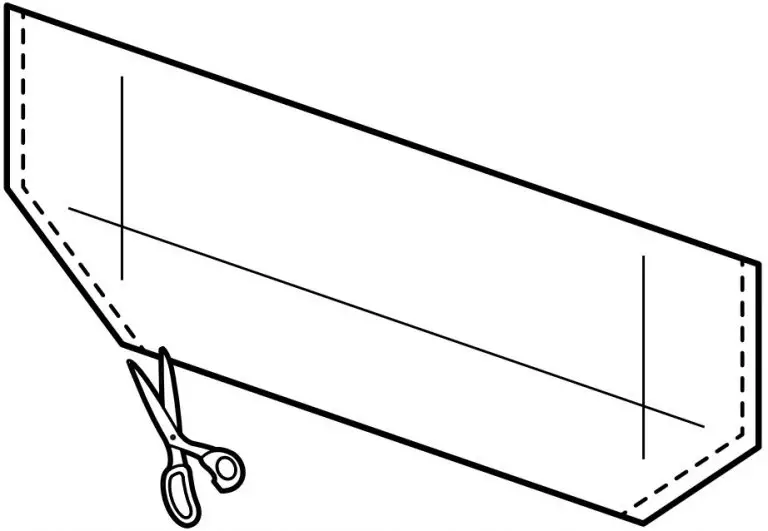
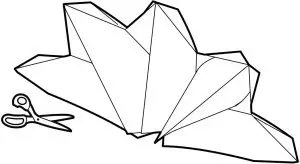
- Shaping neck piece
The outside panels of the neck piece can be trimmed to shape, cut on angle as shown. Trim the bottom to shorten and fit to it suit smaller dogs.

- Trimming neck piece
Stitch IKEA trim from bag handles along straight bottom edge.
OPTIONAL: If you’re using armature wire leave a gap where the 3 seams meet so wire can be inserted later.
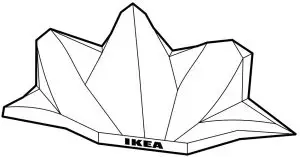
- Optional trim
Edge top corners with IKEA handles as shown. Fold and sew handles as you go to bend around corners. Requires two row of stitching, sew outside edge first, then inside edge.
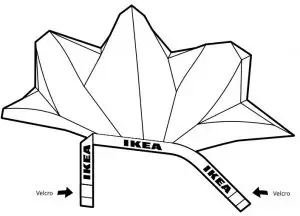
- Finishing neck piece
Take a long handle and position along the front, bottom section of the neck piece. Ensure equal lengths overhanging either side, then sew to secure. Measure the overlapping handles to comfortably meet around your hund’s neck before trimming and attaching velcro as shown, creating a fastening around the neck. Make sure the grippy side (hook) is facing away from your hund.

HUND COUTURE is designed to be worn on red carpets. To keep your dog comfortable make sure to find the right fit and always supervise your hand while they’re strutting their stuff.