![]()
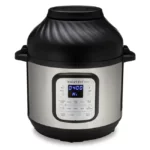
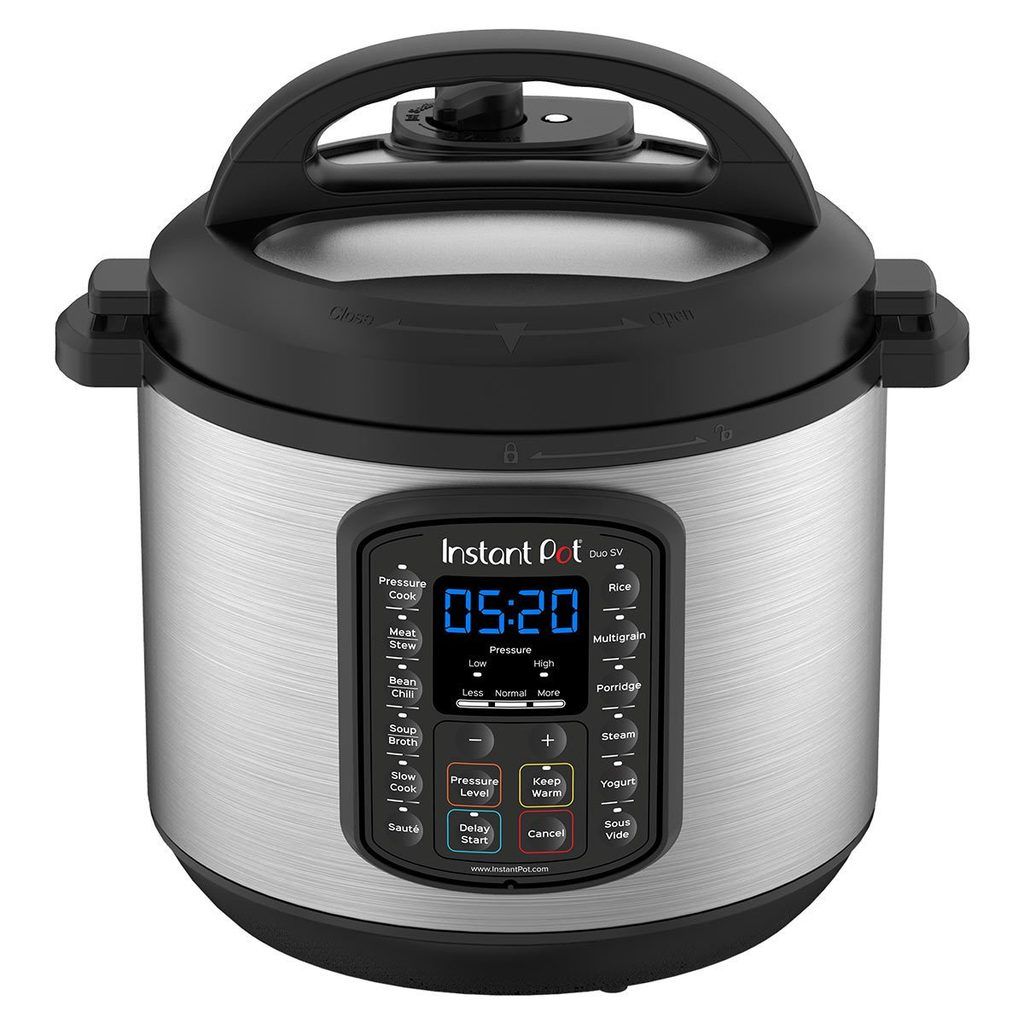
Instant Pot DUO Multi-Use Pressure Cooker User Manual
Getting Started Guide

https://instantpot.com/portfolio-item/duo-6-quart/
Full manual and instruction videos available at instantpot.com
Register your product today at instantpot.com/support/register
Hello! Thank you for welcoming us into your kitchen.
Having families ourselves, we developed the Instant PotTM DuoTM to allow busy families and professionals alike to cook healthy, delicious meals more easily and in less time.
We have partnered with chefs, authors and bloggers to compile a collection of recipes that we hope you enjoy!
Happy Cooking!

Robert J. Wang
Founder & Chief Innovation Officer
Download the Instant Pot App
• 1000+ Recipes
• New User Tips
• Getting Started Videos

- Remove all packaging material from in and around the cooker, and verify that all parts are accounted for.
- Place the cooker on a stable, level surface, away from external heat sources.
- Read all Important Safeguards in the included Safety, Maintenance & Warranty booklet before use. Failure to do so may result in property damage and/or personal injury.
- Follow Care & Cleaning instructions in the included Safety, Maintenance & Warranty booklet to wash the cooker before cooking.
- Do not remove safety warning stickers from lid, serial number from bottom, or rating label from back of cooker base.

Never use the cooker on a stovetop. Do not place appliance on or in close proximity to a hot gas or electric burner, or a heated oven; heat from an external source will damage appliance.


Images are for reference only. Refer to actual product.

When cooker is plugged in, it will play a jingle when the lid is opened and closed.

Open: Grip handle and turn lid counter-clock-wise until


off of cooker base.
*Note: Always check lid for damage prior to cooking.

Close: Grip handle and align the
with
Remove: Pull sealing ring out from behind sealing ring rack.

Inspect sealing ring rack. It should be centered in the lid and an even height all the way around.
Sealing ring must be installed before use.
Install: Place sealing ring over sealing ring rack and press into place. Ensure entire sealing ring is snug behind sealing ring rack.

After closing the lid, the sealing ring creates an airtight seal between lid and cooker base.
The sealing ring is an integral part of product safety. Replace your sealing ring every 12-18 months or when deformation or damage is noticed.

Always check for cuts or deformations in sealing ring prior to cooking. Only use authorized Instant Pot® sealing rings. Failure to follow these instructions may cause food to discharge, which may lead to personal injury or property damage.
Sealing rings may stretch over time. Do not use a stretched or damaged sealing ring. If puckering occurs, replace sealing ring.
The float valve has 2 positions. It pops up to indicate when the cooker is pressurized, and lowers into the lid when the cooker is depressurized.
Refer to “Venting Methods” section in this Guide for information on releasing pressure.

Remove: Place one finger on the flat top of float valve. Turn lid over. Detach silicone cap from bottom side of float valve. Remove float valve from top of lid. Do not discard float valve or silicone cap.

The float valve and silicone cap must be installed before use to seal in pressurized steam.
Install: Drop float valve into float valve hole on top of lid. Place one finger on the flat top of float valve. Turn lid over. Attach silicone cap to bottom of float valve.
While float valve is up, contents of cooker are pressurized. Do not touch the float valve while the cooker is pressurized. Do not attempt to remove the lid while the cooker is pressurized.
Remove: Grip lid and press firmly against side of anti-block shield (pressing towards side of lid and up) until it pops off the prongs underneath.
Anti-block shield must be installed before use and cleaned frequently.
Install: Place anti-block shield over prongs and press down until it snaps into position.
Anti-block shield prevents food particles from coming up through the steam release pipe, assisting with pressure regulation.

Remove: Pull steam release handle up and off steam release pipe.
Steam release handle must be installed before use, and cleaned frequently.
Install: Place steam release handle on steam release pipe and press down. Fits loosely when installed properly, but will remain in place when the lid is turned over.

Remove inner pot from cooker base and wash with hot water and dish soap before first use.
Wipe outer surfaces of inner pot and heating element to ensure they are dry and free of food debris. Failure to do so may damage the cooker.
Place inner pot into cooker base before cooking. Food must be placed only in the inner pot, not cooker base.
The inner pot is an integral part of product safety. Always use an authorized Instant Pot® inner pot made for this model when cooking. Failure to do so may cause personal injury or property damage.

*Note: Always check inner pot for dents or deformations prior to cooking.
To avoid risk of personal injury and/or property damage, do not pour food or liquid into cooker base.
Do not fill the inner pot higher than the PC MAX — 2/3 line (Pressure Cooking Maximum), as indicated on the inner pot.
Exercise extreme caution when cooking and venting food such as applesauce, cranberries, pearl barley, oatmeal, split peas, noodles, etc., as these foods may foam, froth, or spatter, and may clog the steam release pipe and/or steam release valve. Do not fill the inner pot higher than the — 1/2 line when cooking these foods.
Install: On back of cooker base, align grooves on condensation collector over tabs and push condensation collector into place.
The condensation collector accumulates excess water and should be installed before cooking. Must be emptied and rinsed after use.
Remove: Pull condensation collector away from cooker base. Do not pull down on condensation collector.


Once cooking completes, there are 2 methods to release pressure:
Leave the steam release handle in the “Sealing” position. The cooker dissipates heat so pressure releases naturally over time.

This method must be used when cooking food such as soups, stews or chilis, as well as food that expands, such as beans and grains.
Note: Depressurization time will vary based upon volume of food and liquid.
May take 10-40 minutes, or longer.
Move steam release handle from “Sealing” to “Venting”.
A continuous stream of steam will release through the top of the steam release handle until the float valve drops into the lid.
Note: It will be loud!

If spatter occurs, move the steam release handle back to “Sealing”, and try again after a few minutes.
If spatter continues, use NR to vent remaining pressure.
Float valve will drop when cooker has depressurized. Do not attempt to open the lid while the float valve is still popped up.

- Add 3 cups (24 oz / 750 mL) water to inner pot.
- Insert inner pot into cooker base.
- 3 & 6 Quart: Secure power cord to base connection socket. Ensure connection is tight.
Connect power cord to a 120V power source.
Display indicates “OFF”. - Align on lid with on cooker base.
Lower lid into track, then turn lid clockwise until jingle sounds. - Turn steam release handle to “Sealing” position.
- Select Smart Program: Pressure Cook.
- Use the + / – keys to adjust cook time to “00:05” minutes.
Note: The Instant Pot will save any customization made to cook time.
After 10 seconds, cooker displays “On” to indicate that it has begun Pre-heating. - Float valve rises when the cooker has pressurized
Once pressurized, Cooking begins and display changes
from “On” to cook time countdown. - When the Smart Program completes, the cooker begins
Keep Warm or display indicates “End”. - Turn steam release handle to “Venting” position.
Steam will release through top of the steam release handle.
Float valve will drop when the pressure has been fully released. - To open, turn the lid counter-clockwise until a jingle sounds.
- Discard water and dry inner pot.
- Start cooking!
For details on Smart Programs and operation instructions, view the full manual at instantpot.com
- Cancel
Press to stop a Smart Program at any time. Cooker returns to Standby and display indicates “OFF”. - Delay Start
Postpone cooking up to 24 hours. Select a Smart Program and if desired, adjust the cook time, then press Delay Start to turn the setting on. Use the + / – keys to adjust the number of hours before cooking will begin. - Keep Warm
Setting turns on by default after cooking completes on all Smart Programs except Sauté and Yogurt. Once Smart Program is selected, press Keep Warm to turn the setting off. - Sound On
When in Standby, press and hold “+” key until display indicates “S On”. - Sound Off
When in Standby, press and hold “–” key until display indicates “SOFF”.
Note: Error code alerts cannot be silenced.


Pressure cooking Smart Programs operate at High (10.2 ~ 11.6psi) or Low (5.8 ~ 7.2psi) pressure. Higher pressure results in higher temperature.

Register your product today at: instantpot.com/support/register
Copyright © 2019 Instant Brands™ IncInstant Brands Inc.
11 – 300 Earl Grey Dr., Suite 383
Ottawa, Ontario
K2T 1C1
Canada1-800-828-7280
For See Instantpot Maker Recipe:
FAQS
Can the Instant Pot be used for canning?
No. This is because you can not verify that the pressure remained consistent the entire time. For example, to can low-acid foods and meat you need to first determine your elevation. In the area on KS I live in over 2,000 ft above seal level. As such, I have to pressure can at 15 psi for the entire time the recipe calls for, and if the pressure drops below 15 psi the I have to start the time over once I get it back to 15 psi. If these guidelines are not followed, there is a significant risk that botulism spores are not destroyed. Home canning is both a science and an art, but do it wrong and you can kill someone.
Is it difficult to clean?
The cooking pot itself is stainless steel, and very easy to clean. There are two normal ways for your reference.
1. After cooking, you could place stainless steel inner pot in sink and fill with soapy water, then clean by hand last after cleaning up the kitchen, a simple swish swish with a clean sponge or brush is all it takes. This way will be more easier.
2. You could cook with at least 1/2 c water in it, preferably 2c. Then clean by hand after the water become cold.
3. Hint, if you do burn something on the bottom or get a sticky mess, you could soak inner pots with a couple tablespoons of baking soda and hot water over night will often lift whatever has been stuck. One can increase the amt of baking soda for a second soak if needed.
Hope our answer will help you.
Other than the capacity, are all the features on the 8Qt the same as the 6 Qt?
The features are the same, however, the actual cooking capacity of the 8 quart pot is 6.34 quarts (6 litres), and the pot actually says “Max” at the 6 litre line. It cannot be filled all the way up with food/liquid when you are cooking, per the manufacturer’s guidelines. So unfortunately, if you purchase the 6 quart pot, the actual cooking capacity would be even lower. I purchased the 8 quart, and was disappointed to find out that the actual cooking capacity is just a hair over 6 quarts. Hope this helps.
what is the psi ?
They state pounds per square inch because an electric pressure cooker can’t reach the same high/low pressures as a stove top model.
This brand gets about as high as you can get out of an affordable electric pressure cooker, many other brands are much, much lower. You need to compare these two values between models and brands.
One factor of pressure is the watts needed to heat it, your wall outlets have limits, just so much you can load the outlet with, other problem price vs what someone is willing to pay.
This pressure cooker has two watt models, go with the higher one if you can.
Understand, this psi problem will increase your cooking times slightly vs a stove top, the manual should tell you what percent to adjust the cook time by if doing it manually.
You most likely are talking about 1-2 minutes on a 15-20 minute recipe. What you are getting is a convenience trading off slightly longer cooking times and smaller capacity aka 6 quarts vs the average 8 quarts for a stove top.
Go to the company’s website, look for their FAQ, they are very straight forward about their pressure cookers, a lot of good information before you buy.
how much can the 3 Quart Hold? I am single and cooking for one..
We (2, plus occasional grown kids and small grandkids = 7) started with a 6 quart, and always had too many leftovers to want to eat the same thing every night for a week. Plus it took up a lot of counter space. We got a 3 quart and it’s great – not too intrusive on the countertop, and we cook plenty for the two of us and the occasional invasion of grown kids/grandkids, even leftovers, but we’re not drowning in leftovers now
Is it made in USA or other country?
The instant pot was designed by the Canadians but manufactured in the orient where another high end pressure cooker is manufactured in the same factory.
Is it worth the extra $40 just for yogurt?
If you asked my wife she would say absolutely. IP pot can take 1 gallon of milk and turn it into yogurt. I do Greek yogurt, which yields 2 qts. from 1 gallon after straining. Nothing you buy in the store comes close. NO additives, no extra sugar….. PLus I get 2 qts whey which we use as a substitute for milk or water in baking recipes. Just mad another batch this week. Cost: 1 gallon whole milk (on sale) $.98 plus 1 6 oz. container of Fage Greek yogurt as starter for $1. Result 2 qts beest ever Greek yogurt and 2 qts. whet. Whey out!! Pun inteneded.
Can it be used as a deep fryer?
Yes, but only if you get the optional glass lid. The pressure cooker lid will eventually gum up from the oil and explode, so you don’t want to do that.
What setting do you use on the mini instant pot when you don’t have a manuel setting?
The Manual setting has been renamed as “Pressure cook” in the newer versions.
When you see a recipe call for Manual selection, choose “Pressure cook” which is same thing.
Is there a way to keep the rice not sticking to the pot?
You would have o use more water than the 1:1 ratio listed in the Instant Pot recipe book. I personally use a 1.5:1 ratio of water to rice to have softer rice and I’ve also never had it stick then.
What is the longest time setting for making yogurt?
99 hours and 30 minutes, seems extreme, but that’s what I can set on my IP for yogurt. I usually let my yogurt incubate for 11 hours.
where is this made from
Instant Pot is designed by Canadians specifically for North American consumers. It is made in China by the No.1 electric pressure cooker manufacturer who has produced and sold over 30 million units for household use worldwide.
What is the highest temperature it will reach for the purpose of sterilizer using water?
In the user manual for the DUO80 8QT 7-1 Multi- Use Programmable Pressure Cooker (pretty much the same for all except the Elite new unit) etc….Working Temperature: 115°C – 118°C (239°F ~ 244°F)
Not sure if this answers your question. However, I suggest that you read the user manual as this information is contained within if not contained within the links supplied by IP for this kind of information. To get higher temperatures or more control over the temperature within the inner pot this will involve more detailed work and hence more costly Instant Pot that may not yet exist. Like any gadget the more you want of it the more you are going to have to pay for a more specific requirements..The Elite at just under 300.00 dollars will let you set inner pot temperatures I am not sure what the maximum temperature would be. It all depends what you want to sterilize, or how you will be using the IP…I use mine fore cooking only. I have an electric Ball pressure canner and even here you are limited. I do have a stove top cooker canner that has higher pressure level specific for low acid canning…the temperature and method of sterilization depends and what you want to sterilize and bacteria you want to destroy.
how do you release steam?
There is a toggle-type valve on the top of the pot to twist when it’s time to release the steam. It’s advisable to use the end of a wooden spoon or utensil to knock it so that you won’t release steam on to your fingers. Very easy and efficient. I have had to trouble doing it when it’s time to release steam.
Is the cooking pot stove top safe and oven safe ?
Yes it is safe to use on the stove top – except for induction. Yes oven safe. Yes dishwasher safe
can this cook fresh artichokes?
Absolutely. It can cook any vegetable… Just be careful not to overcook. Google some recipes that people have tried and they should tell exactly how long to do fresh artichokes!
Canning capability?
It holds 4 wide mouth canning jars with lids and pressure cooks.