LED s light Glass Tube with Shatterproof PET Installation
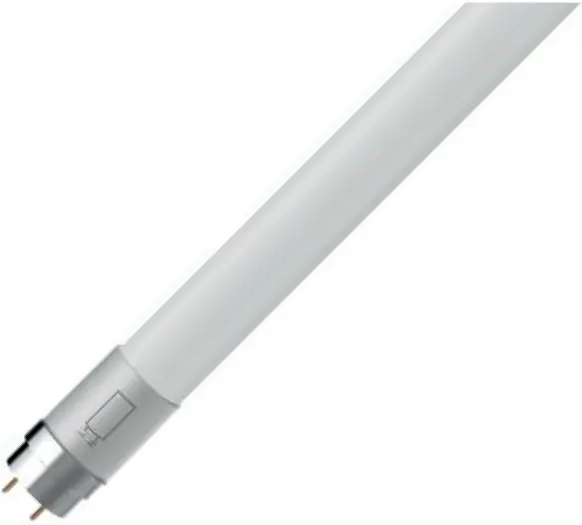
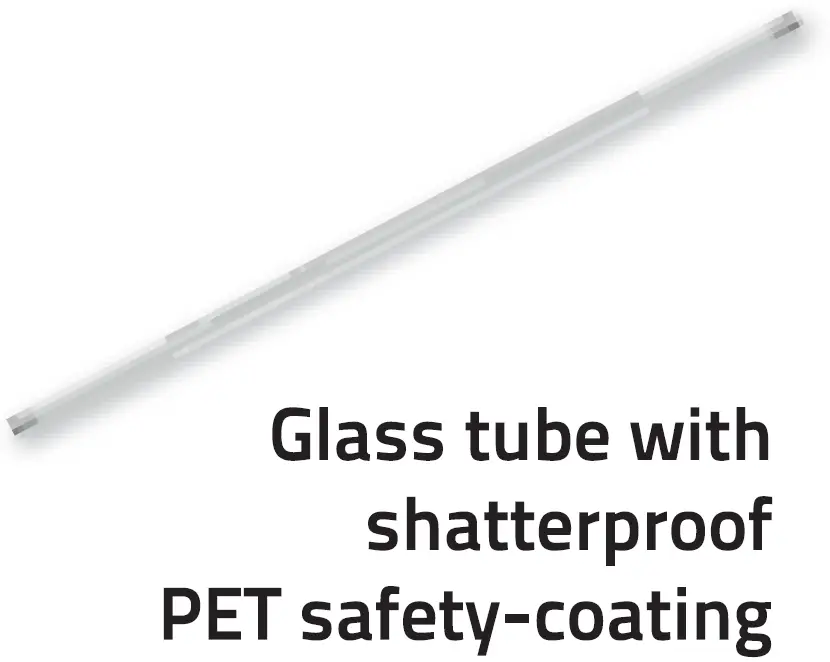
Glass Tube with Shatterproof PET Safety-Coating
| Art No: | 600739_01 | 600740_01 | 600741 _01 | 600742 _01 | 600743_01 | 600744_01 | 600741_01 | 600741 _01 |
| Power (W) | 10.5 | 14 | 7.5 | 20.5 | 14 | 11.5 | 7.5 | 11.5 |
| Input voltage(V AC) | 110/140 | 110/140 | 110/140 | 230 | 230 | 230 | 220/240 | 220/240 |
| LED Lumen output(lm) | 3.100 | 1.100 | 1.100 | 3.100 | 2.100 | 1.700 | 1.100 | 1.700 |
| Color temp.(K) | 4.000 | 4.000 | 4.000 | 6.500 | 6.500 | 4.000 | 6.500 | 6.500 |
| Replaces | 58WTLD/150cm | 36WTLD/110cm | 18WTLD/60cm | 58WTLD/150cm | 36WTLD/120cm | 30WTLD/90cm | 18WTLD / 60 cm | 18WTLD/90cm |
| Lifespan(h) | 50.000 | |||||||
| Dimensions(l/)xL mm) | 28×1.511 | 16.4×1111 | 16.4×611 | 26.4×1.511 | 26.4×1212 | 26.4×912 | 26.4×612 | 16.4×912 |
Packaging Contents:
1x LED tube
1x manual
1x LED tube starter
1 x Type label sticker
General Safety Instructions
Please read the operating instructions for the LED tube before use. The operating instructions are part of the product. They contain important notes on start-up and handling of the device. Always keep the enclosed operating instructions so as to be able to look up information. They must be enclosed when passing the device on to third parties.
Safety Precautions
The user must observe the safety notes and warnings in order to maintain this status and to ensure safe operation. Please read the operating instructions before start up.
Avoid contact with high temperatures or vibrations, this may cause damage to the tube. Do not immerse the enclosure into water.
Never attempt to open the device other than described in this manual. The LED tube cannot be repaired; this part must be immediately disposed in case of a defect. Ensure sufficient ventilation of the device. Never cover it during operation. Do not install in reach of children or animals.
Any other use of the device than described above can damage the product or endanger the user due to e. g. short-circuits, fire or an electric shock. The entire product may not be modified or adapted. Don’t touch the tube while in use or after use until it’s cooled down. The tube must have an earthed connection for safe operation.
These safety notes must be observed in all cases! Any warranty claim is void in the case of damages caused by non-observance of these operating instructions. We are not liable for consequential damages or for damages to property or persons caused by non-observance of the safety notes and improper operation of the device.
Safe operation is not possible anymore, if:
- The LED tube has visible damages,
- The LED tube does not work anymore,
Installation Instructions
Warnings:
- Product must be installed by a professional installer in accordance with regulations for electrical installations.
- Before installation, ensure the power is switched off.
- If you want to replace the LED tube within a luminaire which has an HF ballast [High frequent). contact your maker of the luminaire.
- This LED-tube is AC powered from 1 single side, please note the remarks on the tube and scheme below for correct installation.
- The LED tube contains an internal fuse [250V 2A) for protection which is not replaceable.
There are 2 possibilities for installation:
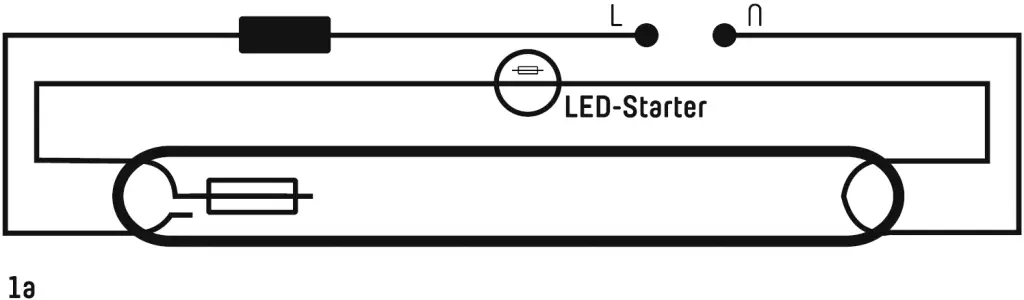
- Luminaire with electromagnetic ballast (see fig 1. a)
- Switch off mains voltage.
- Take out fluorescent tube.
- Replace the original starter with supplied LED starter.
- Place LED tube.
- Switch the power on.
- Luminaire with HF electronic ballast (see fig. b)
- Switch off mains voltage.
- Take out fluorescent tube.
- Remove or cut off the electronic ballast from AC side.
- Connect the AC wiring according [fig 1.b) below.
- Place LED tube
- Switch the power on.
Warning:
When the Original Transformer is removed and/ or the internal wiring is modified to operate the luminaire with a LED lamp, the original label has to be removed and the supplied sticker should be attached. Because the Luminaire can no longer be operated with a regular fluorescent tube now. Attach the sticker on the side of the mains voltage side!”

![]()