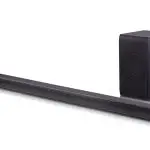
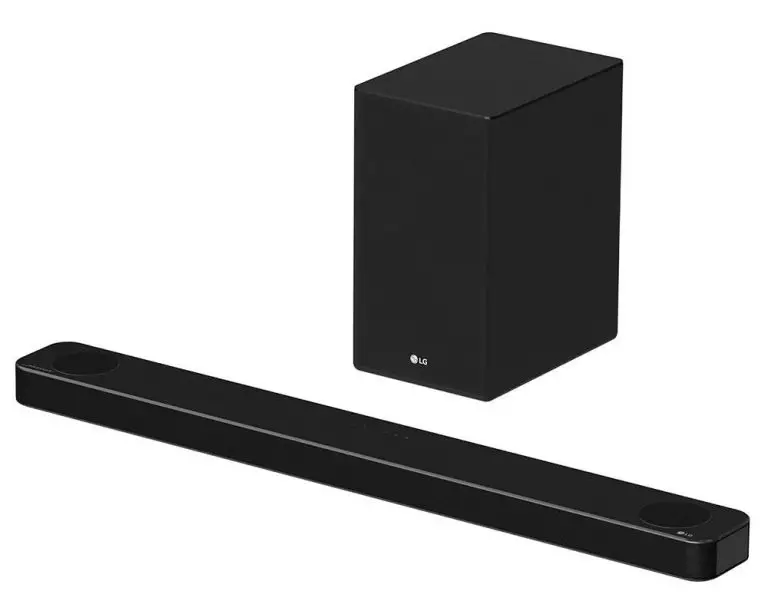
LG SP8YA Wi-Fi Sound Bar
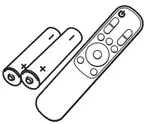
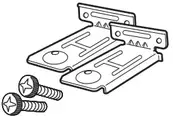
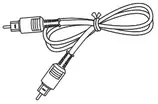
Box Contents
 |
 |
|
 |
 |
 |
 |
 |
 |
Installing and Using the Product
Please read this manual carefully before operating your set and retain it for future reference.
To view the instructions of advanced features, visit http://www.lg.com or scan QR code and then download
Owner’s Manual. Some of the content in this manual may differ from your product.
 Sound bar
 Remote Control Receiver / Status Display
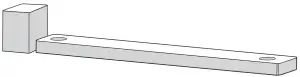
 Rear Speakers / Wireless Receiver (Sold separately, SPK8-S)
 Wireless Subwoofer – Install it close to the sound bar
 External Device – (Blu-ray player, game console, etc.)
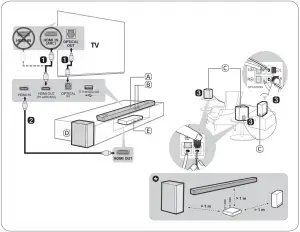
- Connect the sound bar to your TV via an optical cable or an HDMI cable.
- If you are using an external device (ex. Blu-ray player, game console, etc.), connect it to the sound bar via an HDMI cable.
- If you purchased the rear speakers and wireless receiver separately, connect the rear speakers to the wireless receiver via a speaker cable. When connecting the rear speakers to the wireless receiver, connect the black striped cable to the negative terminal of each speaker and the remaining cable to the positive terminal of each speaker.
- Connect to power in the following order: wireless subwoofer wireless receiver sound bar. Then, turn on the sound bar. When the connection is automatically established with the sound bar, the LEDs on the wireless subwoofer and the wireless receiver will light up in green.
- Using the product with your TV
 Press the Function
  button repeatedly until “OPT/HDMI ARC” appears on the status display
 On your TV’s settings, set the output speaker to [HDMI ARC], [Optical], or [External Speaker].
 When the TV is properly connected to the product, “OPT”, “ARC”, or “E-ARC” will appear on the status display with a sound.
 - Connecting the product to your smartphone via Wi-Fi
Connect your smartphone to Wi-Fi.
Install the LG Sound Bar app on Google Play or the App Store
Run the LG Sound Bar app and follow the instructions.
 The product will connect to your smartphone and you can control the product with LG Sound Bar app
 - Connecting the product to your smartphone via Bluetooth
Tap the Settings  button on your smartphone and select
  Bluetooth. Turn on the Bluetooth function. (
 Off > On
  )
)
Press the Bluetooth pair  button. After a moment, you will see “BT READY” on the status display
Find and tap “LG_Speaker_SP8YA_XXXX” or the name you registered on the Google Home app
When the product is connected to your smartphone via Bluetooth, you can see the status display change from “PAIRED” [ “Connected Bluetooth device name” [ “BT”.
If you see a red LED on the back of the wireless subwoofer or on the front of the wireless receiver, it means that the sound bar is not connected to the speakers. If this is the case, connect them in the following order.
Press the Power  button on the sound bar to turn it off
Press the PAIRING (Pairing) button on the back of the disconnected wireless subwoofer or wireless receiver. Check if each LED blinks green.
– If you still see a red LED on the back of the wireless subwoofer, press and hold the button on the back of the subwoofer again.
Press the Power button on the sound bar to turn it on.
When the connection is established, you will see a green LED light on the back of the wireless subwoofer or on the front of the wireless receiver light up in green.
 Keep the sound bar, the subwoofer and wireless receiver away from the device (ex. wireless router, microwave oven, etc.) over 1 m to prevent wireless interference.
– Some speakers may not make sound depend on the input source. Select CINEMA sound mode to listen through all speakers.
- Design and specifications are subject to change without notice.
- Google Play is a trademark of Google LLC.
Specification
Power consumption
- Refer to the main label
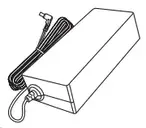
AC adapter
- Model: DA-50F25
- Manufacturer: Asian Power Devices Inc.
- Input: 100 – 240 V ~ 50 – 60 Hz 1.5 A Max.
- Output: 25 V
 2 A
2 A
Dimensions (W x H x D): Approx. 1060.0 mm x 57.0 mm x 119.0 mm
Bus Power Supply (USB): 5 V 500 mA
Amplifier (Total RMS Output power): 440 W RMS
OPEN SOURCE SOFTWARE NOTICE INFORMATION
To obtain the source code under GPL, LGPL, MPL, and other open source licenses, that is contained in this product, please visit http://opensource.lge.com. In addition to the source code, all referred license terms, warranty disclaimers and copyright notices are available for download. LG Electronics will also provide open source code to you on CD-ROM for a charge covering the cost of performing such distribution (such as the cost of media, shipping, and handling) upon email request to [email protected]. This offer is valid for a period of three years after our last shipment of this product. This offer is valid to anyone in receipt of this information.
POWER: This unit operates on a mains supply of 100 – 240 V ~ 50 – 60 Hz.
Wiring: This unit is supplied with a BS 1363 approved main plug.
When replacing the fuse, always use a fuse of the same rating and approved to BS 1362. Never use this plug with the fuse cover omitted. To obtain a replacement fuse cover contact your dealer. If the type of plug supplied is not suitable for the mains sockets in your home, then the plug should be removed and a suitable type fitted. Please refer to the wiring instructions below:
Warning: A mains plug removed from the mains lead of this unit must be destroyed. A mains plug with bared wires is hazardous if inserted in a mains socket. Do not connect either wire to the earth pin, marked with the letter E or with the earth symbol 6 or coloured green or green and yellow. If any other plug is fitted, use same rating of fuse in the plug.
Important: The wires in this mains lead are coloured in accordance with the following codes:
– BLUE: NEUTRAL, BROWN: LIVE – As the colours of the wires in the mains lead of this unit may not correspond with the coloured marking identifying the terminals in your plug, proceed as follows: The wire which is coloured blue must be connected to the terminal which is marked with the letter N or coloured black. The wire which is coloured brown must be connected to the terminal which is marked with the letter L or coloured red.


www.lg.com
Copyright © 2021 LG Electronics Inc. All Rights Reserved.