![]()
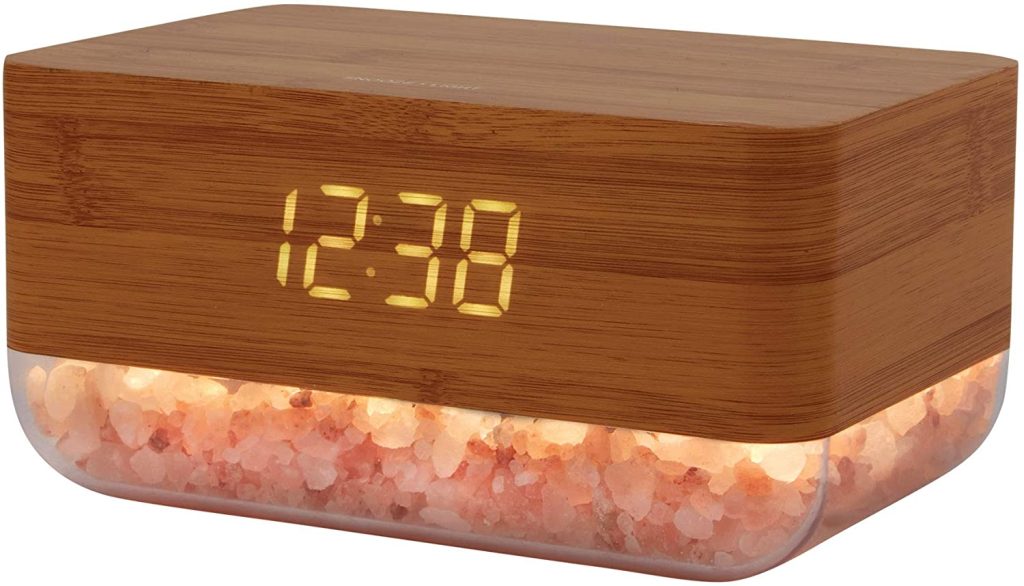
LOMI XO-9917 Sunrise Alarm Clock with Himalayan Salt Lamp and Wireless Charger

READ ALL INSTRUCTIONS CAREFULLY BEFORE USE AND KEEP THIS MANUAL In the Box
- XO-9917 Sunrise Alarm Clock with Wireless Charger (x1)
- Power Cable (x1)
- User Manual (x1)
Safety Precautions
- This product is NOT a toy, keep away from children and pets.
- Only use the device according to the instructions in this manual. Never use the device for anything other than its intended purpose.
- This device is NOT a substitute for proper medical equipment or attention.
- ONLY use the supplied power cable.
- Do not open this product or attempt to repair the unit yourself if it is not working properly. Doing so risks fire, shock or injury.
- When not in use, the device should be stored in a dry, cool location, away from sources of water or heat.
- Do not expose device or power cable to extreme temperatures (heat or cold), open flames, humid or wet conditions.
- Do not submerge in water. Do not use in a location where the device or power cable could fall into liquid.
- Unplug the charging cable when not in use. Do not pull the charging cable to disconnect, or use the cable as a handle.
- Do not use if device or power cable is damaged. If device or power cable is damaged, it MUST be serviced or replaced by the manufacturer or its service agent before using again.
- Attachments on the back of your device can impede effectiveness of the wireless charger, and lead to overheating. Remove attachments from your device before charging on this wireless charger.
Product

Connecting to Power
- Plug the small connector of the included charging cable into the USB-C charging port on the clock.
- Plug the large connector into a USB power source, such as a compatible 5V/2A USB power adapter (not included) and plug into a wall outlet.
- The clock display will turn on when the clock is connected to power.
- If the clock is disconnected from power, it will only save the time and settings for 60 seconds.
Display Modes
- Press the [UP] button on the back of the clock to switch between clock display modes. Press the [SET] button to save as the default mode.
- Mode 1 shows the time for 10 seconds and the date and temperature for 2 seconds.
- Mode 2 shows the time, alarm, date and temperature at all times.
Setting the Time
- Press the [SET] button until the time is displayed.
- Press and hold the [SET] button to set the time. The time hours will begin flashing. Press the [UP] and [DOWN] buttons to adjust. The dot in the upper left corner of the display will appear when the hour is PM. Press the [SET] button to save the hour setting.

- The minute digits will begin flashing. Press the [UP] and [DOWN] buttons to adjust, and press the [SET] button to save. The clock will return to its default display mode.
Setting the Alarm
- Press the [SET] button until the alarm time is displayed.
- Press the [DOWN] button to turn the alarm ON or OFF. The dot in the lower left corner of the clock display will light up when the alarm is turned on.

- When the alarm is turned on, press and hold the [SET] button to set the alarm time. The alarm hours will begin flashing. Press the [UP] and [DOWN] buttons to adjust. Press the [SET] button to save alarm hour setting.
- The alarm minute digits will begin flashing. Press the [UP] and [DOWN] buttons to adjust, and press the [SET] button to save. The clock will return to its default display mode.
Setting the Date
- Press the [SET] button until the date is displayed.
- Press and hold the [SET] button to set the date. The year will begin flashing. Press the [UP] and [DOWN] buttons to adjust. Press the [SET] button to save year setting.
- The month will begin flashing. Press the [UP] and [DOWN] buttons to adjust, and press the [SET] button to save month setting. The day will begin flashing. Press the [UP] and [DOWN] buttons to adjust, and press the [SET] button to save. The clock will return to default display mode.
Changing Temperature Units
- Press the [SET] button until the temperature is displayed.
- Press the [DOWN] button to switch between degrees Fahrenheit (⁰F) and Celsius (⁰C).
- Press the [SET] button to save. The clock will return to default display mode.
Using the Bedside Light
- Press the [SNOOZE/LIGHT] button on the top of the clock to turn the bedside light ON in white light mode.
- Press the [SNOOZE/LIGHT] button to adjust the light brightness between low, medium and high.
- Press and hold the [SNOOZE/LIGHT] button to switch to color-changing light mode.
- In color-changing light mode, press the [SNOOZE/LIGHT] button to choose a light color.
- Press and hold the [SNOOZE/LIGHT] button to switch back to white light mode.