Ouvis C2
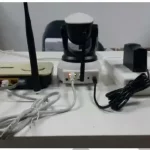
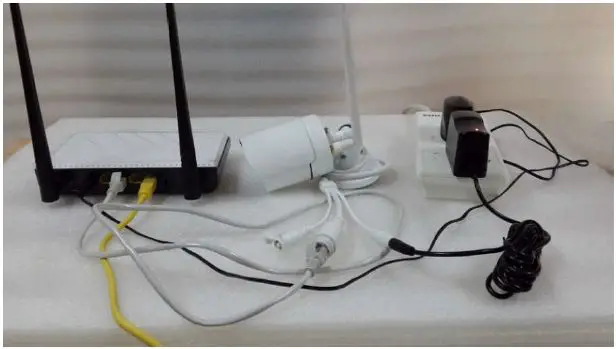
Power on the camera and connect to your router
Plug the camera into the electric power outlet, and connect one end end of the Ethernet
cable in one of the LAN ports of the router, and the other end in the Ethernet port of
the camera cable.
Download and install the Ouvis app:
- Scan the QR code to o download Ouvis app, or go to the Apple App Storore e or Google Play
search for the word “Ouvis” and install the Ouvis app. That looks like thie this:
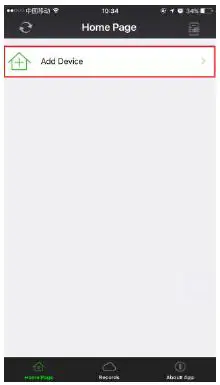
- Open the app and youou will be on the “Home Page”.
Search and add the camera
- click “Add Device” to open the Add Device” page.
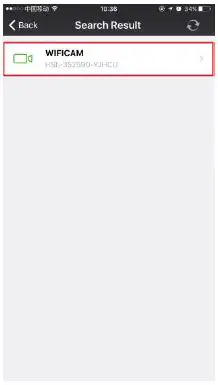
- Click “LAN Search” to so search all online Ouvis cameras in LAN.
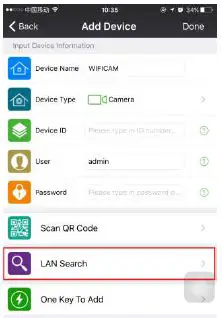
- The app will find “WIF “WIFICAM” and its Device ID #. Click on “WIFICAM”.
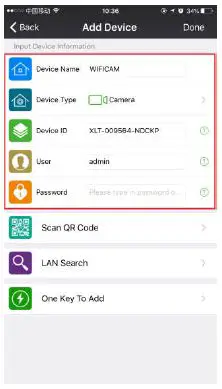
- On this page, leave everything as is. User is admin and the default type Password should remain blank (do NONOT putT put anything here), and click “Done”.
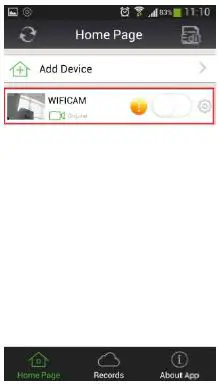
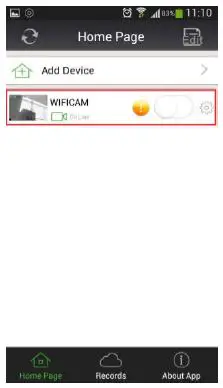
- You should now see “WIF“WIFICAM” on the “Home Page” and it will show “On Line”. Click on the picture frame to o the left of “WIFICAM ONLINE”, and you will be onon full screen and watching live video.
Configure the Wi-Fi connection of the camera
- Make sure your smartphone is on Wi-Fi (and connected to the 2.4G band of your router).
- On the Home Page, as long as “WIFICAM” is “On Line”, click on the “GEAR” icon which is located to the right of “WIFICAM”. This will now take you to the “Setting” page.
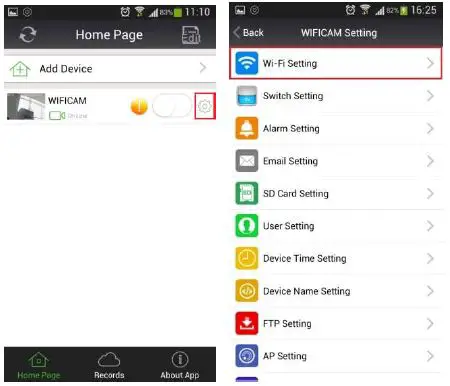
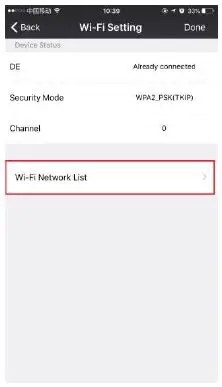
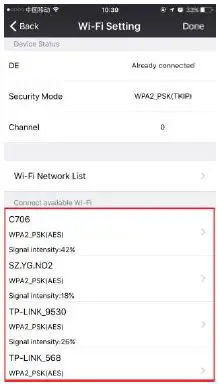
- Click on the “WI-FI Setting”, and then click “Wi-Fi Network List” to search all wireless network hotspots near you.
- d) From the network list, click on the same exact network that your smartphone is connected to.
- Then you must input the correct Wi-Fi password of your Wi-Fi network, in the “Wi-Fi Password” box that opened up.
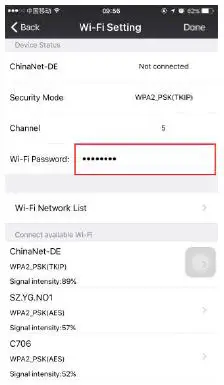
- Now, click “Done” and the camera will reboot automatically. After rebooting, remove the Ethernet cord, and on the “Home Page” it should show “WIFICAM ONLINE” and the camera will now be wireless. However, if WIFICAM does not show “On Line”, you probably entered the wrong Wi-Fi password. Connect the Ethernet cord back into the camera, and when it shows “On Line”, go back to step 4 and repeat the steps again.
Creating the camera password to ensure your privacy
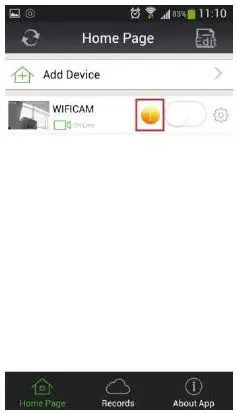
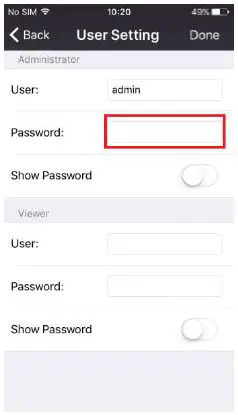
- On the “Home Page” there is a yellow warning icon to the right of the “Home Page” to remind you to create a password for your camera. Click on it and it opens the “User Setting” page.
- On this page, you can set the new Administrator password, and then click “Done” to save the new password, and the camera will reboot.
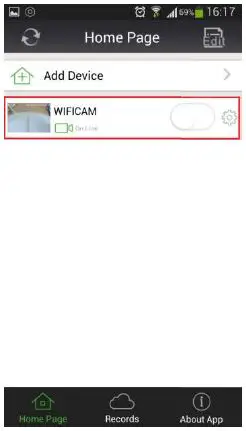
- After rebooting, it will automatically login with the new administrator password, and will now notice that the yellow warning icon does not exist anymore.
For online support and details of the functions and features of this camera, go to: ouvis.zendesk.com
Support email: [email protected]