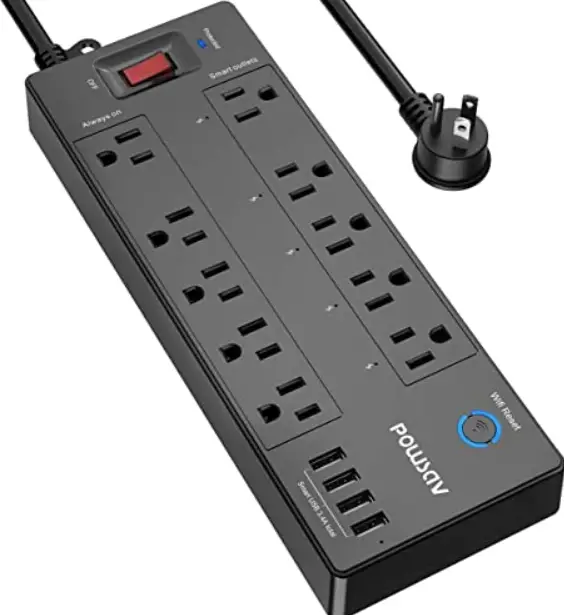
powsav AHR-083 Smart WiFi Power Strip

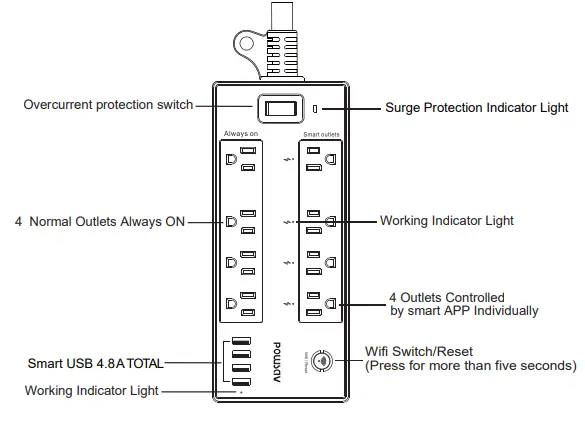
Product Overview
Parameters
- Model: AHR-083
- Power: 125VAC,60Hz
- Load Current: 15A,1875W
- WiFi Standard: 2 .4G 802.11 b/g/n
- Applicable Voltage Range: 100-240VAC 8 AC outlets built-in 1680 Joules surge protection
Part 1
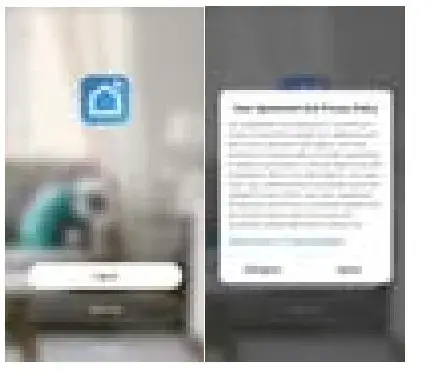
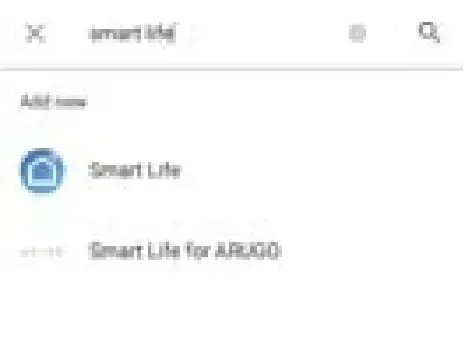
Download the app
Search APP “Smart Life” from App store or Google Play, download and install the APP onto your smart devices.
Part 2
Sign up/Log in/ Retrieve password
- Sign Up
- Click “create new account” to enter User Agreement and Privacy Policy page, click” agree”, to get to the registration page.
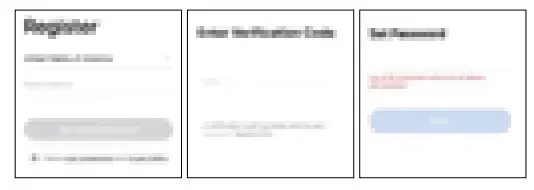
- The system detects the current country / place automatically. You can also select the country / place manually.
- Input your phone number or email addressto “get verification code” and input the verification code.
- After that to set up your password and click “finish”, Registration completed successfully.
- Log in
If you have registered an app account already, click “Log in “, with the account to the Logging in page.- The system automatically detects the current country / region, you can also manually select country / region.
- Enter your registered mobile phone number or email and password, then log in to the system with the steps shown as below.
- Forget the password to Retrieve password
If you forget the password of APP account login, you can access Reset account password after password recovery process- click “forget password”, as shown in Figure
- The system detects the current country / place automatically. Or you can select the country / place manually.
For the number or email, click “get verification code”, as shown in the figure below. - Input the verification code received by mobile phone or email, as shown in Figure below
- Enter the new password and click “finish” to log in, as shown in the figure below.
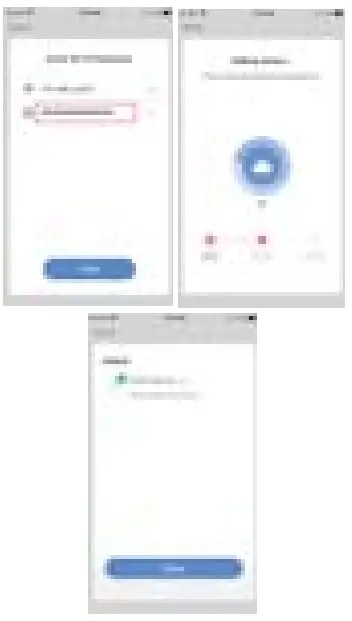
Part 3: Add device
After logging in, turn on Bluetooth of mobile phone, plug the device into the electrical outlet, it will prompt to find the device on the homepage of app. Please click “Go to add” to enter the “add device” page, and continue to click “+” 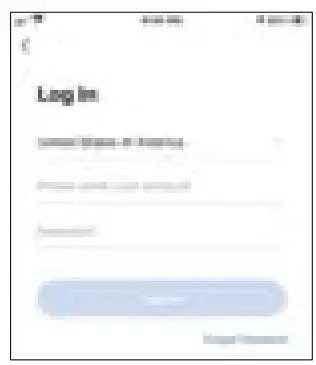
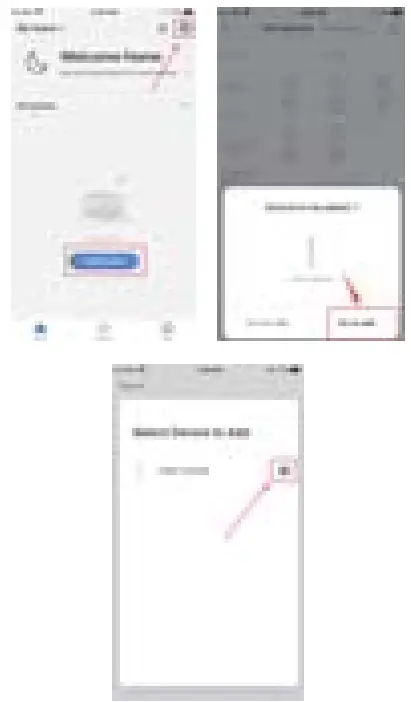
If no device is found on the app home page, click “add device” or “+” on the app home page to enter the “add device” page, then click “Go to add”, continue to click “+” 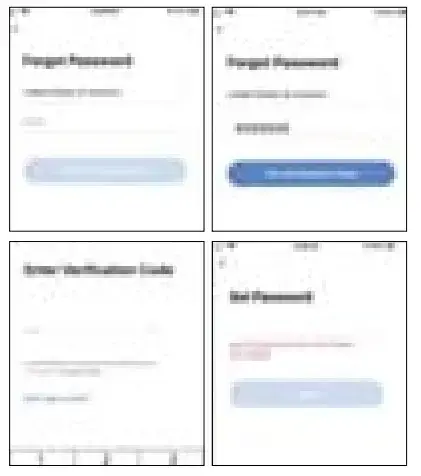
Select the internet network that you have access and the signal is strong the Internet Input the Wi-Fi password and click “Next”, when the connection is successful, click “Done” to finish. 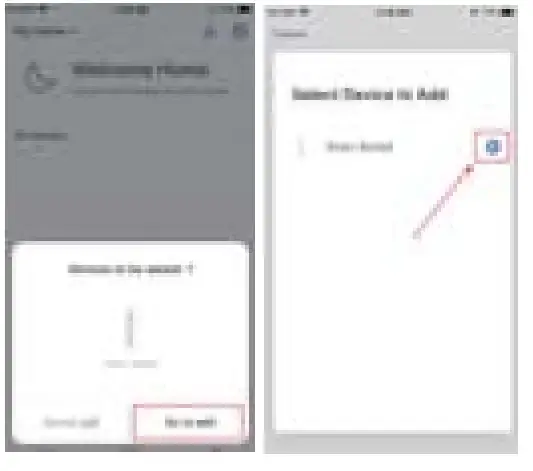
Once connected, you can turn on/off and schedule and countdown
Work with Amazon Alexa
- Open the Alexa App and click on “Skills & Games” in the menu.
- Search for “smart life”
- Login to your Smart Life account
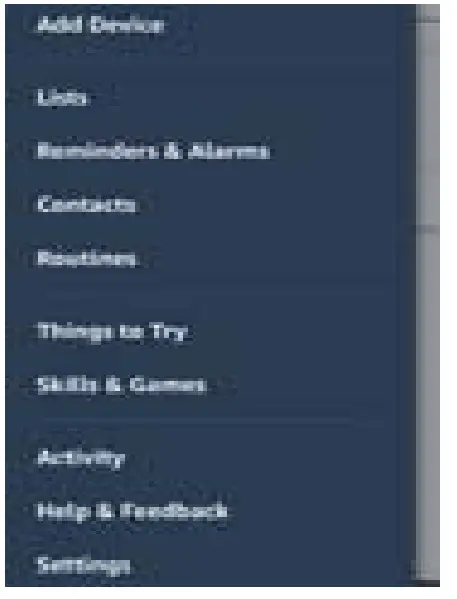
- Authorize your account to link with Amazon Alexa.
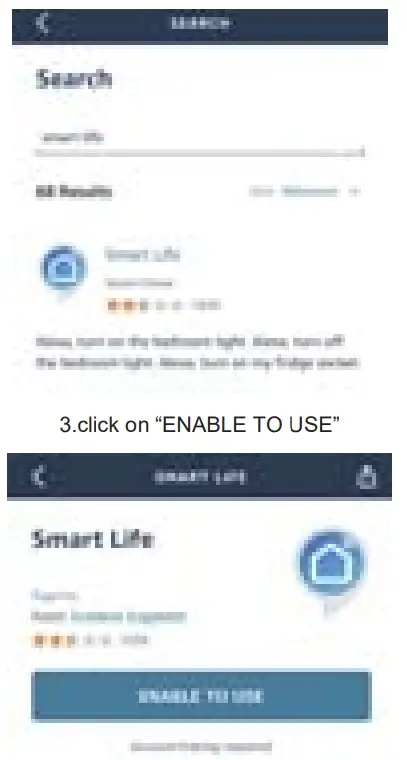
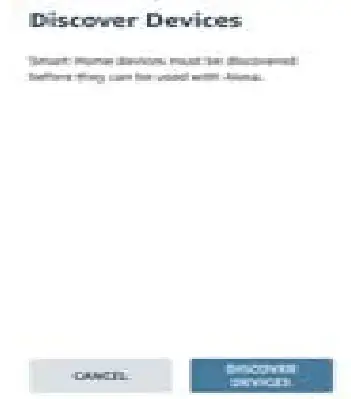
Click on “DISCOVER DEVICES”. When it finishes discovering, you will be able to control your smart socket with Amazon Alexa App, Echo or Echo Dot. You could also follow the optional steps in Amazon Alexa App to group and organize your smart devices. But those are not required. 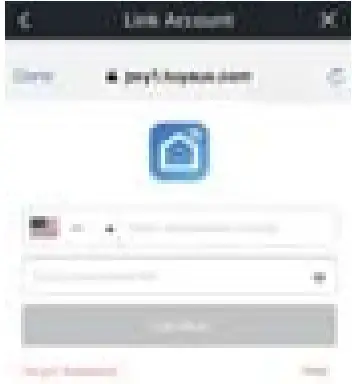
After these initial setup steps, new devices you add to Smart Life App in later times will be linked to Amazon
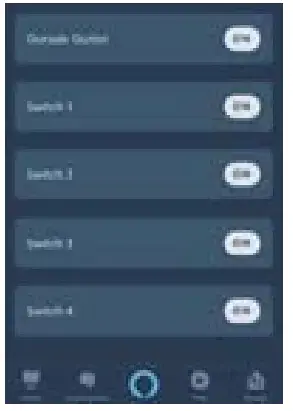
Alexa App automatically. You will not have to manually link them again. After the device is added, there will be five symbols on
Amazon Alexa App, one for the device and 4 for individual switches. You could turn on/off each of them by voice using Alexa. 
After the device is added, there will be several symbols on Amazon Alexa App, one for the device and a few for individual switches. You could turn on/off each of them by voice using Alexa.
Work with Google Home
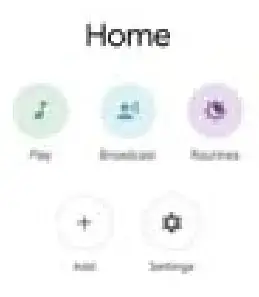
- Open the Google Home App and click on “+” Add sign.
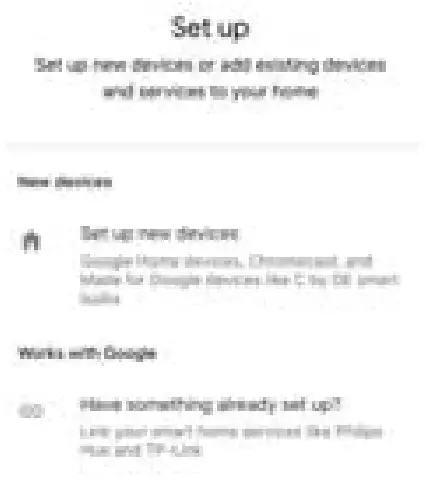
- Select “Set up device” from the menu
- Click on “Have something already set up?”
- Search for “smart life” and select it from the list

- Login to your Smart Life account
- Authorize your account to link with Google Home. You are now able to control your smart socket with Google Home App or Speaker. You could also follow the optional steps in Google Home App to group and organize your smart devices. But those are not required
After these initial setup steps, new devices you add to Smart Life App in later times will be linked to Google Home App automatically. You will not have to manually link them again. After the device is added, there will be five symbols on Google Home App, one for the device and 4 for individual switches. You could turn on/off each of them by voice using Google Home. 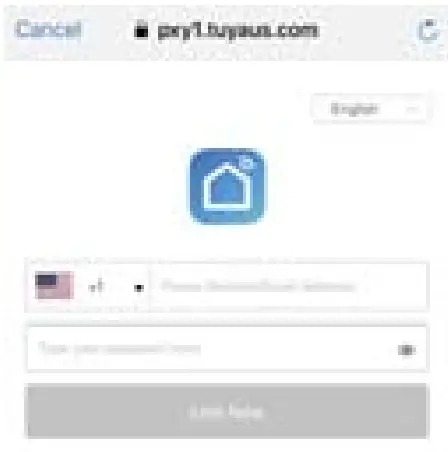
After the device is added, there will be several symbols on Google Home App, one for the device and a few for individual switches. You could turn on/off each of them by voice using Google Home.
After-sales Policy:
Thank you very much for purchasing POWSAV products! Like what you just got?Help us by writing a feedback on Amazon and telling your friends and family
Warning:
If there is radio frequency interference, it might affect the operation.
Do not use in bathroom and other damp locations.
Please ensure the security of the electricity, resistive load current can not be higher than 15A.
Please keep the device out of the reach of children to avoid danger 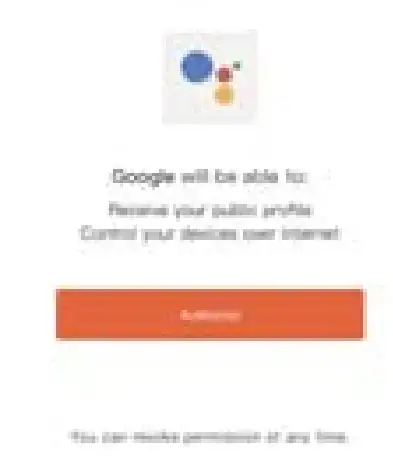
FCC Caution.
Labelling requirements.
This device complies with part 15 of the FCC Rules. Operation is subject to the following two
conditions: (1) This device may not cause harmful interference, and (2) this device must accept
any interference received, including interference that may cause undesired operation.
Information to user.
Any Changes or modifications not expressly approved by the party responsible for compliance
could void the user’s authority to operate the equipment.
Note: This equipment has been tested and found to comply with the limits for a Class B digital device, pursuant to part 15 of the FCC Rules. These limits are designed to provide reasonable protection against harmful interference in a residential installation. This equipment generates uses and can radiate radio frequency energy and, if not installed and used in accordance with the instructions, may cause harmful interference to radio communications. However, there is no guarantee that interference will not occur in a particular installation. If this equipment does cause harmful interference to radio or television reception, which can be determined by turning the equipment off and on, the user Is encouraged to try to correct the interference by one or more of the following measures:
- Reorient or relocate the receiving antenna.
- Increase the separation between the equipment and receiver.
- Connect the equipment into an outlet on a circuit different from that to which the receiver is connected.
- Consult the dealer or an experienced radio/TV technician for help.
RF warning for Mobile device:
This equipment complies with FCC radiation exposure limits set forth for an uncontrolled environment. This equipment should be installed and operated with minimum distance 20cm between the radiator & vour body.