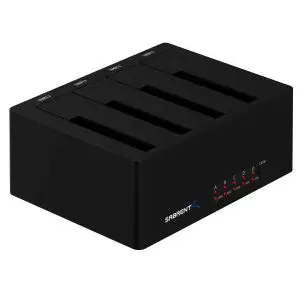
SABRENT 4-Bay USB Docking Station

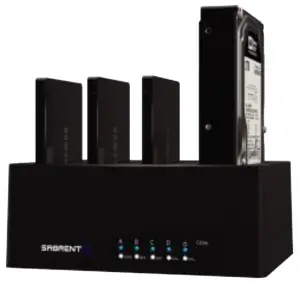
With the Sabrent 4-Bay USB 3.0 SATA 2.5″/3.5″ SSD/HDD Docking Station, you can Hot-Swap up to four 2.5″/3.5″ SATA Hard Drives with one, single cable, connected to your Desktop or Notebook. Tool-free, Plug & Play installation makes for easy setup. You can now quickly transfer data between four hard drives.
System requirements
- Windows
- Mac OS
Package contents
- 4-Bay HDD Docking Station
- USB cable
- Power adapter
- User Manual
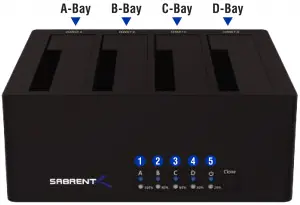
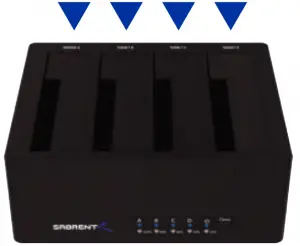
PRODUCT OVERVIEW
- A-Bay LED
- B-Bay LED
- C-Bay LED
- D-Bay LED
- Power LED
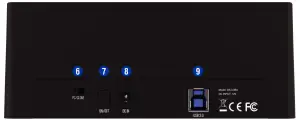
- PC/Clone Switch
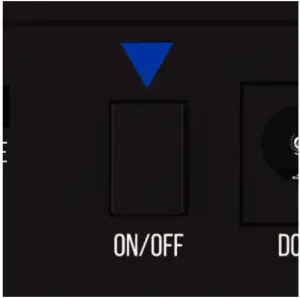
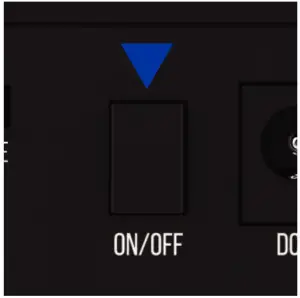
- Power Button
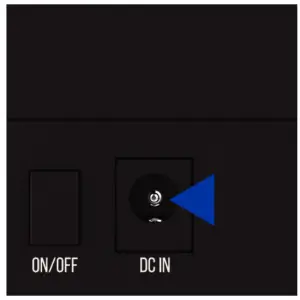
- Power Port
- USB 3.0 Port
SETUP
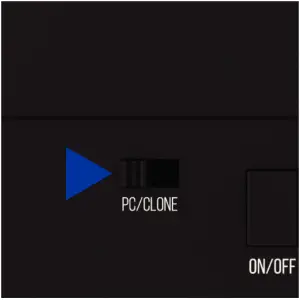
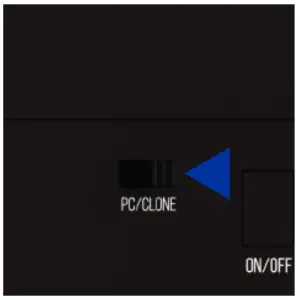
- Switch the PC/Clone button to PC (Located on the back of the device)
- Connect the Power Adapter to the Power Port
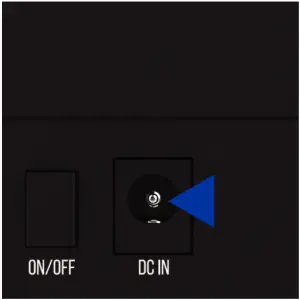
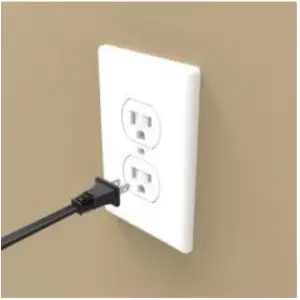
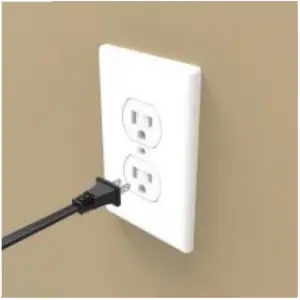
- Connect the Power Adapter to available power outlet
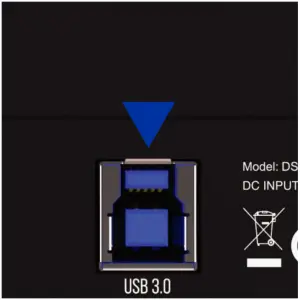
- Connect the USB cable to the dock
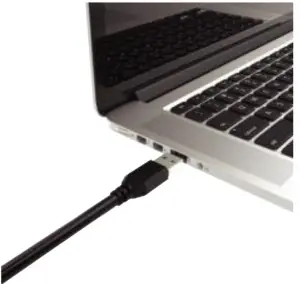
- Connect USB end to an available USB port
- Insert your hard drive(s) into the hard drive bays
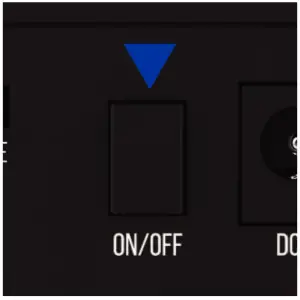
- Switch the power button to ON
- The LEDs indicate: Power On, and Occupied Bays
WINDOWS PC HARD DRIVE WITH DATA/FILES
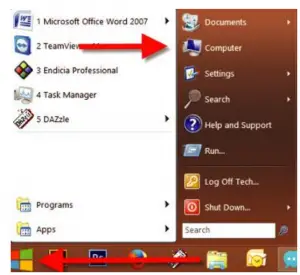
Click on the Start Icon located on the bottom left of the screen and then click on Computer
Note:
You can also click on the File Explorer Icon and then click on This PC or Computer

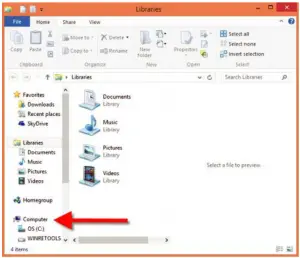
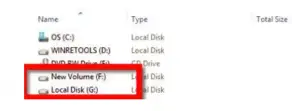
You should get a new drive letter every time you insert a hard drive with data/files
WINDOWS PC NEW HARD DRIVE SETUP CHARD DRIVE WITH NO DATA/FILES)
Click on the Start Icon located on the bottom left of the screen and then RIGHT click on Computer
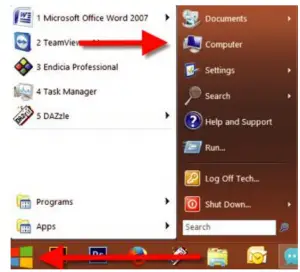
Note:
You can also click on the File Explorer Icon and then click on This PC or Computer


Click on Manage
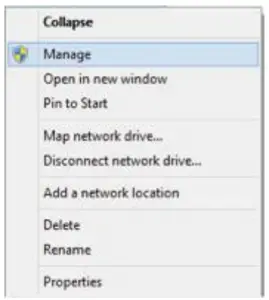
Click on Disk Management
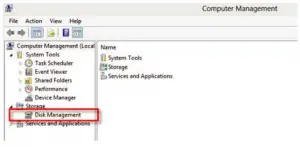
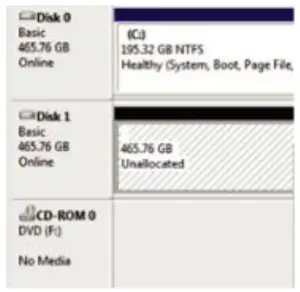
Note: Disk O should be your internal hard drive Disk 1 should be your external hard drive but SETUPS MAY DIFFER
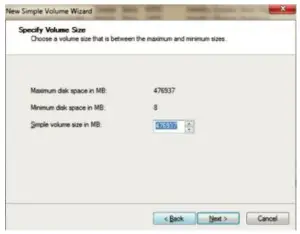
RIGHT click on Unallocated and click on New Simple Volume
Go through the Setup Wizard to assign a drive letter
MAC OS HARD DRIVE WITH DATA/FILES
A new Icon should pop up on your main screen each time you insert a hard drive with DATA/Files
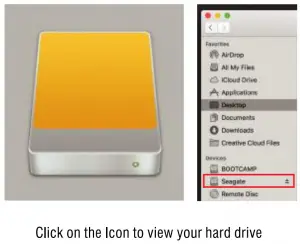
Note: You can also click on the Finder icon and select your hard drive under Devices
MAC OS NEW HARD DRIVE SETUP CHARD DRIVE WITH NO DATA/FILES)
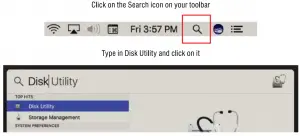
Click the icon for your external hard drive located in the sidebar on the left Click on the Erase tab at the top of the window

Select the volume format you want and give it a name
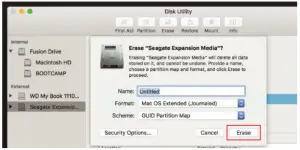
Click on erase
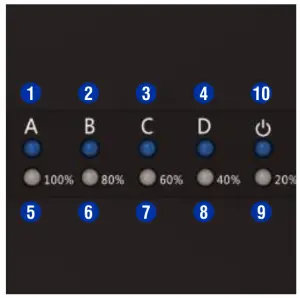
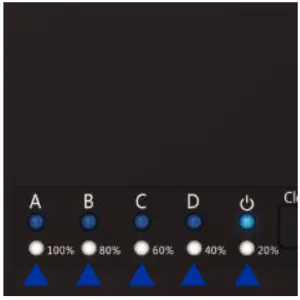
STANDALONE DUPLICATOR MODE LED INDICATORS
- Source A-Bay Active
- Target B-Bay Active
- Target C-Bay Active
- Target D-Bay Active
- 100% Complete
- 80% Complete
- 60% Complete
- 20% Complete
- 100% Done
- Power
SETUP
- Switch the PC/Clone button to Clone (Located on the back of the device)
- Connect the Power Adapter to the Power Port
- Connect the Power Adapter to available power outlet
- Insert Source Disk into A-Bay
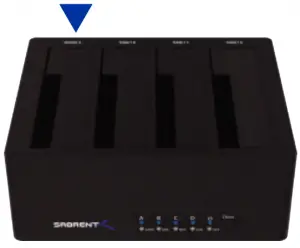
- Insert your Target Disks in order into B-Bay, C-Bay, or D-Bay

- Switch the power button to ON
- Press the CLONE button TWICE (Located on the front of the device)
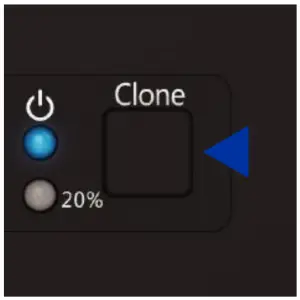
- Once the White LEO flashes on 20%, the cloning process has begun
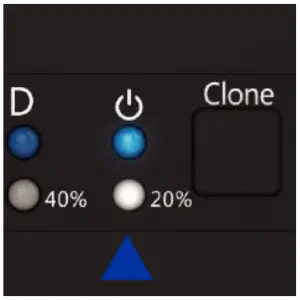
- Once all the lights have turned a solid white (20%-100%), the cloning process is complete
- Switch the Power Button to OFF and eject your drives
NOTES
- All data in B, C, and -Bays will be deleted once Offline Clone starts.
- We highly recommend backing up your data BEFORE you clone your hard drive.
- Hard drives with bad sectors may not clone. Simply replace them with a new hard drive.
- If the capacity for your Target hard drives is bigger than you Source, the remaining capacity upon completion of the offline clone will show up as “Unallocated”.
Go into Disk Management on Windows/Disk Utility on Mac and allocate the remaining capacity.
TROUBLESHOOTING/SUPPORT
Power LED does not come on?
- Ensure that the connection between power adapter and dock is secure.
- Try it on a different power outlet.
HDD LED does not come on/ turns off during offline clone?
- Re-seat the hard drive into the bay.
- Try it on the second HDD bay
- Swap out the hard drive with a new hard drive.
Cloning process will not start?
- Power off the dock, re-seat drives, power dock back on, and try process again.
- Check if the capacity of your Target drives is equal or larger to the capacity of your Source.
(Capacity means the actual space that can be used, instead of the one marked on the product.)
For example: The actual capacity of a disk marked 1000GB (1 TB), might only be 930GB.
The actual capacity of a hard drive is usually different from what is shown on its label.
You can check the actual capacity of a hard drive in Windows Disk Management/Mac Disk Utility.
PLEASE CONTACT OUR SABRENT TECHNICAL SUPPORT TEAM IF ISSUES CONTINUE