USER MANUAL

Go Hang It
GET TO KNOW GO HANG IT! PRO

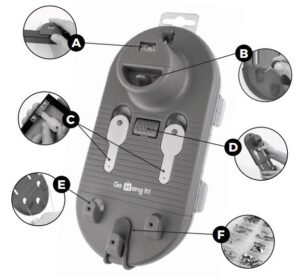
- A. REMOVABLE LEVEL – Snaps o and sets on the edge of your frame to perfectly level your pictures.
- B. REMOVABLE PUSH PIN – Used to mark nail holes through the HOOKS (See E.) when hanging pictures with wire hangers.
- C. MAGNEKEYS – Remove and insert into the notch of our SINGLE-NOTCH PRECISION HANGERS, sawtooth or D-ring hangers to perfectly mark your nail holes.
- D. CENTER BUTTON – Telescopes and extends the base of the unit for wire-hanging pictures. Simply push the button and pull.
- E. BUILT-IN HOOKS – Used to suspend wire hanger pictures on the wall where desired. Insert the PUSH PIN into the guide holes to mark where your nails go.
- F. SILICONE LATCH – Keeps the removable hardware case attached to the unit.
HARDWARE ESSENTIALS INCLUDED

SAWTOOTH PICTURE HANGING
Follow these steps for D-ring hangers too.
INSERT MAGNEKEYS
- Remove the MAGNEKEYS and insert into sawtooth or SINGLE-NOTCH PRECISION HANGERS.
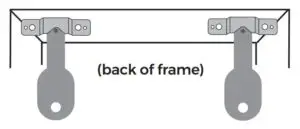
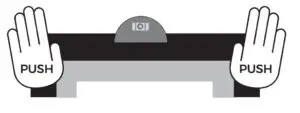
LEVEL and MARK HOLES 2
- Place removable LEVEL on top edge of the frame. Position and level frame on wall then rmly push directly over hangers to mark your nail holes.
INSTALL HARDWARE
- Locate the marks on the wall made by MAGNEKEYS.
Install nails straight into the wall marks.
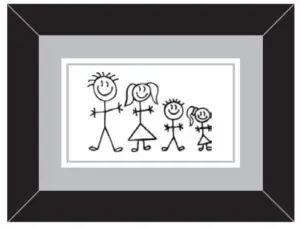
HANG YOUR PICTURE
WIRE PICTURE HANGING
EXTEND and HOOK
- Press CENTER BUTTON to extend the base. Suspend the frame wire on the
BUILT-IN HOOKS, then position and level picture. Use the two, outer HOOKS for heavier frames and the single HOOK for lighter frames.
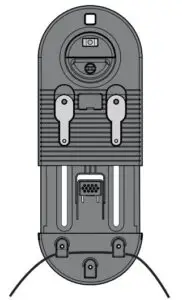
MARK HOLES
- Pressing rmly against the wall, remove your frame. Locate the removable
PUSH PIN (located beneath the LEVEL) and mark nail holes through the hooks.
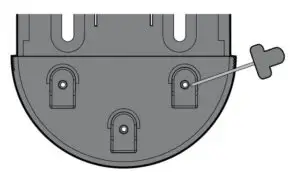
INSTALL HARDWARE
- Locate the marks on the wall made by the PUSH PIN. Install picture hook hardware.
HANG YOUR PICTURE
Works with most picture hanging hardware.
- Suggested weight limits:
- Nails in wood studs – 50 lbs
- Nails in drywall – 10 lbs