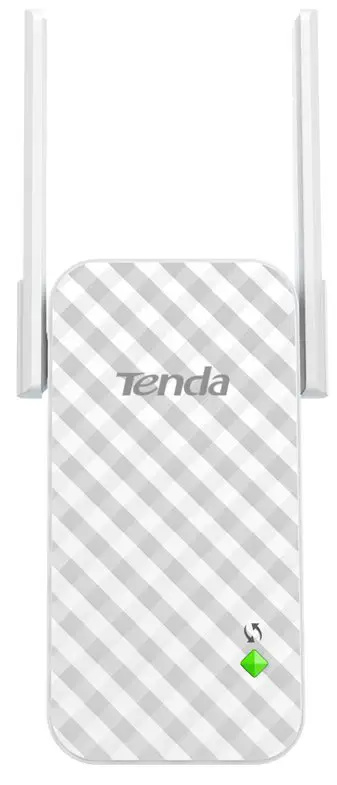
Tenda A9 Wireless N300 Universal Range Extender

Package contents
- Wireless extender x 1
- GPL x 1
- Quick installation guide x 1
This quick installation guide instructs how to configure and install the device. For product or function details, please go to www.tendacn.com to download the user guide.
LED indicator description
- Power/Signal LED indicator
- Red
- Solid on: The extender is starting.
- Blinking: – The extender completes startup.
- Extending your existing WiFi network.
- Fails to extend to your existing WiFi network.
- Green
- Extended successfully, and the connection quality is good.
- Orange
- Extended successfully, but the extender is a little far away from your router/modem. Relocate it closer to the router/modem.
- Off
- The extender is not powered on.
Buttons description
- WPS button
- An alternative method used to extend or re-extend your existing WiFi network. See Option 2 for detailed instructions.
- Reset button
- Hold down this button using a paper clip. Release it when the O LED indicator lights red.
OPTION 1
Extend your WiFi network using web UI
Power on the extender
Plug the extender into a power outlet near the router/modem in the same room. Wait until the O LED indicator blinks red. 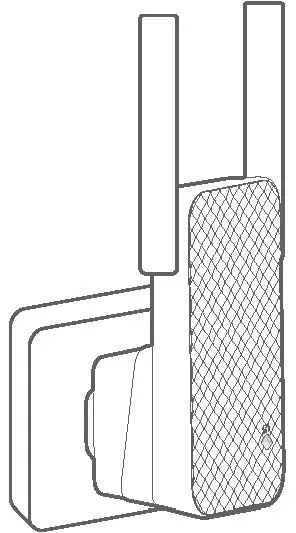
Extend your Wifi network
Prerequisites
- For smart phone/Pad (Recommended): Disable its Mobile Data (if any) function.
- For desktop computer: An installed wireless adapter is required.
- Connect yourWiFi-enabled device to the extender’s default SSID named Tenda_EXT. By default, it has no password.

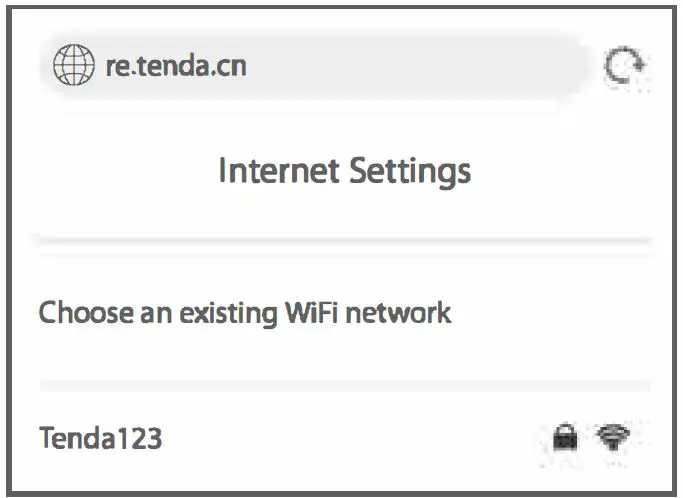
- After connecting to the extender’s SSID, you will be directed to the quick setup page. If not, start a web browser, and access re.tenda.cn or 192.168.0.254 in the address bar.

- Choose an existing WiFi network for extending.
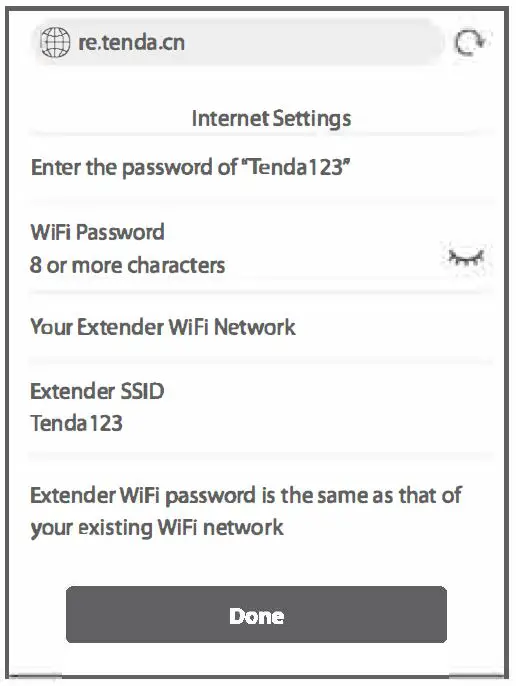
- lf the WiFi network you chose is encrypted, enter its WIFI Password. Customize the Extender 5510. By default, the extender SSID is the same as your existing WiFi network.
- TapDone.
 Wait until the Extended successfully page appears.
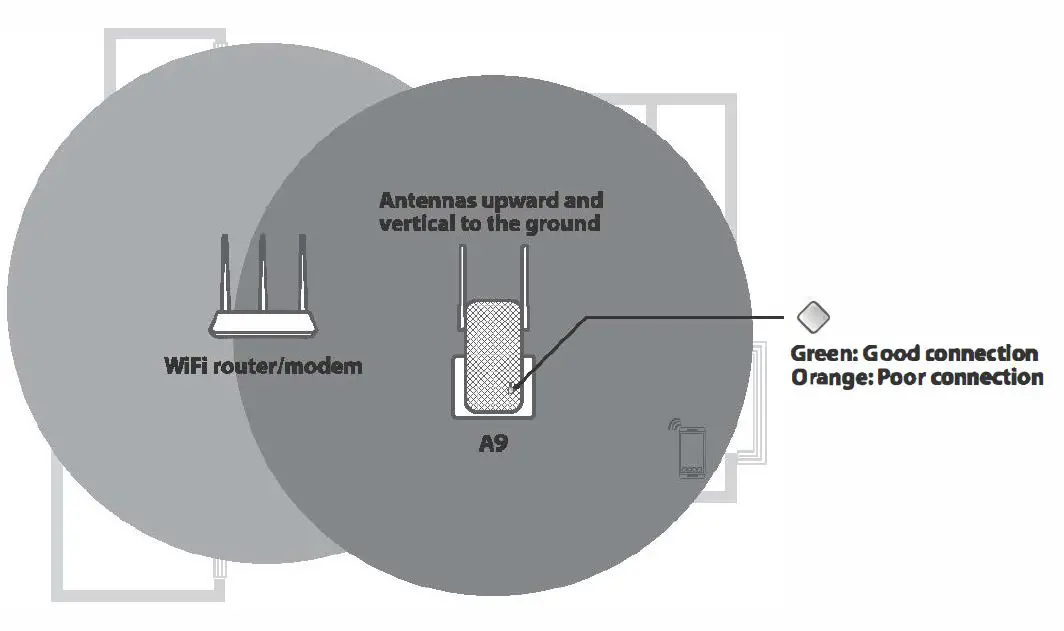
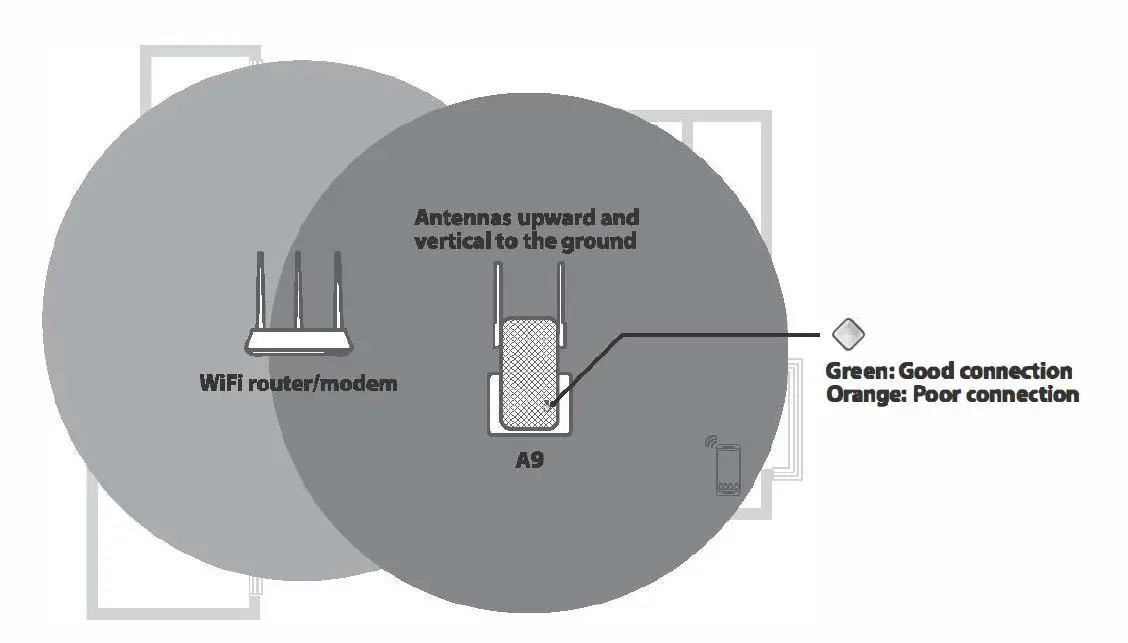
Relocate the extender
To get better connection, follow the on-screen instructions or steps below to relocate your extender.
- Plug the extender into an outlet halfway between the router/modem and the WiFi dead zone.
The location you choose must be within the range of your existing WiFi network. - Wait until the O LED indicator lights solid green. If not, relocate the extender closer to your router/modem.
Done.
To connect your WiFi-enabled devices to the extender, use the following information: Extender 55ID: 55ID you set In step 4.
Extender password: Your existing WiFi network password.
OPTION 1
Extend your WiFi network using WPS button
You can use Option 2 if your router/modem has a WPS button, which may be indicated by  ,
, ,Otherwise, use Option 1.
Power on the extender
Plug the extender into a power outlet near the router/modem in the same room. Wait until the O LED indicator blinks red. 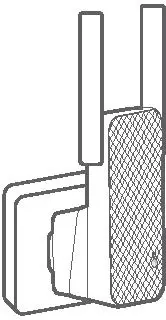
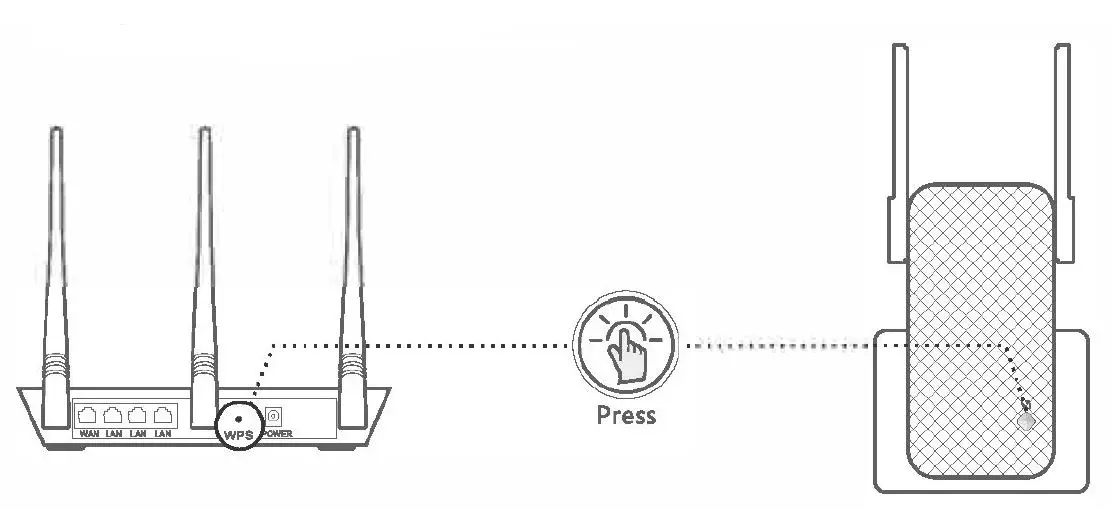
Extend your WiFi network
- Press the WPS button on the router/modem. Within 2 minutes, press the WPS button on the extender.
- Wait until the O LED indicator on the extender lights solid green or orange. If not, use Option 1.
Relocate the extender
- Plug the extender into an outlet halfway between the router/modem and the WiFi dead zone.
The location you choose must be within the range of your existing WI Fl network. - Wait until the O LED indicator lights solid green. If not, relocate the extender closer to your router/modem.
Done.
To connect your WiFi-enabled devices to the extender, use the following information: Extender SSID: Your existing WiFi name (55ID).
Extender password: Your existing WiFi network password.
FAQ
Q1. I cannot log in to the web UI of the extender. What should I do?
A1. Try the following solutions:
Before extending:
- If a mobile WiFi-enabled device is used:
- Ensure that it has connected to the extender’s WiFi network named Tenda_EXT, and the Mobile Data (if any) function is disabled.
- If a laptop, or a desktop computer installed with a wireless adapter ls used:
- Ensure that it has connected to the extender’s WiFi network named Tenda_EXT, and its wireless network connection has been set to Obtain an IP address automatkally.
- Ensure that you enter re.tenda.cn or 192.168.0.254 in the address bar (not searching bar).
- If the problem persists, reset the extender, and try extending again.
After extending:
If you set your extender SSID the same as your existing WiFi name, you may connect to your existing WiFi network. In this case, relocate your extender to a proper position, stay nearby your extender. Dlsable the WLAN on the device you use then enable it, and try connecting again.
Q2. How to reset the extender?
A2. With your extender powered on, press the RST button at the bottom of the extender using a paper clip. Release it when the LED indicator lights red. The extender is restored to the factory settings.
Q3. How to set up a login password for the management of my extender?
A3. Connect the yourWiFi-enabled device to the extender wifi network, log in to its web Ul,and perform as follows:
- For smart phone/Pad:
Tap ;;;;; on the homepage, tap Set Login Password, then follow the on-screen instructions for setup. - For laptop, or a desktop computer installed with a wireless adapter: Navigate to Administration, and follow the on-screen Instructions for setup.
Q4. The extender c;annot find the WiFi network of my router/modem, What should I do?
A4. Try the following solutions:
- Ensure that theWiFi network of your router/modem is enabled and can be detected by your WlFl-enabled device.
- Change the channel of your router/modem, and try again.
- Change the encryption type of the router/modem to WPA-PSK or WPA2-PSK, and try again.
FCC Statement
This equipment has been tested and found to comply with the limits for a Class B digital device, pursuant to Part 15 of the FCC Rules. These limits are designed to provide reasonable protection against harmful interference in a residential installation. This equipment generates, uses and can radiate radio frequency energy and, if not installed and used in accordance with the instructions, may cause harmful interference to radio communications. However, there is no guarantee that interference will not occur in a particular installation. If this equipment does cause harmful interference to radio or television reception, which can be determined by turning the equipment off and on, the user Is encouraged to try to correct the Interference by one or more of the following measures:
- Reorient or relocate the receiving antenna.
- Increase the separation between the equipment and receiver.
- Connect the equipment into an outlet on a circuit different from that to which the receiver is connected.
- Consult the dealer or an experienced radio/TV technician for help.
Operation is subject to the following two conditions:
- this device may not cause harmful interference
- this device must accept any interference received, including interference that may cause undesired operation.
Radiation Exposure Statement
This device complies with FCC radiation exposure limits set forth for an uncontrolled environment and it also complies with Part 15 of the FCC RF Rules.
This equipment should be installed and operated with minimum distance 20cm between the device and your body.
Caution:
Any changes or modifications not expressly approved by the party responsible for compliance could void the user’s authority to operate this equipment.
This transmitter must not be co-located or operating in conjunction with any other antenna or transmitter. Operating frequency: 2412-2462MHz
NOTE:
- The manufacturer is not responsible for any radio or TV interference caused by unauthorized modifications to this equipment.|
- To avoid unnecessary radiation interference, it is recommended to use a shielded RJ45 cable.
RECYCLING
This product bears the selective sorting symbol for Waste electrical and electronic equipment (WEEE). This means that this product must be handled pursuant to European directive 2012/19/EU in order to be recycled or dismantled to minimize its impact on the environment.
User has the choice to give his product to a competent recycling organization or to the retailer when he buys a new electrical or electronic equipment.
CE MarkWamlng
This Is a Class B product. In a domestic environment. this product may cause radio Interference, In which case the user may be required to take adequate measures.
This equipment should be installed and operated with minimum distance 20cm between the device and your body.
The mains plug Is used as disconnect device, the disconnect device shall remain readily operable.
NOTE:
- The manufacturer is not responsible for any radio or TV interference caused by unauthorized modifications to this equipment.
- To avoid unnecessary radiation interference, It Is recommended to use a shielded RJ45 cable.
Declaration of Conformity
Hereby, SHENZHEN TENDA TECHNOLOGY CO., LTD. declares that the radio equipment type A9 Is In compliance with Directive 2014/53/EU.
The full text of the EU declaration of conformity is available at the following internet address:
http://www.tendacn.com/en/service/download-cata-101.html
Operating Frequency: 2.4 GHz: EU/2412-2472MHz (CH1-CH13)
EIRP Power (Max.): 2.4 GHz 19.95dBm Software Version: V02.03.01.125
For PWGGABLE EQUIPMENT, the socket-outlet shall be Installed near the equipment and shall be easily accessible
- Operating temperature: 0°C – 40″C
- Operating humidity: (10 – 90)% RH, non-condensing
technical support
Shenzhen Tenda Technology Co., Ltd.
6-8 Floor, Tower E3, N0.1001, Zhongshanyuan Road, Nanshan District, Shenzhen, China. 518052
USA hotline: 1-800-570-5892 Hong Kong hotline: 00852-81931998
Toll Free: 7 x 24 hours
Canada hotline: 1-888-998-8966
Toll Free: Mon – Fri 9 am – 6 pm PST
Copyright
Global hotline: +86 755-2765 7180 (China TI me Zone)
Website: www.tendacn.com
E-mail: [email protected]
e 2021 Shenzhen Tenda Technology Co., Ltd. All rights reserved.
“Rmc/8 is a registered trademark legally held by Shenzhen Tenda Technology Co., Ltd. Other brand and
product names mentioned herein are trademarks or registered trademarks of their respective holders.
Specifications are subject to change without notice.