THERAGUN Pro Professional-Grade Smart Percussive Therapy Device User Manual
Getting started
Step 1
Turn on and float
Firmly press and hold the centre button on the button pad, then float the Theragun PRO across areas in need. Use the plus (+) and minus (-) buttons on the button pad to adjust the speed. Apply light to moderate pressure as needed.
Step 2
Get the Theragun app
We’ll guide you through a stress-free setup and show you how to get the most out of your Theragun PRO.
Step 3
Feel the difference.™ Every day.
Take a deep breath and treat yourself with guided treatment presets or freestyle mode. It’s all designed for you.
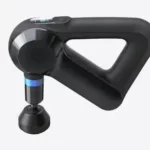
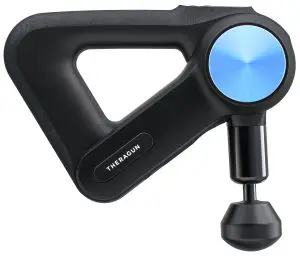
The Theragun PRO
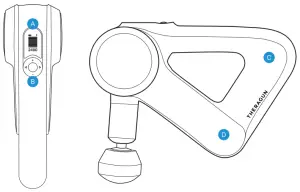
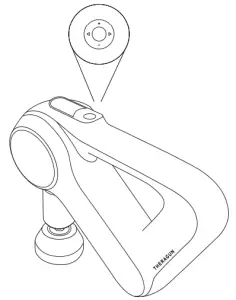
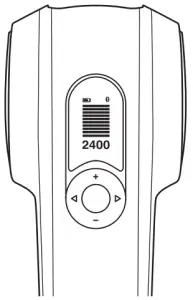
- OLED screen
- Button pad
- Theragun Triangle™
- multi-grip
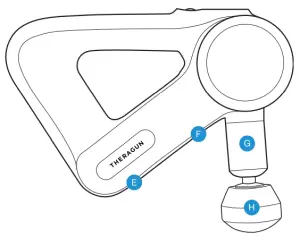
- Lithium-ion battery
- Battery release button
- Rotating arm button
- Rotating arm
- Interchangeable attachments
Using the Theragun PRO
- Insert the lithium-ion battery fully before turning on the Theragun PRO.
- To turn on the Theragun PRO, firmly press and hold the centre button on the button pad.
- Press the plus (+) and minus (-) buttons on the button pad to increase or decrease speed.
- Press the left (<) and right (>) arrows on the button pad to toggle between the Theragun PRO’s pre-loaded treatment presets.
- To turn off the Theragun PRO, firmly press and hold the centre button on the button pad until the device shuts down.
Connecting the attachments
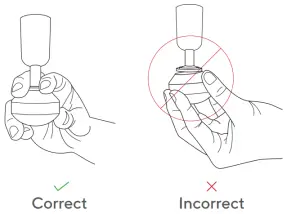
Align the attachment with the tip of the rotating arm and push to connect. To remove, grip the attachment, placing 1 finger on each side of the plastic connector. Pull off the attachment.
Using the rotating arm
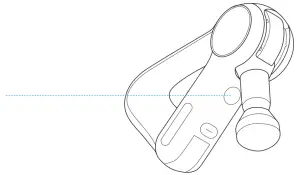
Your Theragun PRO’s rotating arm adjusts to 4 positions. To adjust the arm, push the rotating arm button on the underside of the Theragun PRO and move the arm to the desired position.
Lithium-ion battery
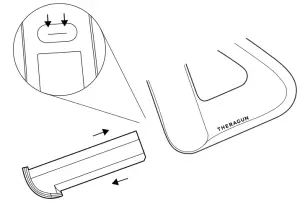
Align and insert the battery in the battery slot on the underside of the Theragun PRO with the flat side of the battery end facing the circular release button.
Battery life is displayed on the Theragun PRO’s OLED screen when the device is turned on.
To remove the battery, press the circular release button above the battery slot and pull the battery out.
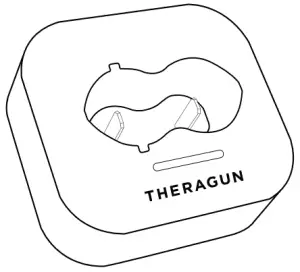
Charger
Plug the charging wire into the port on the charging dock. Insert the battery into the charging dock and press down until the light flashes. Charging is complete once the light stops flashing.
The Theragun PRO is wireless charging enabled. For more on wireless charging, visit Theragun.com.
Smart Features
Your Theragun PRO is smart device enabled with Bluetooth connectivity, designed to pair seamlessly with the Theragun app. When you download the app, you’ll be guided through a step-by-step setup and shown how to pair your device.
Once paired with your device, the app can remotely adjust speed, activate guided treatment presets, and make real-time recommendations based on your usage. Your Theragun PRO’s OLED screen supports your app experience by displaying the current speed and force to help guide your treatment.
Scan the QR code to get started.


Attachments
Your Theragun PRO comes with 6 different attachments designed for every muscle and need.
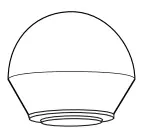
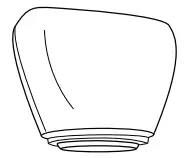
Dampener
For use on tender areas or near bones
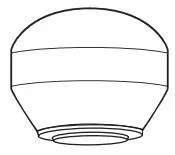
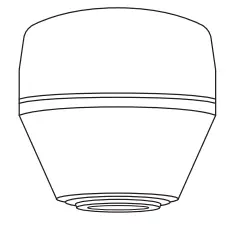
Standard Ball
For overall, general use
Wedge
For scraping, shoulder blades, or IT bands
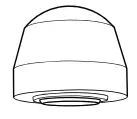
Thumb
For lower back and trigger point therapy
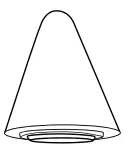
Cone
For pinpoint muscle treatment
Supersoft™
When you need a soft touch
Born in Los Angeles, CA.
Designed for everybody