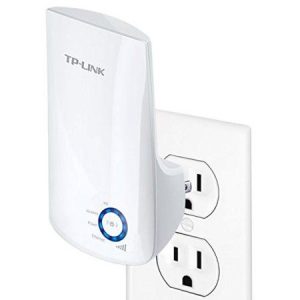
Setup your tp-link Universal Wi-Fi Range Extender using this handy online version of the included manual.


tp-link Universal Wi-Fi Range Extender Installation Guide
Power On
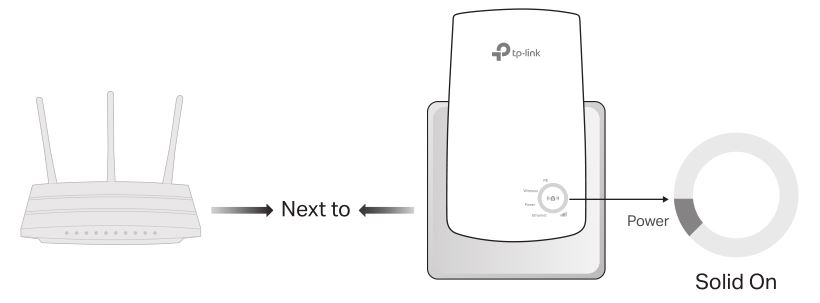
Plug the extender into a power outlet next to your router. Wait until its Power LED turns solid on.
Setup
Via the Tether App
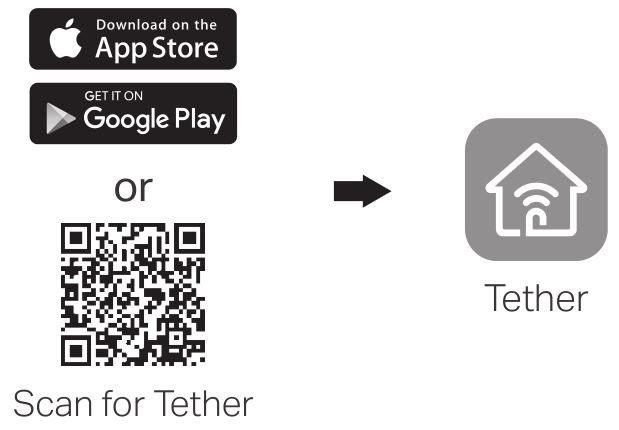
Get the up-to-date Tether app from the Apple App Store or Google Play, or simply scan the QR code.
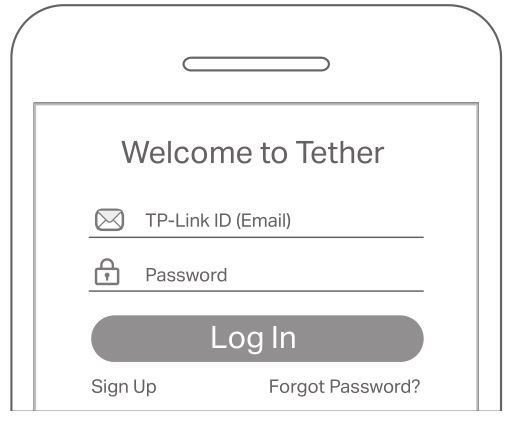
Launch the Tether app and log in with your TP-Link ID. If you don’t have an account, create one first.
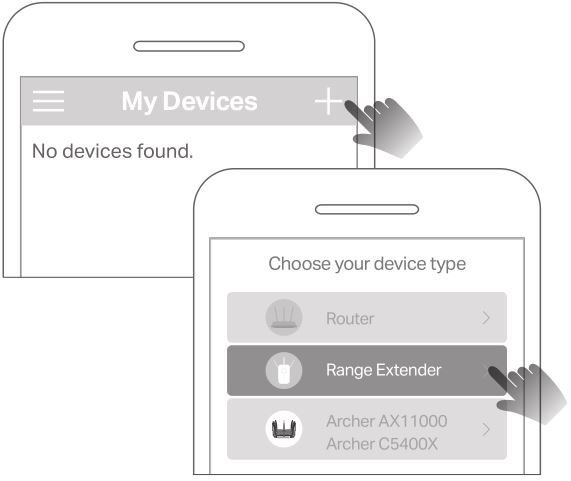
Tap the + button and select Range Extender.
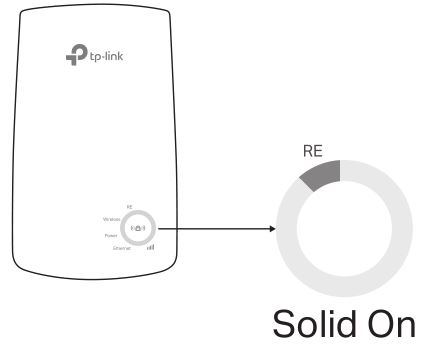
Follow app instructions to complete the setup. The RE LED should turn solid on, indicating successful connection to your router.
Note: If the LED does not turn solid on, please refer to FAQ > Q2.
More Setup Methods
Via a Web Browser:
- Connect your computer or smartphone to the extender’s network TP-Link_Extender.
- Visit http://tplinkrepeater.net or http://192.168.0.254 in a web browser. Create a password to log in.
- Follow web instructions to complete the setup.
Via the WPS Button:
- Press the WPS button on your router.
- Within 2 minutes, press the WPS button on the extender for 1 second. The RE LED should change from blinking to solid on, indicating successful connection.
Extended Network Name:
Router’s network name with _EXT at the end
For more details, please refer to the user guide at: https://www.tp-link.com/support/download/.
