USER MANUAL
XOSS G+
GPS LOCATION – QUICK START GUIDE
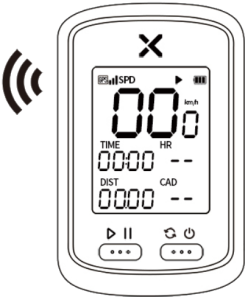
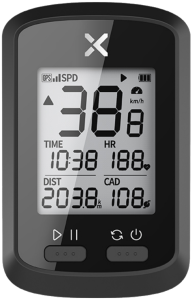
To receive satellite signals, please remains static and make sure your device is used at open space and barrier-free area.
(1) LONG PRESS THE RIGHT BUTTON TO TURN ON.
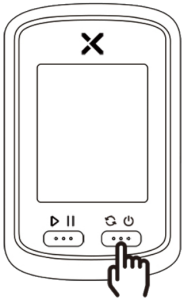
(2) PRESS THE LEFT BUTTON TO ACTIVATE GPS.
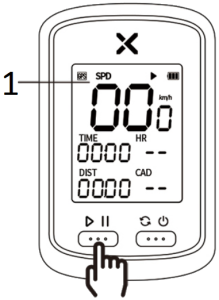
- GPS icon flashes when getting ready
(3) GET GPS SIGNAL AFTER START UP TAKES A FEW MINUTES.

(4) ENJOY YOUR RIDE.
1. INTRODUCTION
SPECIFICATIONS
| NAME | XOSS G+ GPS Cycling Computer |
| SIZE | 48*75*19mm |
| PRODUCT WEIGHT | 52g |
| OPERATING TEMPERATURE | -10~50°C |
| BATTERY | 500mAh Rechargeable Lithium Ion |
| RECORDING TIME | Up to 25 Hours |
| WATERPROOF | IPX7 |
| DATA | GPS SPD TIME HR CAD DIST GRD ALT CLOCK ODO |
| ANT+ SENSOR SUPPORT | Speed Sensor, Cadence Sensor, Heart Rate Monitor, Speed/Cadence Sensor. |
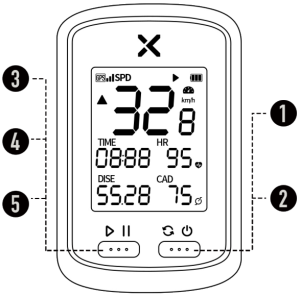
(1) POWER ON/OFF
Long press the right button
(2) SWITCH DATA DISPLAY
Press the right button
(3) START/PAUSE RECORDING
Press the Left Button
(4) RESUME/PAUSE
Press the Left Button
(5) END RECORDING
Long press the left button
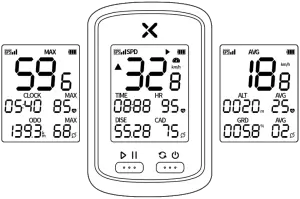
RECORD 15 TYPES of DATA
| SPD (CURRENT SPEED) |
HR (CURRENT HEART RATE) |
CAD (CURRENT CADENCE) |
TIME (TIME) |
DIST (DISTANCE) |
| AVG (AVERAGE SPEED) |
AVG (AVERAGE HEART RATE) |
AVG (AVERAGE CADENCE) |
ALT (ALTITUDE) |
GRD (GRADE) |
| MAX (MAX SPEED) |
MAX (MAX HEART RATE) |
MAX (MAX CADENCE) |
CLOCK (CLOCK) |
ODO (ODOMETER) |
2. XOSS APP CONNECTION


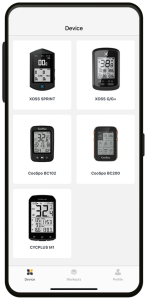
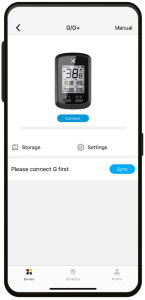
- Turn on XOSS G+ and turn on Bluetooth on the phone,
- Click on device and search for available devices.
- Select XOSS G+ for pairing.
The APP is designed for Bluetooth 4.0 and later versions.
3. XOSS APP SETTINGS
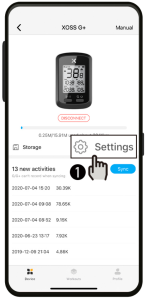
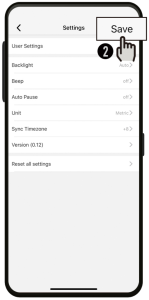
After connecting XOSS G+ with XOSS app, click settings to modify the features below.
USER SETTINGS BACKLIGHT BEEP AUTO PAUSE UNIT SYNC TIMEZONE
Click SAVE after modification.
Note: RESET is used for restoring factory default setting, but not riding data.
4. ANT+ SENSORS CONNECTION
SUPPORT
Speed Sensor Heart Rate Monitor
Cadence Sensor Speed/Cadence Sensor
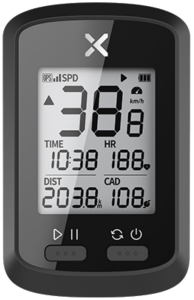
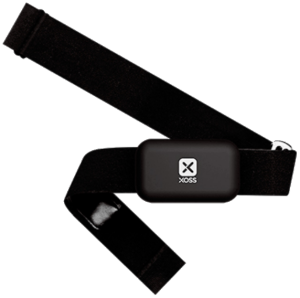
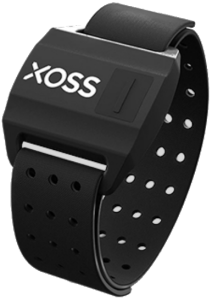
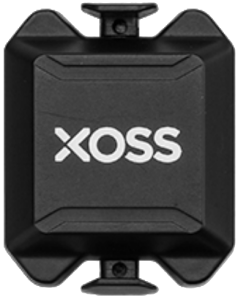
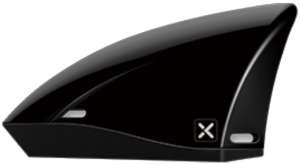
– – – – – – – – – – – – – – – – – – – – – – – – – – – – – – – – – – – –
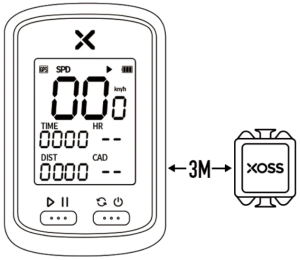
(1) Bring the device within 3m of your sensors, and stay 10m far away from other rider’s sensors.
(2) Press both buttons simultaneously on G+ until the icon is flashing, which indicates the XOSS G+ is searching active sensor nearby.
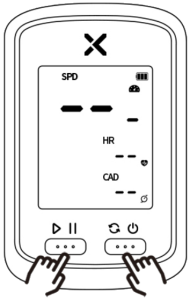
(3) If the pairing succeeds, the icon will remain static, press the right button again, enter into settings interface.
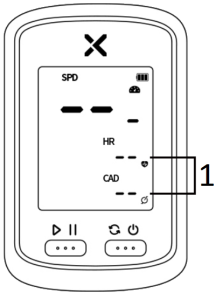
- the icon flashing
[CIRCUMFERENCE] [METRIC/IMPERIAL] [TIME ZONE] SETTINGS
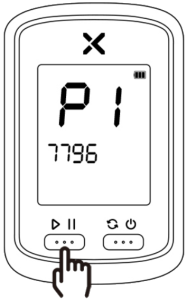
(4) TIRE CIRCUMFERENCE SETTING(MM)
Press the left button to set number or option.
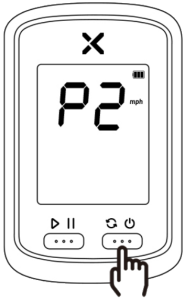
(5) METRIC/IMPERIAL UNIT SETTING
Press the right button to switch.
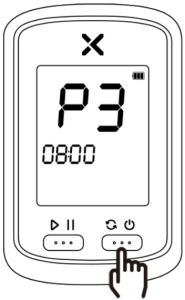
(6) TIME ZONE SETTING
After setup, long press the right button to exit the settings.
5. SYNC TO STRAVA/TRAININGPEAKS
Long press the left button to end your recording after every ride and sync your riding activities with the App
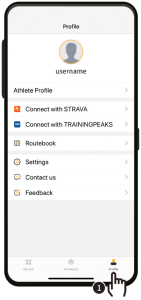
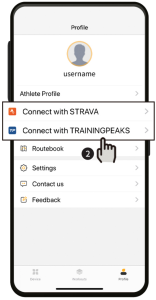
Click on Profile, connect your Strava/TrainingPeaks account with XOSS.
Please note, your riding activities only can sync to your Strava/TrainingPeaks account after the connection succeeds.
6. UPGRADE FIRMWARE
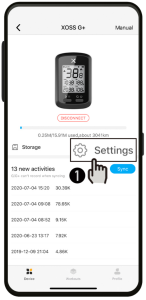
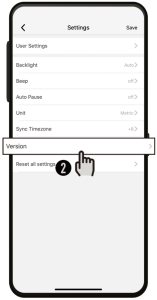
You are suggested to update the firmware from time to time.
Note:make sure your Bluetooth is on and XOSS G+ is turned on.
7. PACKING LIST

XOSS G+
GPS Cycling Computer*1
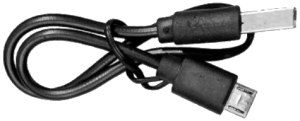

Micro USB Cable*1 Rubber Bands*2
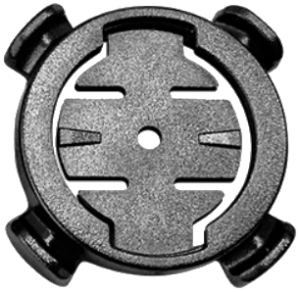
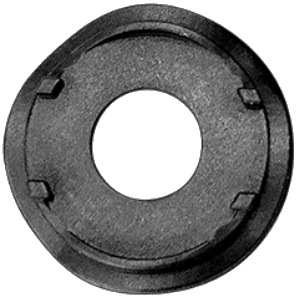
Cycling Computer Mount*1 Protection Rubber Pad*1
WARRANTY
Thank you for purchasing our product. We offer a one-year manufacturer’s warranty from the date of purchase. For details, please contact your retailer.
Our warranty does not apply to:
a. Battery
b. Misuse, abuse or damage caused by human factors
c. Any unauthorized disassembly
XOSS HONG KONG CO., LIMITED
ROOMS 1318-9, HOLLYWOOD PLAZA, 610 NATHAN ROAD, MONGKOK, KL, HONG KONG
Any questions or more information, please contact us via [email protected]
Visit our website for more products xoss.co





FCC ID:2AJFWXOSSG