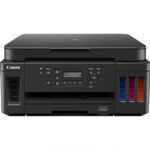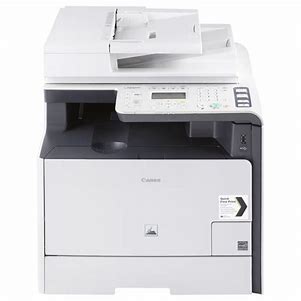

MF83Cdw
Setup Guide
- After finish reading, this guide, store it in a safe place for future reference.
- The information in this guide is subject to change without notice.
- Important Safety Instructions
Be sure to read these manuals before using the machine. - Setup Guide (this document)
- User’s Guide / FAQ

https://go.oip.manual.canon/?rid=rPzb9qwr
https://oip.manual.canon/
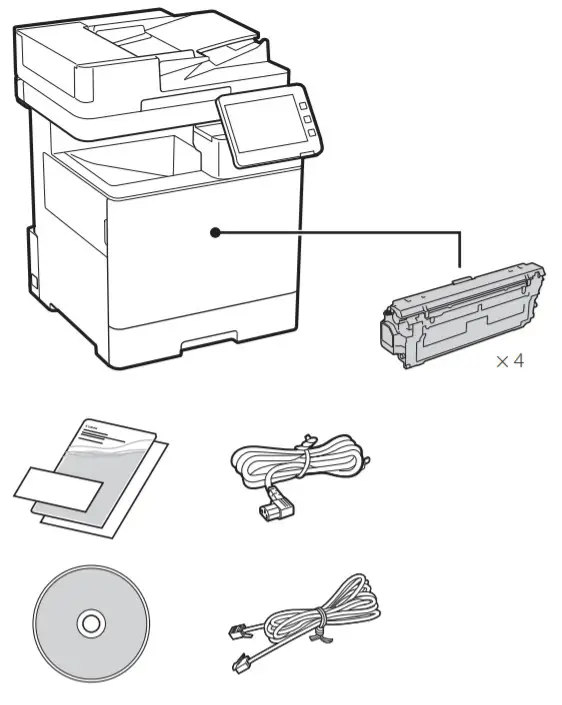
Checking the Items Included
Removing the Packing Material
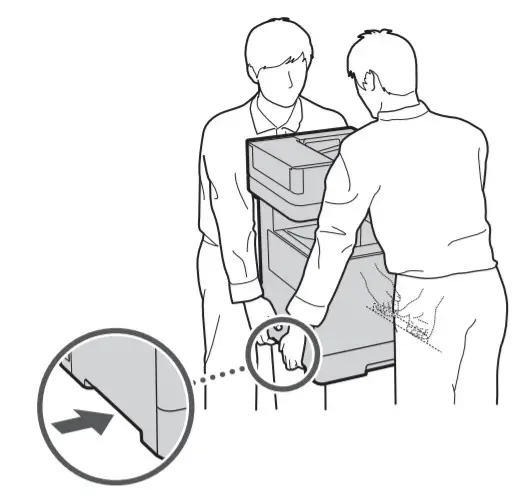
1. Install the machine in the location where it will be used.

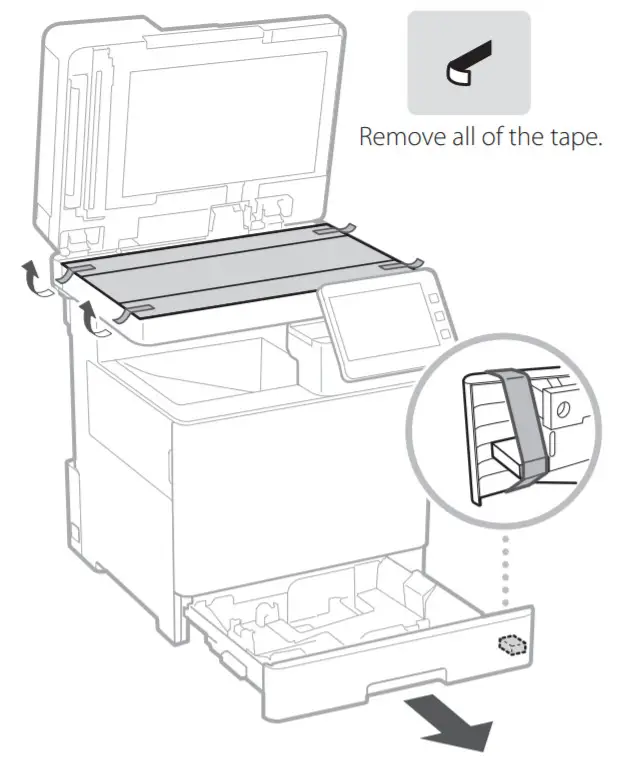
2. Remove all the packing material.
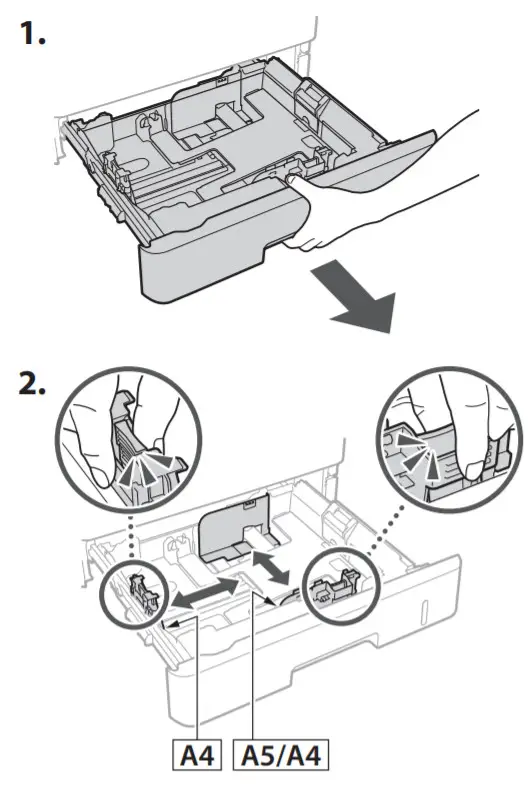
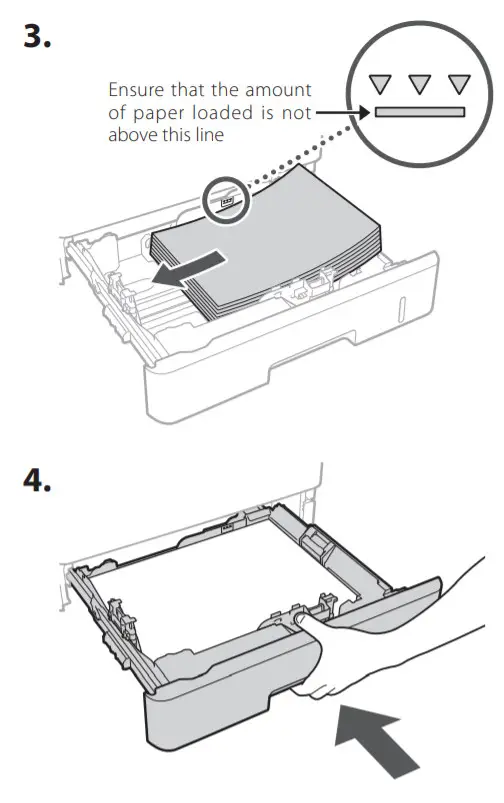
Loading Paper
Installing the Optional Product
 if you are not using the optional product, proceed to step(Connecting the Cords and Cables 5
Before Installing the Optional Product
When installing the optional product after the machine has been installed, perform the following before starting work:
- Shut down the machine and your computer.
- Unplug the machine from the mains power outlet.
- Disconnect all cords and cables from the machine.
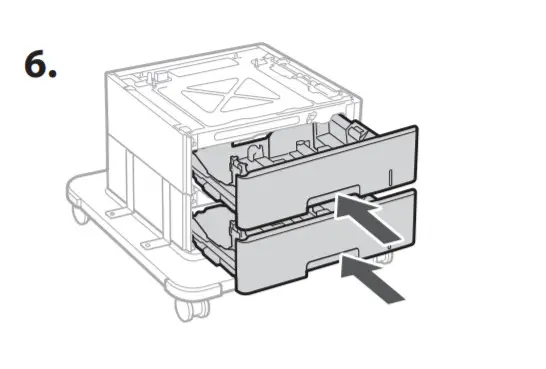
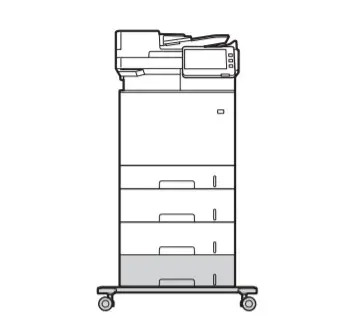
Paper Feeder/Cassette Pedestal
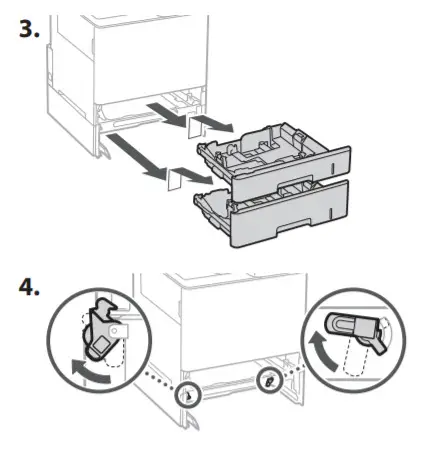
1. Install the paper feeder in the location where it will be used.
 |
 |
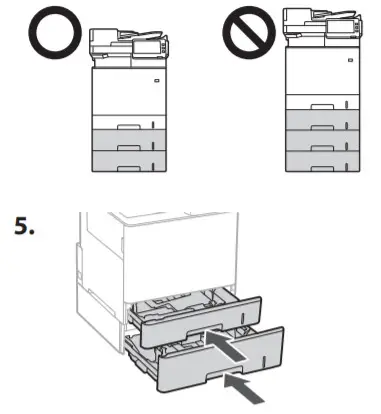
- You can stack up to two paper feeders.
 |
 |
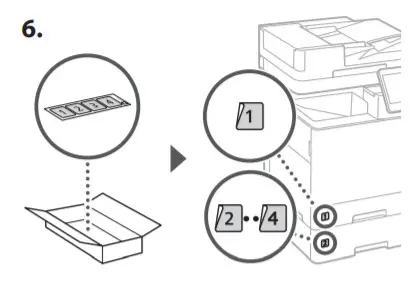
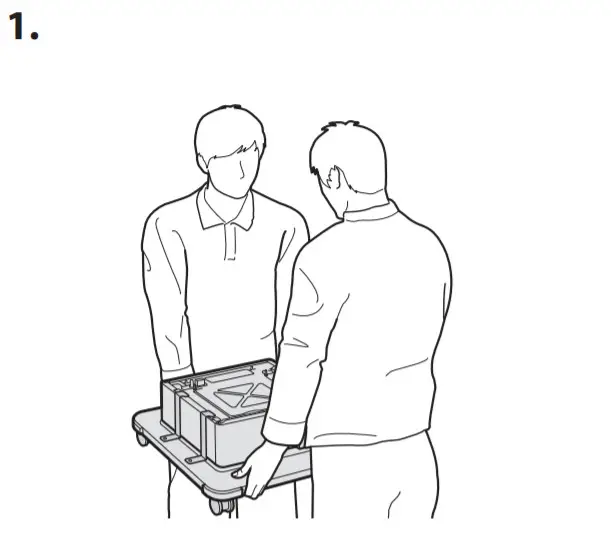
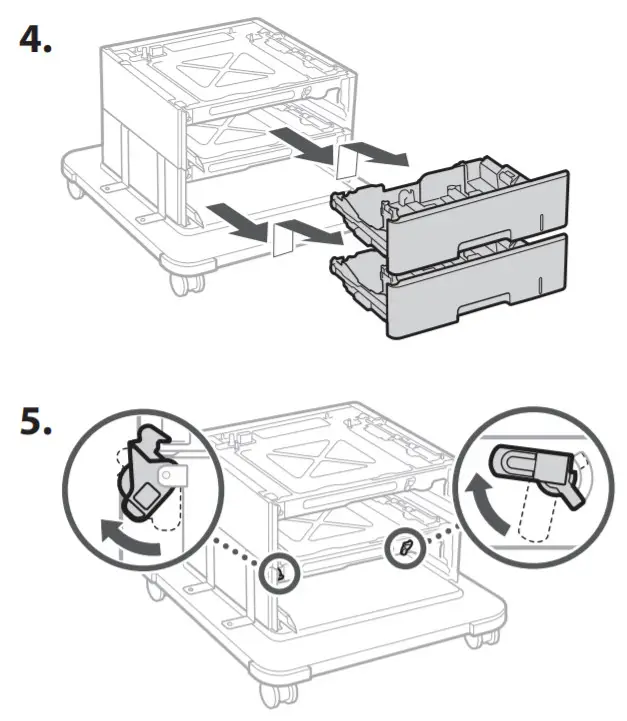
When Using the Cassette Pedestal
1. Install the cassette pedestal in the location where it will be used.
 |
 |
 |
 |
 |
|
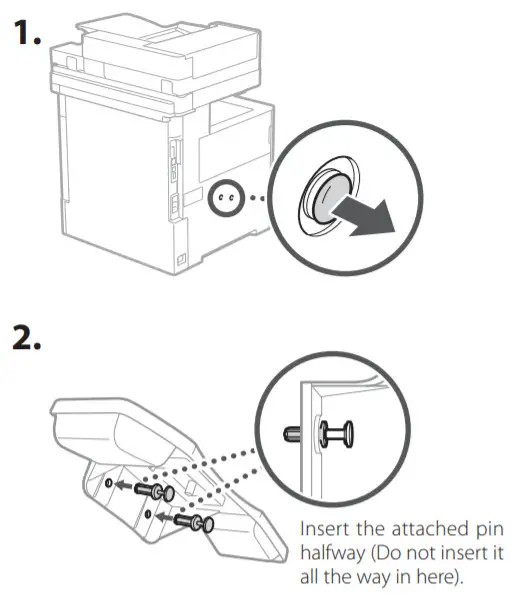
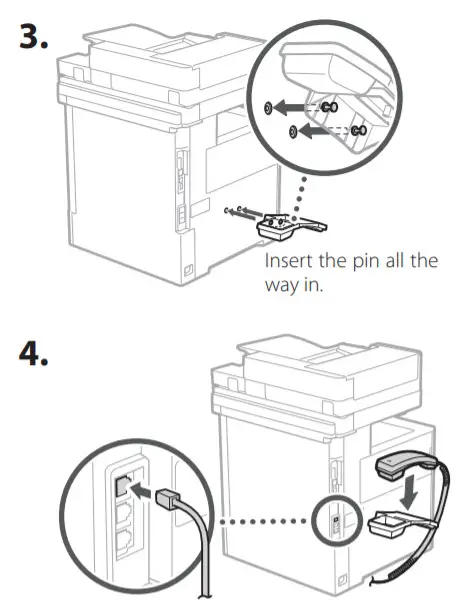
Handset
 |
 |
Connecting the Cords and Cables
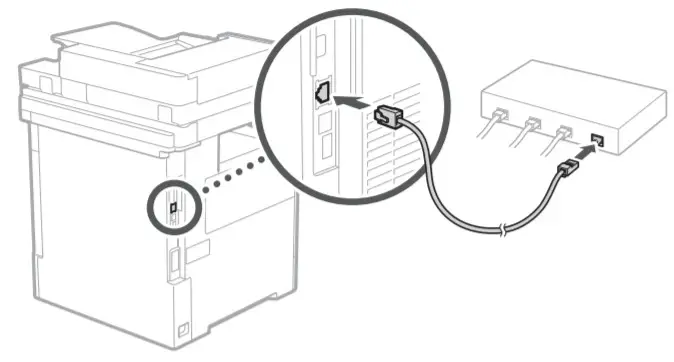
1. To connect to a wired LAN, connect the machine to the router using a LAN cable.
2. To use the machine for faxes, connect it to the phone line using a modular cable.
- Always check the line before connecting. Connecting to a dedicated line for business phones, etc. could cause a fault.
3. Connecting the Power Cord.
Setting Up Using the Setup Guide
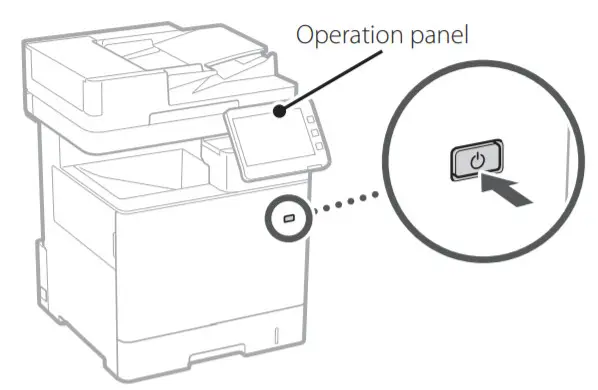
When you turn the machine on for the first time, the setup Guide starts up on the operation panel.

Scan the following QR code for information on using the Setup Guide.

https://go.oip.manual.canon/?rid=Y3UBQVHy
What You Can Use the
1 Specifying the Basic Settings
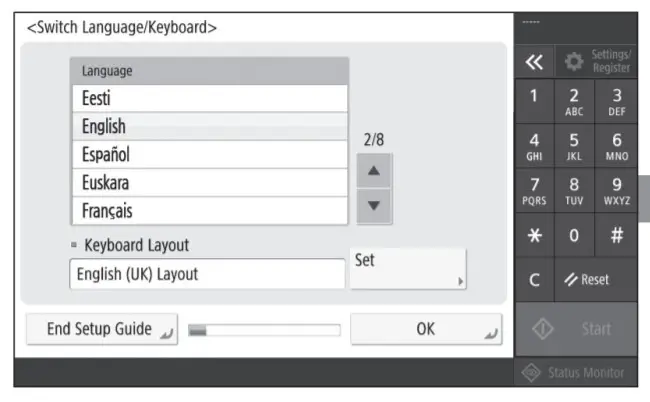
Specify basic settings such as the screen display language and the type of paper used.
Setup Guide For
2 Specifying the Security Settings

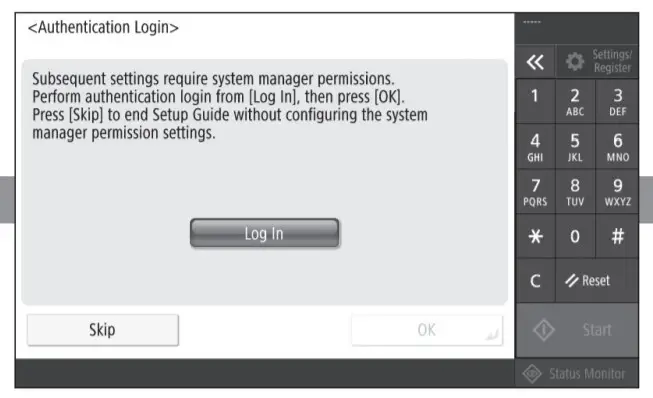
Specify the administrator login and user authentication settings to improve the security of the machine.
The default administrator login is “Administrator” and the default password is “7654321”.
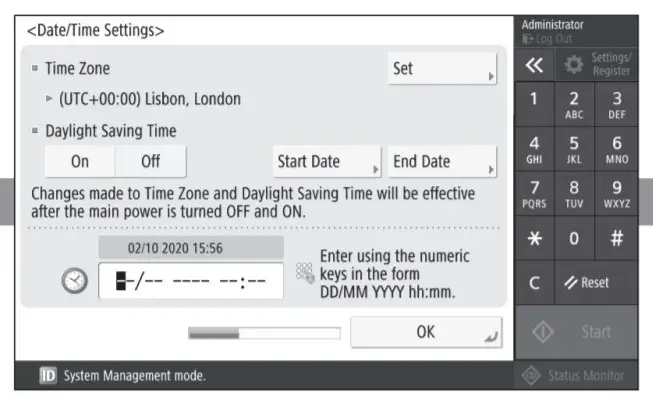
3 Setting the Date and Time
Set the machine’s date and time.
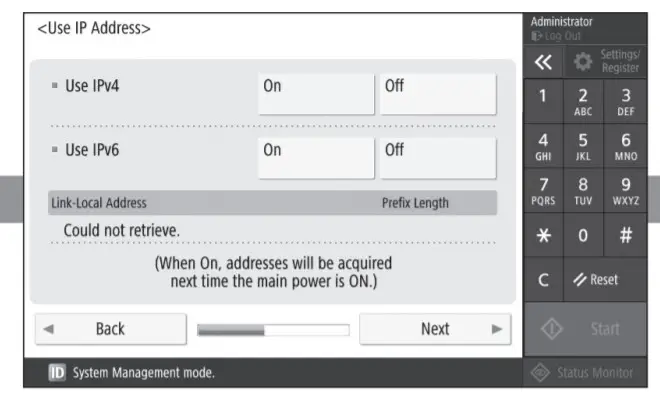
4 Specifying the Network Settings
Specify the settings for connecting the machine to a network.
Select a wired LAN or wireless LAN and specify the IP address. Depending on your network environment, specify the DNS and proxy settings also.
5 Specifying the Fax Settings
6 Adjusting the Gradation Automatically
You can adjust the color gradations to get a better printing result.
Specify the settings required for using the fax functions.
Installing the Software/ Drivers
Install the software and drivers from the CD/DVD-ROM included, or visit the URL below and download them from the Canon website for your country/region.
https://global.canon/en/support/

Example: MF832Cdw download

