DELTA R10000 Series Multichoice Universal Shower Valve Installation Guide
To reference replacement parts and access additional technical documents and product info, visit www.deltafaucet.com
Read all instructions prior to installation.
Failure to read these instructions prior to installation may result in personal injury, property damage, or product failure. Manufacturer assumes no responsibility for product failure due to improper installation.
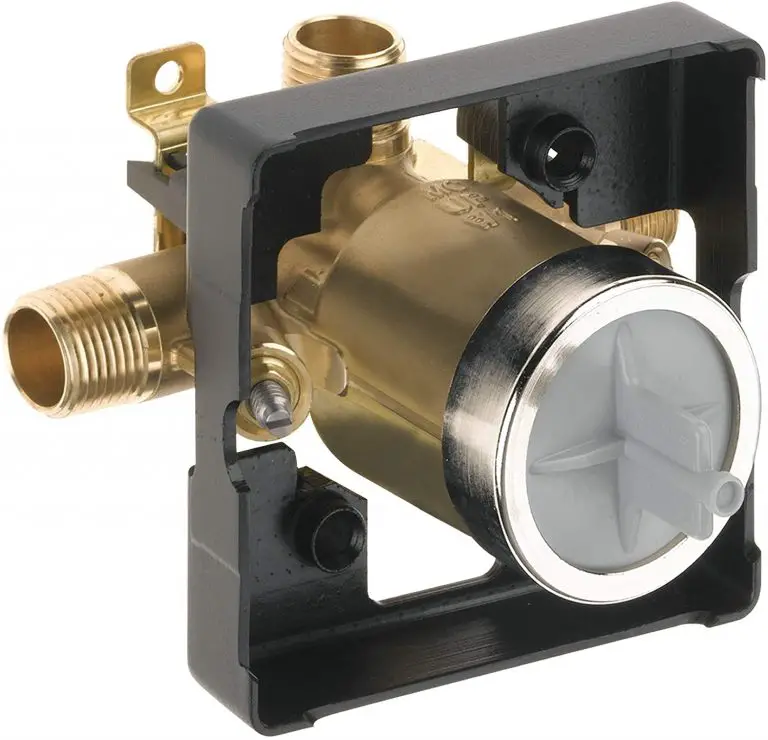
MULTICHOICE® ROUGH-IN BODY

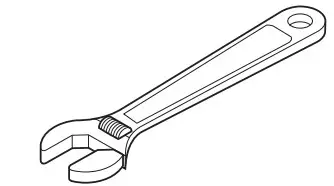
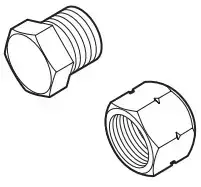
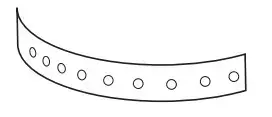
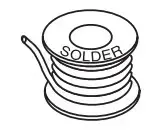
You may need:
SHUT OFF WATER SUPPLIES:
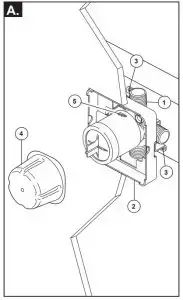
your finished wall before placing your stringer back plate. Install the body (1) so the surface of the finished wall is flush with the front of the plasterguard (2) ± 1/4″.
For with stops models, plasterguard must be flush or subflush 1/4″ to finished wall. Mount body using the two stringer mounting holes (3) on the bracket.
Remove cover (4) to access mounting holes. Make sure the word “UP” (5) is on top of the valve bodywhen installing.
Distance (1) from the stringer (2) to the front of the plasterguard is 2 3/4″ ± 1/4″ (70 mm ± 6 mm).
This is the same distance to the finished wall (3). Distance (4) from the stringer (2) to the front of the bonnet is 3 7/8″ (99 mm).
(For reference only)
If a thin wall is used, be sure to have the plasterguard behind the wall, otherwise the wall should always be flush with the front of the plasterguard. See instruction on the bag for thin wall mounting.
For thin wall installation, RP47202 might be needed
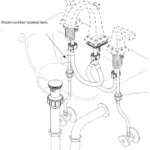
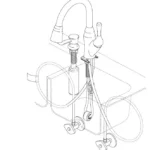
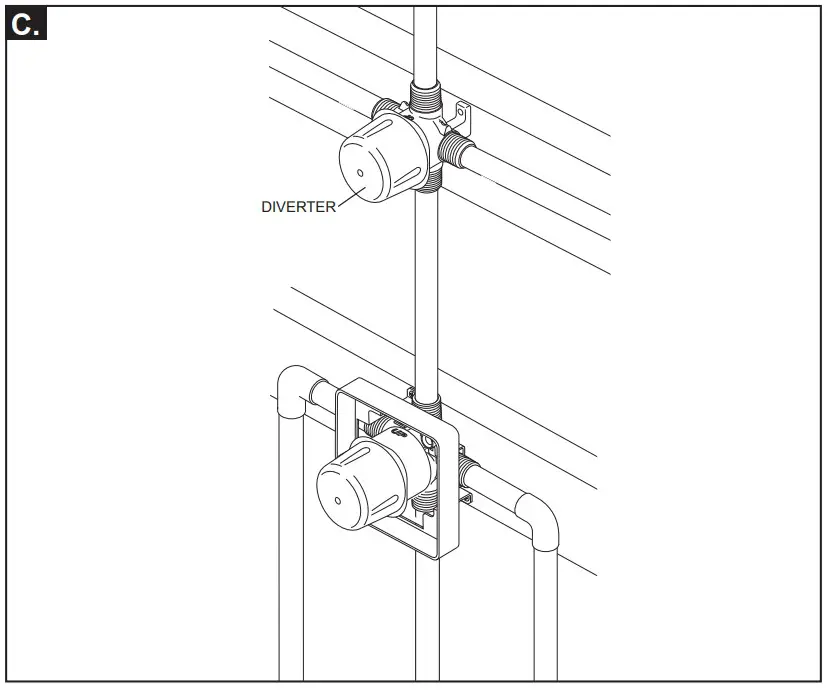
The figure illustrates the diverter and MultiChoice installed in the same finished wall.
Refer to the diverter rough installation instructions for more information.
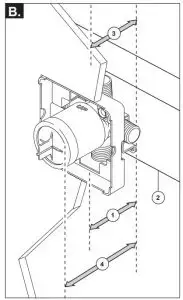
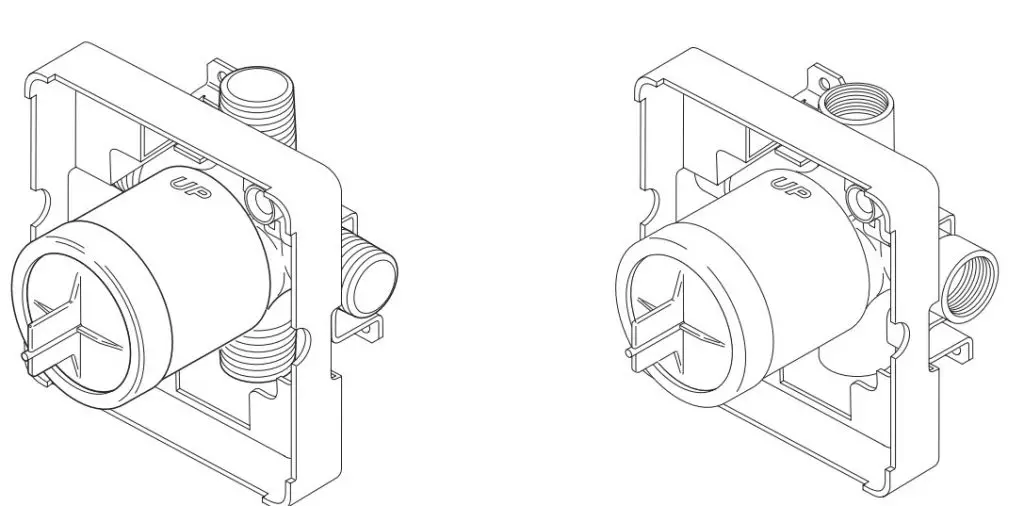
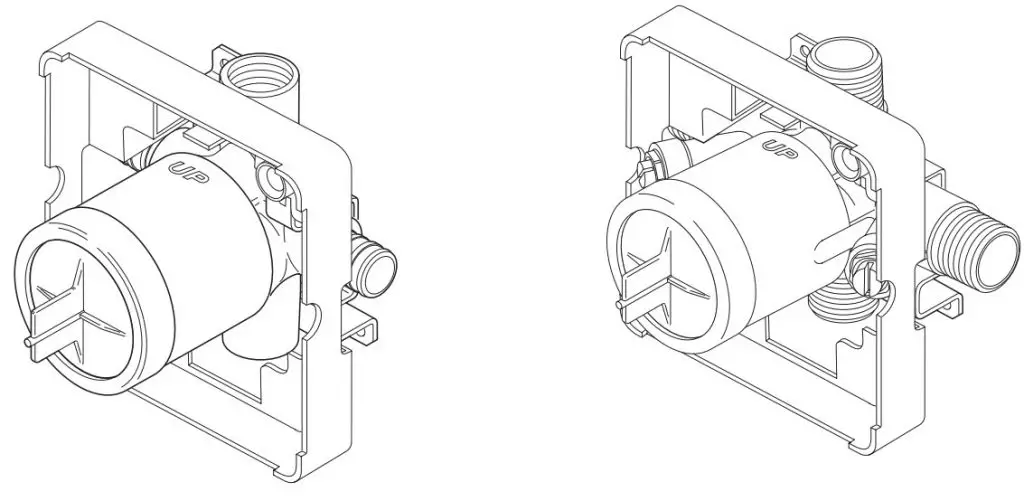
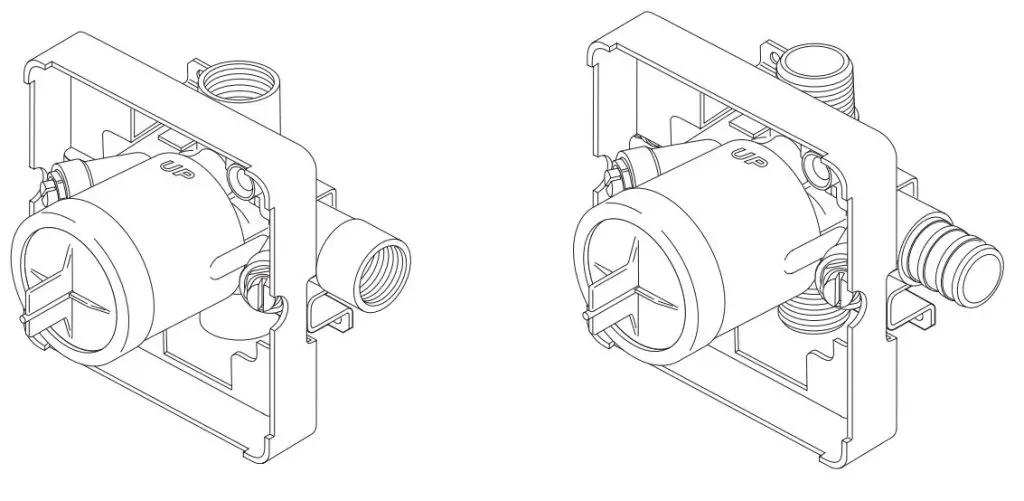
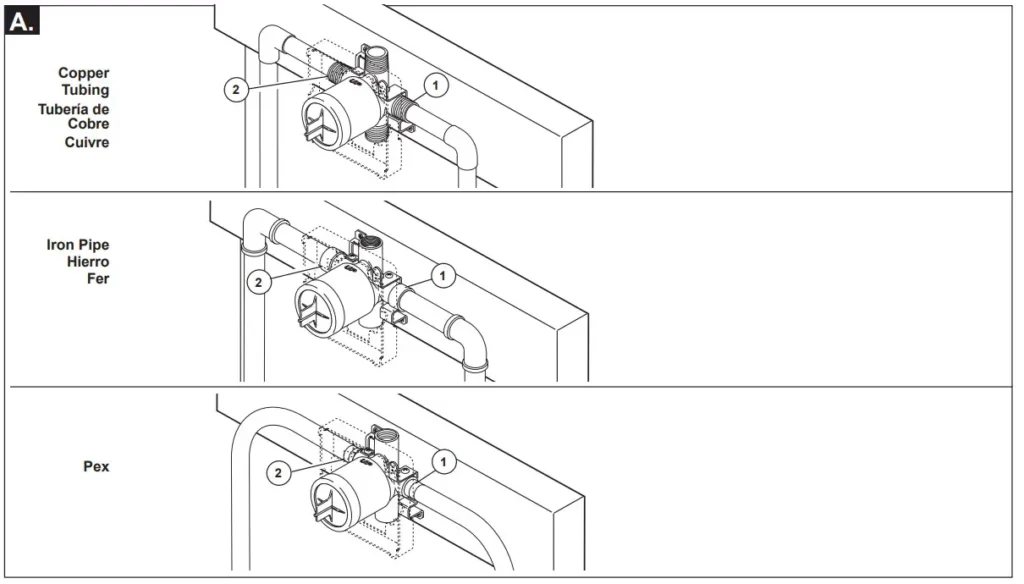
Connect valve body to water supplies using the proper fittings for your valve body type (copper tubing, iron pipe or Pex).
For Pex, be sure to use the right fitting for crimping and the right tool for cold expansion. If either of the two outlet ports is to be unused, seal the port with a pipe plug. Note: (1) is the cold inlet port and (2) is the hot inlet port.
If you are making a back to back or reverse installation (hot on right and cold on left) install the valve body as described, but the water supply lines will be reversed.
(1) is the hot inlet port and (2) is the cold inlet port.
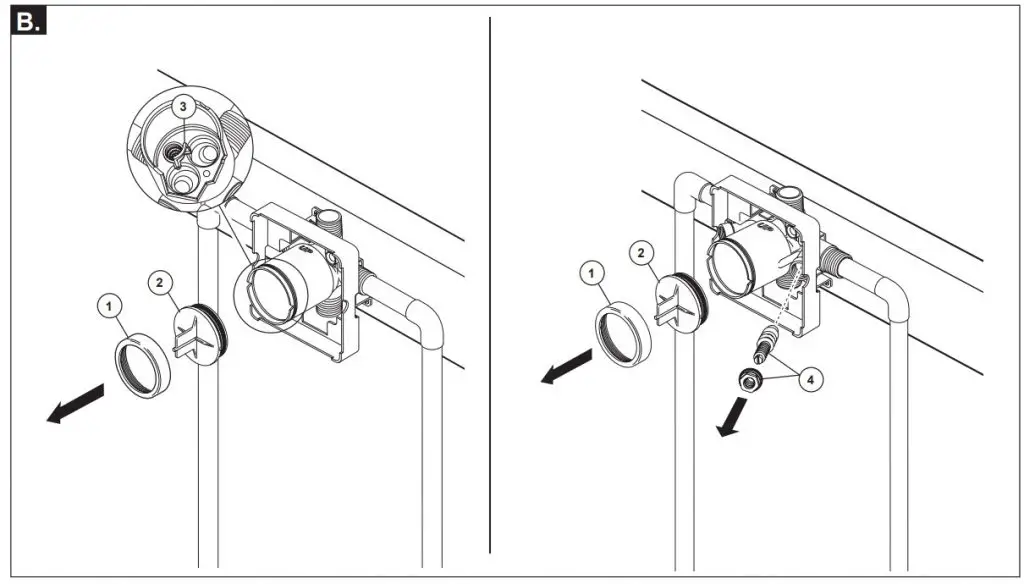
Remove bonnet (1) and test cap (2) before soldering. Leave screen (3) installed.
Avoid soldering at high temperature. Exposure to high temperatures may damage screen. Be sure stops (4) are removed from the w/stops version before soldering. (Do not install before soldering.)
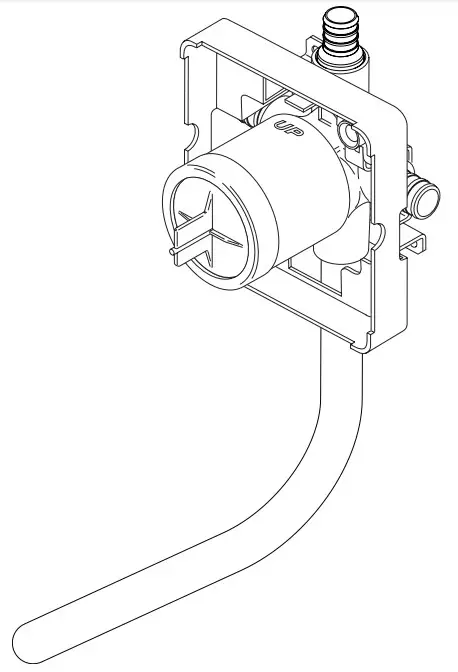
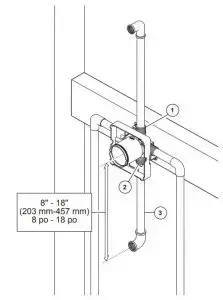
Connect top outlet (1) to shower pipe with proper fittings. Connect bottom outlet (2) to tub spout pipe with proper fittings. Pipe (3) between valve body and tub spout must be a minimum of 1/2″ (13 mm) copper pipe or 1/2″ (13 mm) iron pipe in a straight drop no less than 8″ (203 mm) but no more than 18″ (457 mm) long with only one iron pipe or copper 90 degree elbow to the tub spout nipple. Do not use PEX tubing for tub spout drop. Note: There is no tub outlet in high flow models.
PRESSURE TESTING & FLUSHING THE INSTALLATION
Prior to testing, remove cover (1), bonnet (2) and cap (3). Ensure O-ring (4) and filter screen (5) are properly installed. Reinstall cap and bonnet and tighten securely. Plug both outlets with proper fittings. Check for leaks. After testing remove shower and/or tub spout plug and flush system. After flushing remove filter screen (5) and reinstall cap, bonnet and cover. Install stops (6 & 7) in the w/stops version and set to full open. Note: Install stops in the w/stops version as follows:
Thread nut (6) on stem (7) as shown. Then press stem and nut assembly into body (8) and tighten using a 3/8″, 6 point, deep well socket. With a flat head screwdriver, adjust stem clockwise to close and counterclockwise to open.
Cleaning and Care
Care should be given to the cleaning of this product. Although its finish is extremely durable, it can be damaged by harsh abrasives or polish. To clean, simply wipe gently with a damp cloth and blot dry with a soft towel.
Limited Warranty on Delta® Faucets
Parts and Finish. All parts (other than electronic parts and batteries) and finishes of Delta® faucets purchased from authorized Delta sellers are warranted to the original consumer purchaser to be free from defects in material and workmanship for as long as the original consumer purchaser owns the home in which the faucet was first installed. For commercial purchasers, (a) the warranty period is ten (10) years for multi-family residential applications and (b) five (5) years for all other commercial applications, in each case from the date of original purchase. For purposes of this warranty, the term “multi-family residential application” refers to the purchase of the faucet from an authorized Delta seller by a purchaser who owns but does not live in the residential dwelling in which the faucet is initially installed, such as in a rented or leased single unit or multi-unit detached home (duplex or townhome), or a condominium, apartment building or community living center. The following installations are not considered multi-family residential applications, are excluded from the 10-year warranty and are subject to the 5-year warranty: industrial, institutional or other business premises, such as a dormitory, hospitality premises (hotel, motel or extended stay location), airport, educational facility, long- or short-term healthcare facility (hospital, rehabilitation center, nursing, assisted or staged-care living unit), public space or common area
Parts and Finish for Delta® Recertified Faucets. Delta Faucet Company offers for sale on deltafaucet.com Delta® Recertified faucets. All parts (other than electronic parts and batteries) and finishes of these Delta® Recertified faucets are warranted to the original consumer purchaser to be free from defects in material and workmanship for ten (10) years from the date of original purchase. For commercial purchasers, the warranty period is one (1) year from the date of original purchase.
Electronic Parts. Electronic parts (other than batteries), if any, of Delta® faucets purchased from deltafaucet.com or authorized Delta sellers are warranted to the original consumer purchaser to be free from defects in material and workmanship for five (5) years from the date of original purchase or, for commercial purchasers, for one (1) year from the date of original purchase. No warranty is provided on batteries.
What We Will Do. Delta Faucet Company will repair or replace, free of charge, during the applicable warranty period (as described above), any part or finish that proves defective in material and/or workmanship under normal installation, use and service. If repair or replacement is not practical, Delta Faucet Company may elect to refund the purchase price in exchange for the return of the product. These are your exclusive remedies
In the United States and Mexico:
Delta Faucet Company
Product Service
55 E. 111th Street
Indianapolis, IN 46280
Attention: Customer Solutions
www.deltafaucet.com/service-parts/contact-us