Hub Shocker 2.0 Review and Instructions
What is it?

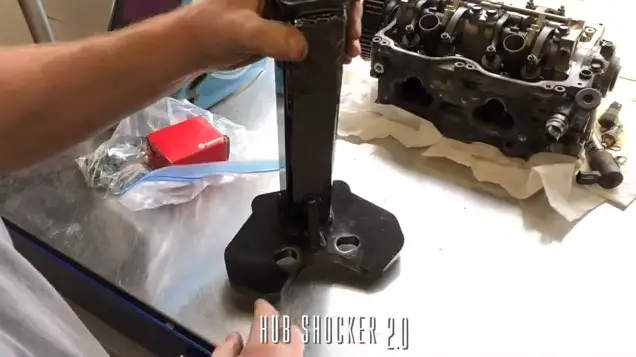
This tool has made my life so much easier. It’s got a gusset here, it’s got some two inch tubing you can use this at home. You can use this in Shaun ultimate wheel bearing removal tool provide a striking surface outside of your wheel wall 12 inches away from strike this with massive amounts of force during will pop off guarantee .
I’m not guaranteeing.
Shocker will take any hub off this thing’s amazing front/rear,
Doesn’t matter the only problems….
I’ve had is some of the fasteners that come with it ATD eight six two nine Hope shocker LTI tools.
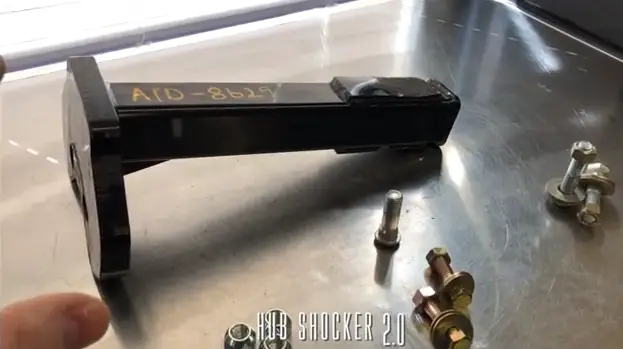
Also makes it both versions are excellent both have these oblong holes mount it on just about anything three-quarter inch plating some two inch tubing these pads on on the sides to hammer with and you can see I’ve smushed those down.
So this is really sturdy it’s a simple tool.
I’d say it’s like ten pounds now.
I just go straight for the sledgehammer available on Amazon
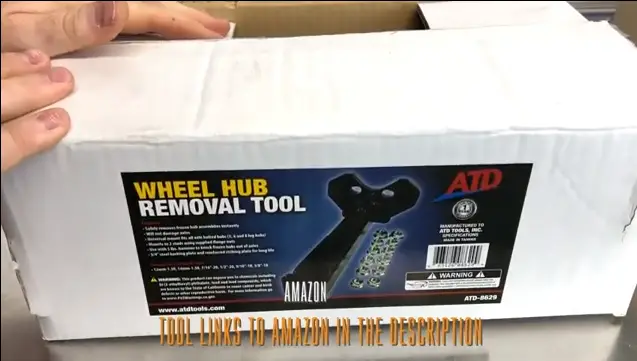
I’ll put some links down in the description below. my go-to tool for stuck wheel bearings with the amount of corrosion, that we have.
Where I live which is Michigan.
Diagnosis
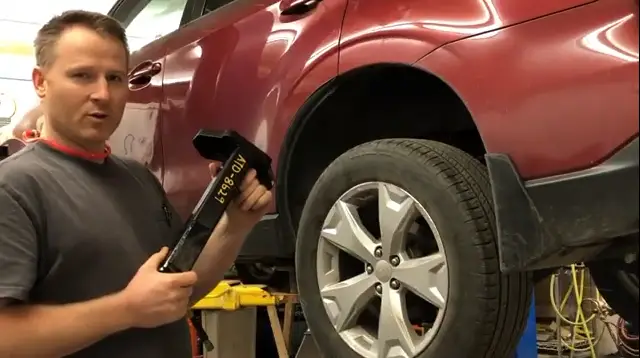
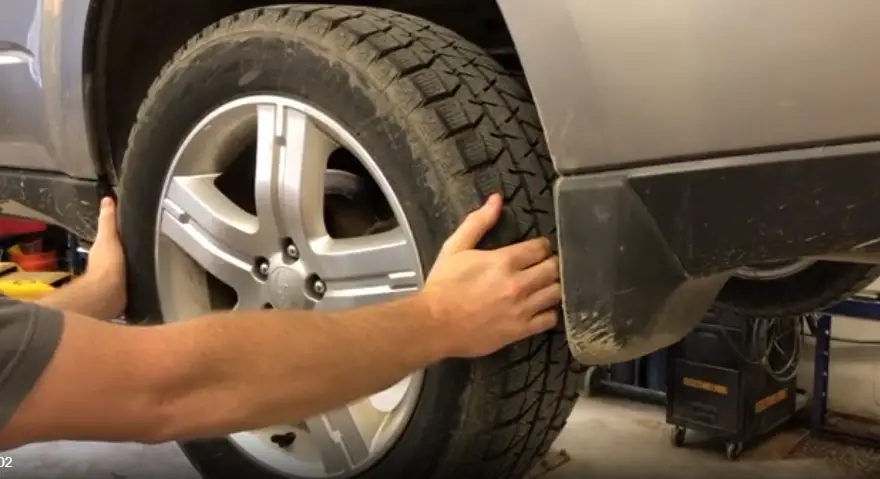
This car has a bad wheel bearing. If the noise changes when you slightly swerve like this.
Sometimes you can feel it right under your feet and that would tell you it’s probably a front-wheel Barry I can’t really tell where this one’s coming from.
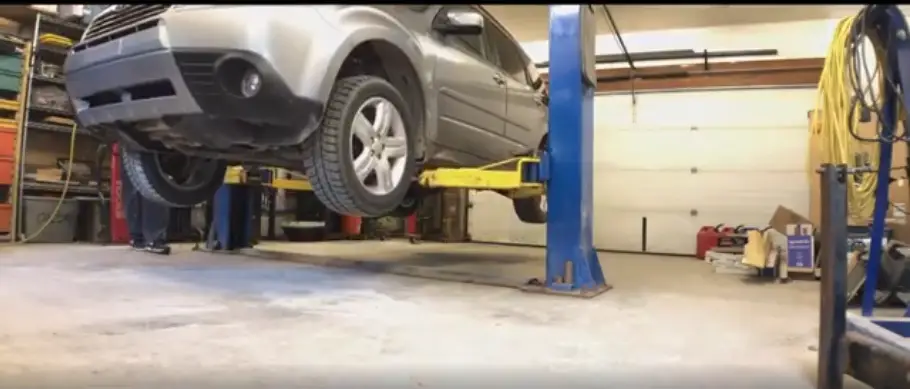
This is my personal vehicle two hundred and thirty five thousand miles you need. More information put a link to the video how to diagnose any wheel bearing how to pinpoint it.
How it works
Oh…
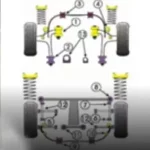
Oh… left and right shake we get quite a bit of movement the CalPERS mounted to the knuckle.
So it’s not going to move the rotor is mounted to the bearing the bearing is loose or moves in any way.
you’re gonna see movement in the relationship of these two parts. I don’t know if you can hear it on the camera real good or not.
I can definitely hear some grinding in there this one isn’t making a ton of noise but it’s making enough to notice while driving…
- Driving – Obvious Noise
- Spin Testing – No Noise
- Shake Test – Very Loose
- Bad Bearing
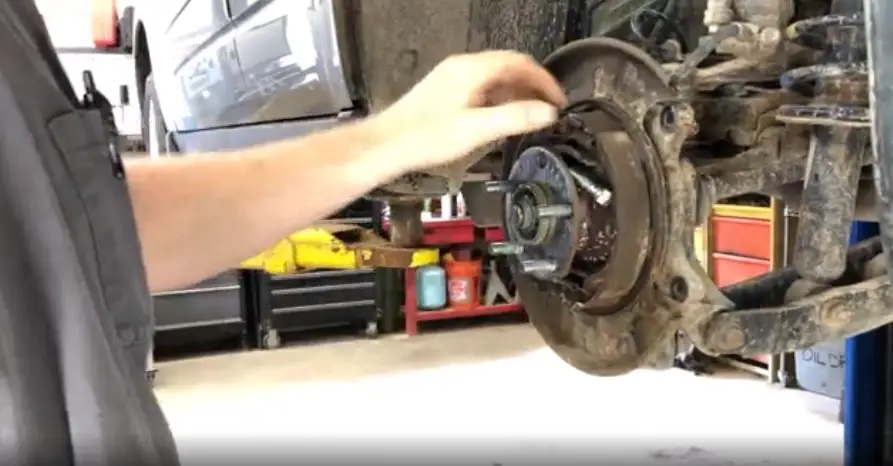
Mounting
There’s different ways to do this.
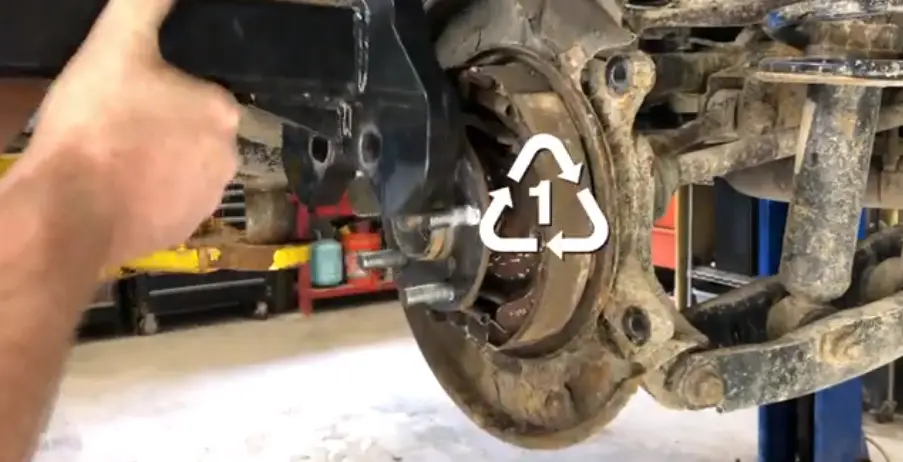
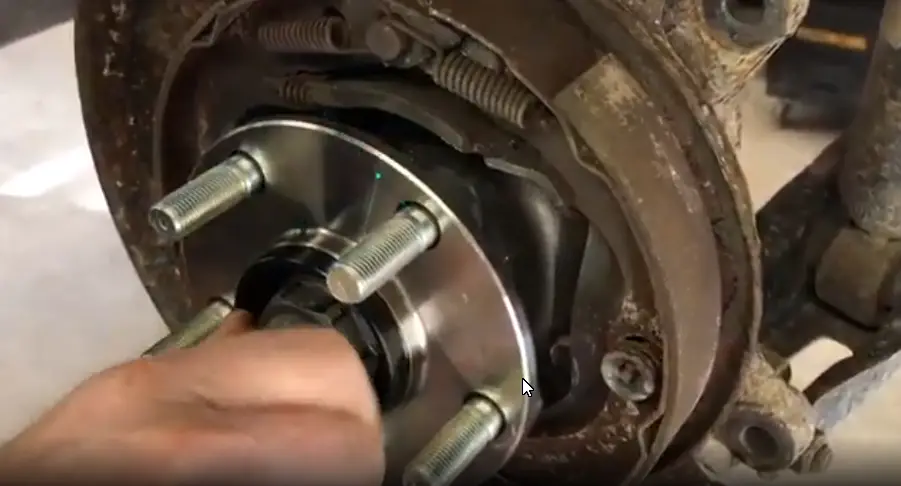
Nothing holding this table in other than the rust Ridge that has rust jacked to the bearing into the knuckle typically.
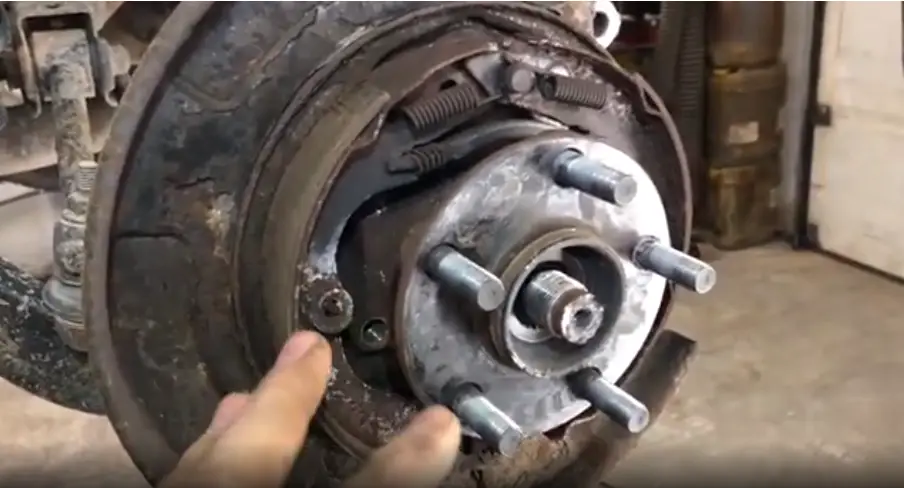
What I would do take a hammer? I try to get the slightest angle outward angle on this flange usually that’s enough to pop bearing loose as a whole this is a good.
Test one of the stickiest nastiest. Hardest to remove on the planet right.
Now which is the rear of a Subaru.
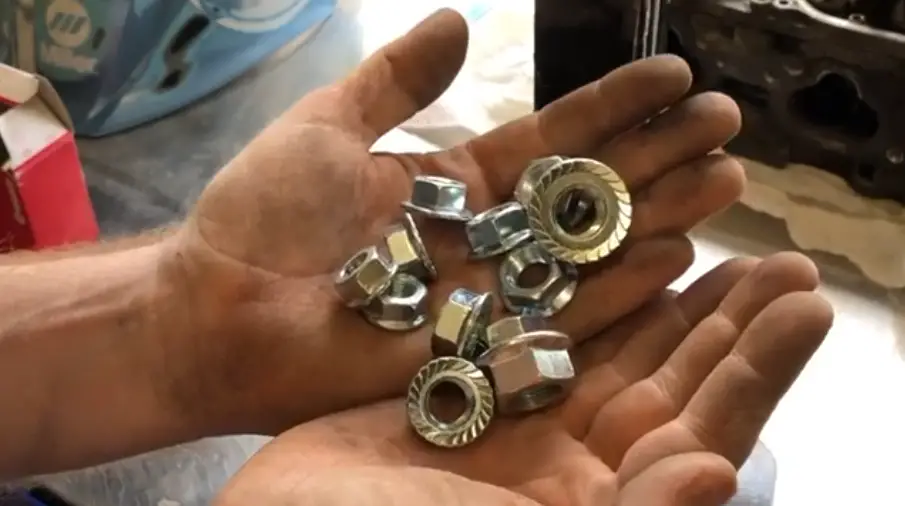
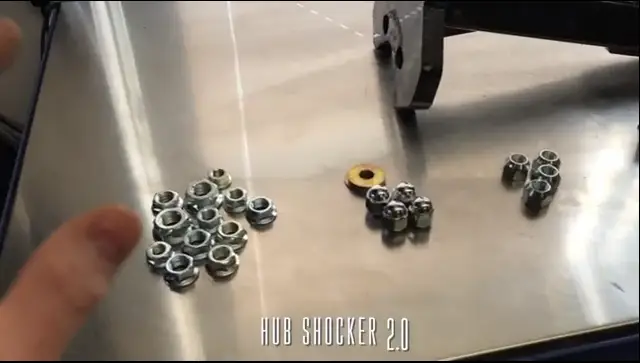
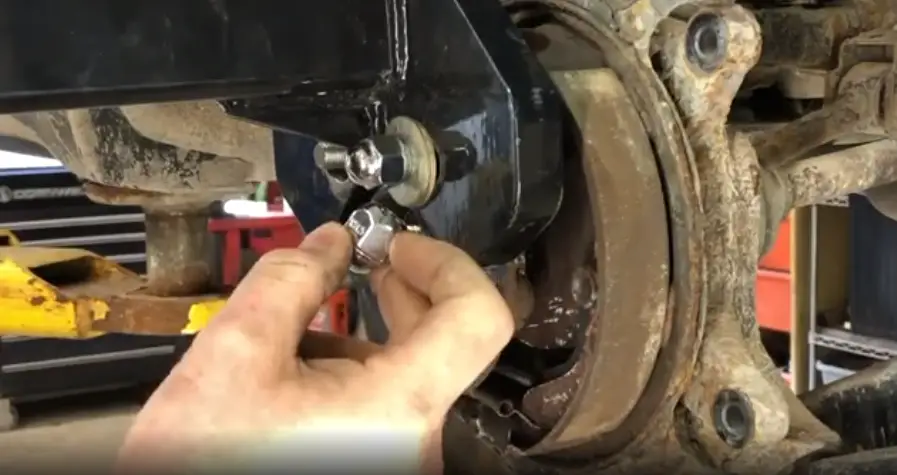
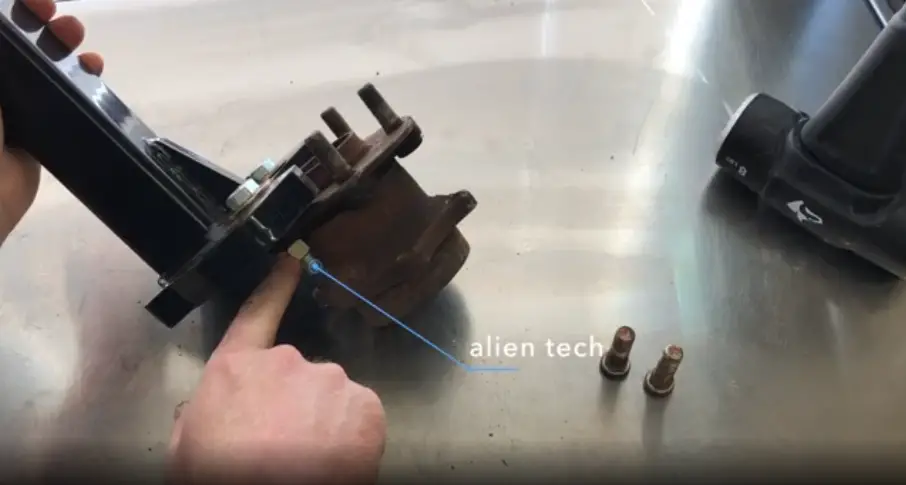
So these are the nuts that come with the tool and unfortunately none of these nuts are what I need for a Subaru.
The nuts that they provided it worked for me.

First method that I’ve used. We need this tool to be as solid as possible. there’s some need coming through the tool here, because of this taper the lug nut right here. It’ll actually rock in those holes which I have mistaken for a bearing.
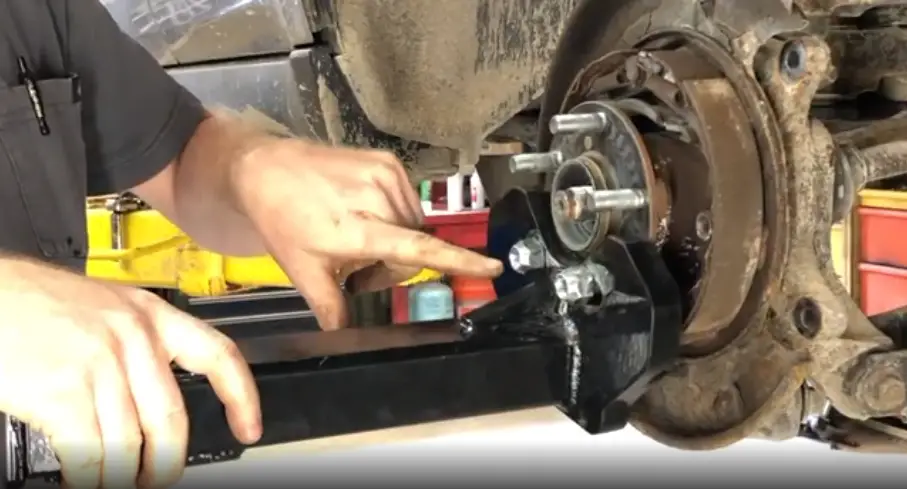
Movement this seems to work for me but a few times I stripped these studs right.
Out that’s only going inside by that much. that’s not enough.
Well the better method is I just found these eight corn nuts this will work and now you don’t need the washers still don’t have a full bite, I mean a significant amount of for print they’re stripped.
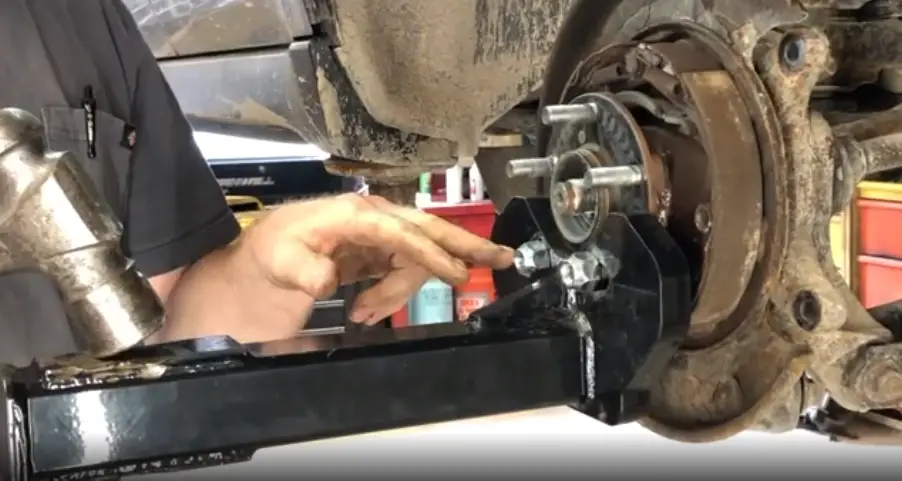
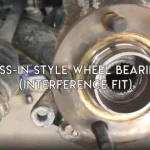
These nuts are out these stuff now we can remove this knuckle that’s another method by the way and press the bearing out defeats the purpose of having a bolt in style bearings as a mechanic the way it sits on the vehicle pop. it out pop the new one in move out of your day. you don’t want this to be a day long project any amount of rust in there will rust jacket as if it’s welded to the knuckle.
That’s why these are so difficult.
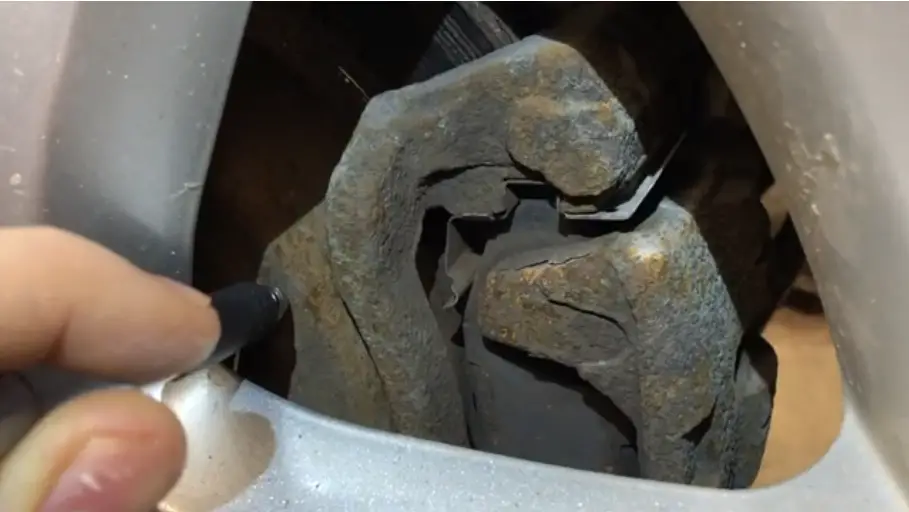
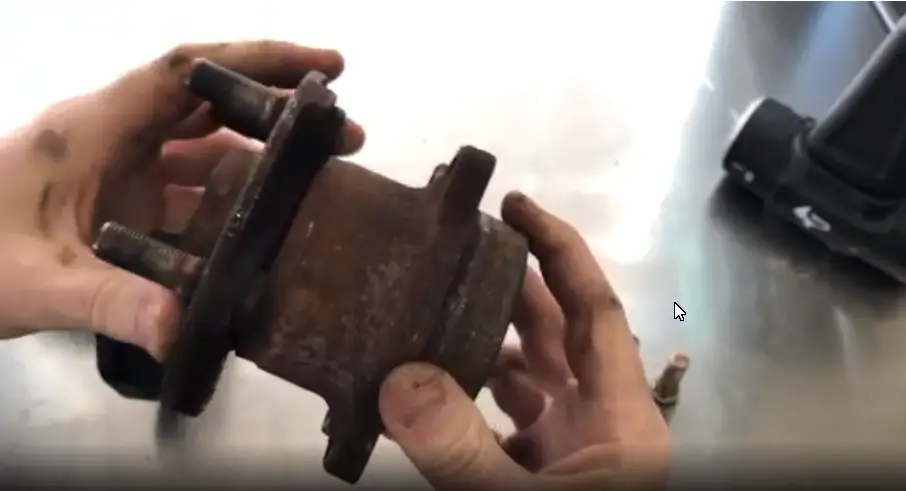
okay this bearing is now looser than when we started. that’s not really a good thing we hit this hard enough we might be able to pull this outer portion of the bearing right out, because it’s just pressed together this will actually separate come off the bearing you’ll be left with is this hub portion in your hand bearing portion down here we’ll still be stuck in the vehicle.
This is the tiny little part of the hub that goes all the way through the simple solution old this all together like and you’re driving down.
The road we’re gonna do is put this on that will actually pull this back in we don’t have it in place back where we started there’s a little bit of movement. There the CV axle will kind of ride along with this bearing until it pops out we’ll just loosen it up I’ll slide the shaft down forward.
Mounting
Third method of mounting I think is the most effective.

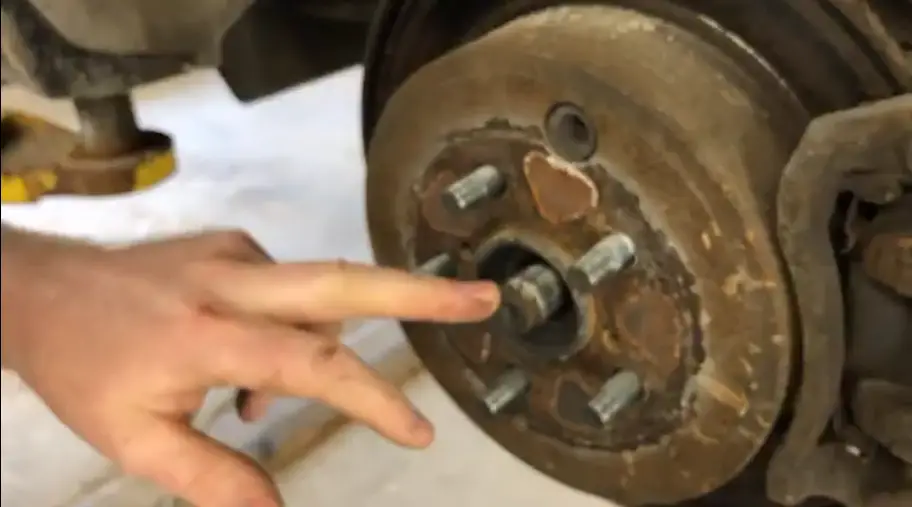
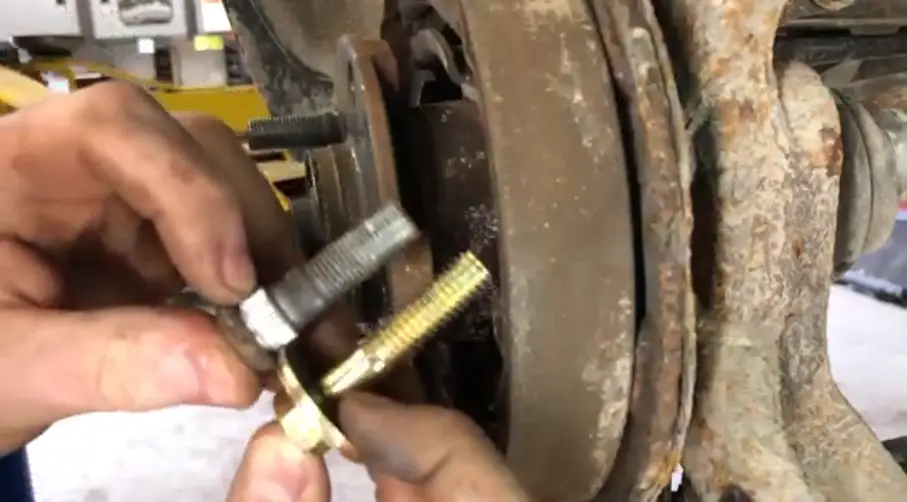
let’s go take these studs out go ahead and give them a whap give it a turn and pop them up, push them in give it a turn this is longer than the stud.
So that I can get more bite.
I want these threads to go all the way through the nut once it’s on the tool and I got this idea from a comment on the YouTube channel.
So if you got any comments let me know what method.
You use all three will work these bolts are two and a half inch long just over a half an inch put a through bolt in that’s gonna be your best option.
This is mounted as solid as it could be feel a little bit of bearing play but it’s not gonna increase.
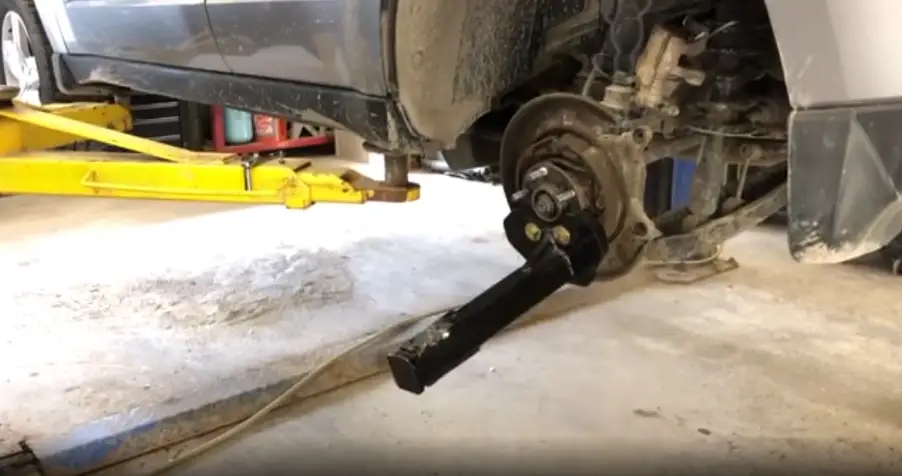
Removing
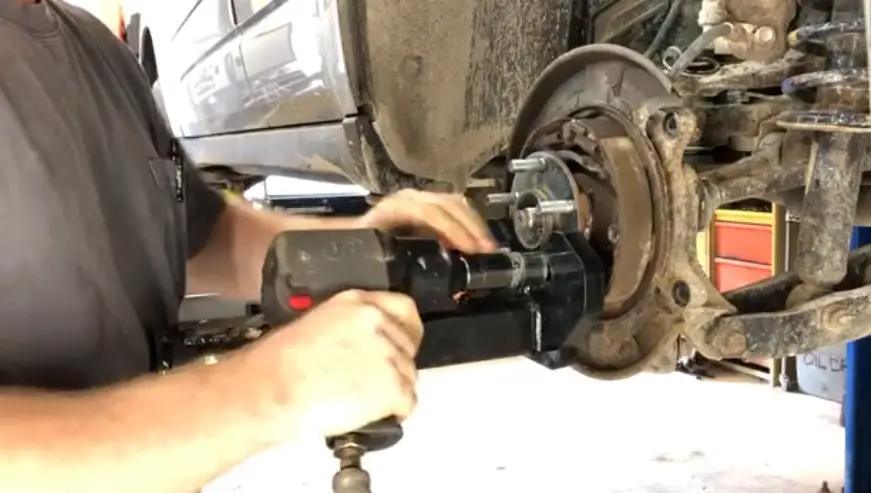
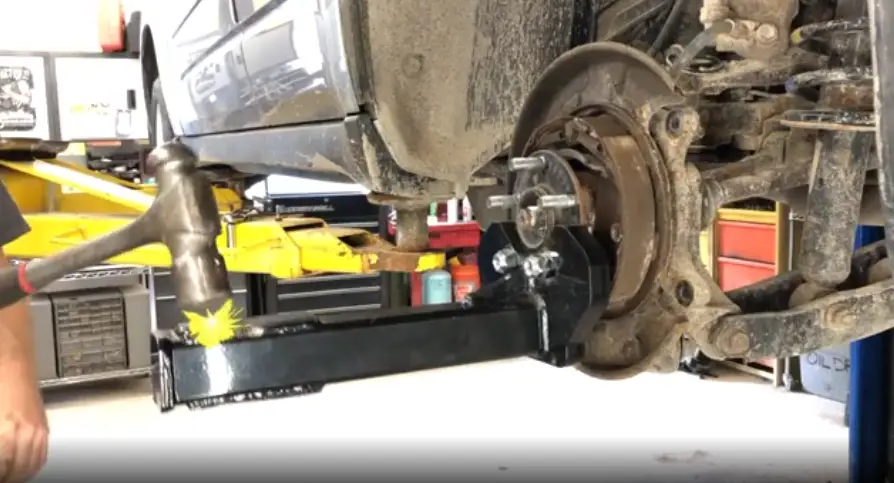
We did it like this can hit up top like this either direction is good every time I do hit it.

It’s gonna swing around and land like that anyways so I usually just hit it.
right there to lower the vehicle down a little bit so I can get this a little bit higher than my knees brand-new hammer, eight pound sledge found out you could get these onions on I wish I would’ve did that for my Amazon links.
But maybe I’ll put a link below for some eight pound hammers to go along with this tool with different projects.
I miss and I hit the handle right here and I chewed it up quite a lot but swinging right next to the fender of a car.
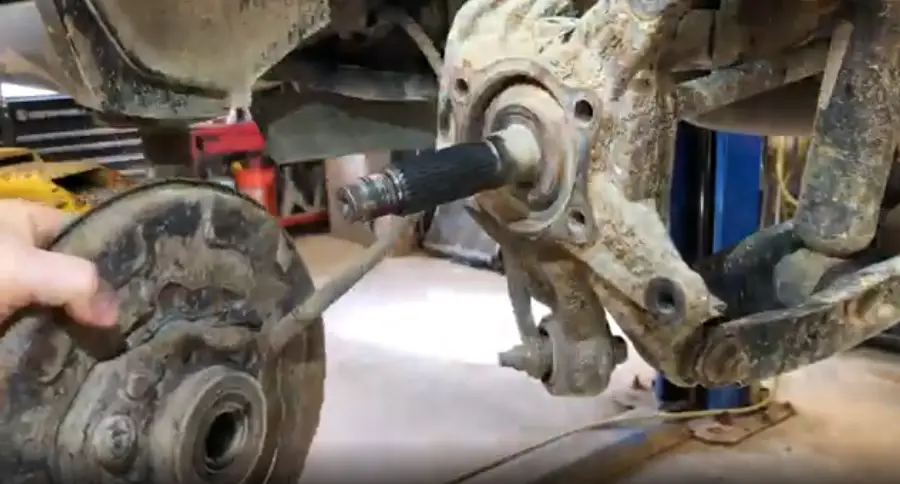
I didn’t want this head to pop off the first second third or tenth hit that’s unit takes those medium to hard I’d say there we go now you can see that CV axle it kind of pulled it with us a little bit that right there is rust jacked into that knuckle this flange didn’t loosen up a whole lot more it wasn’t everything I had but it was 75% if I go much more…
I’m gonna get wild and take a chance I’d missing the tool nice thing about these through bolts is there’s no damage to them.
Old Parts
Yeah… actually I spoke to get yourself some half inch bolts instead of 7/16 or eight nine million if you can because these great vibes and gradates will still Bend.
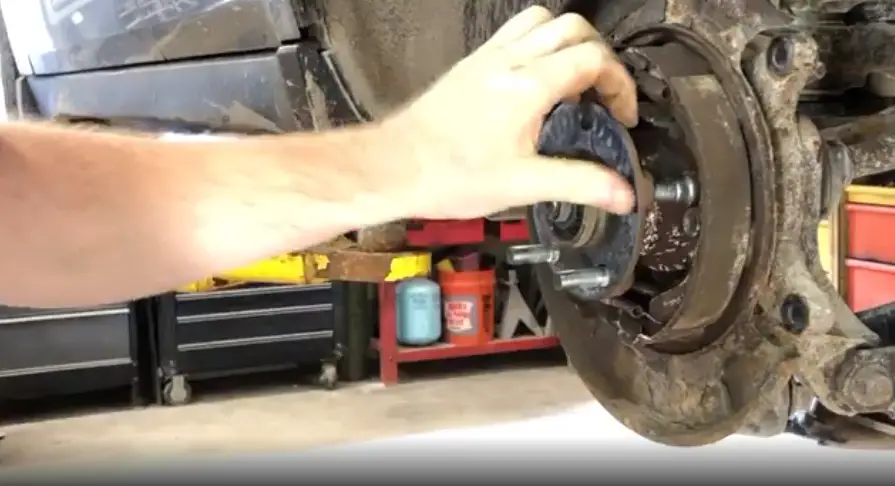
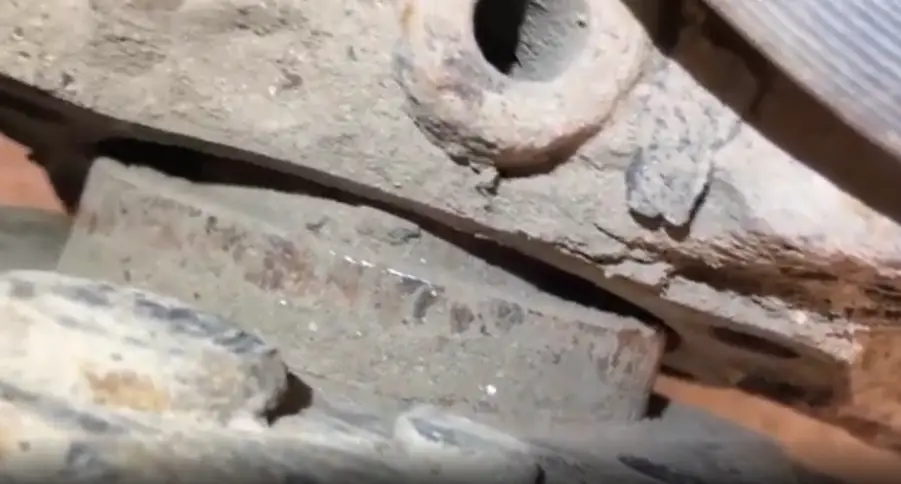
You can see a little bit of rust even in there .
You wouldn’t think that amount of rust would walled it in there but it pretty much does it just doesn’t take much because these parts fit. so tightly look at that that’s like brand-new metal.
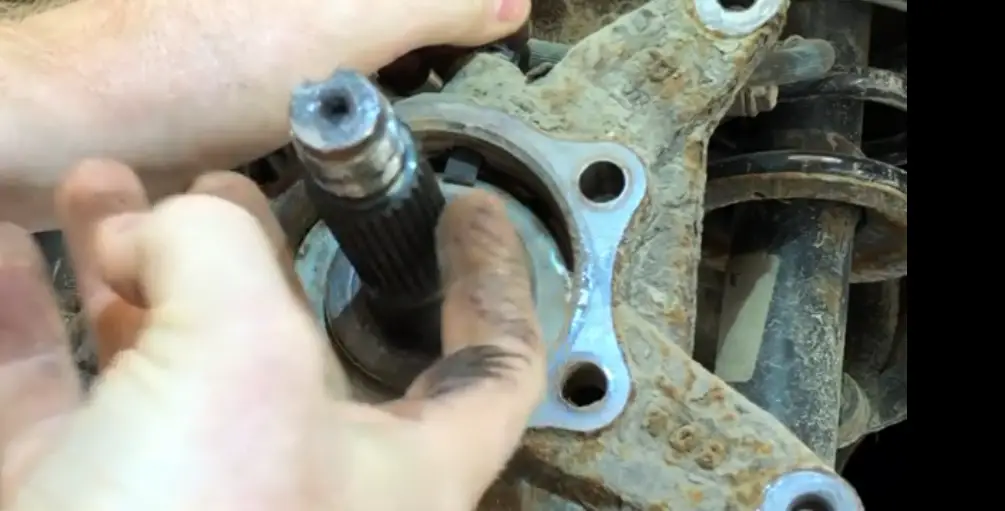
Right there chip you’ll hear this now if this ABS sensor is left in it’s gonna bring the bearing.
Oh…
It’s gonna shear that sensor off with the CV axle it’ll save the day it’ll make life easy for you and then if you have another wheel bearing go bad on the other side you’ll have the tool already or if you have a friend or relative this thing’s so heavy duty you can’t hurt it.
You can borrow this thing all day long
Just a matter of getting it back don’t forget you may need to put your CV axle nut on a standard addition to anybody’s toolbox within 20 years.
so I videos on pressing style bearings Bolton style bearing this trailer bearings and go check them out that’d be cool and if you’re new please subscribe and see you in the next one.
Thanks for being here. Your time is valuable, I try keep my videos only as long as they need to be.
See you next week
~Shaun