![]()
User Manual
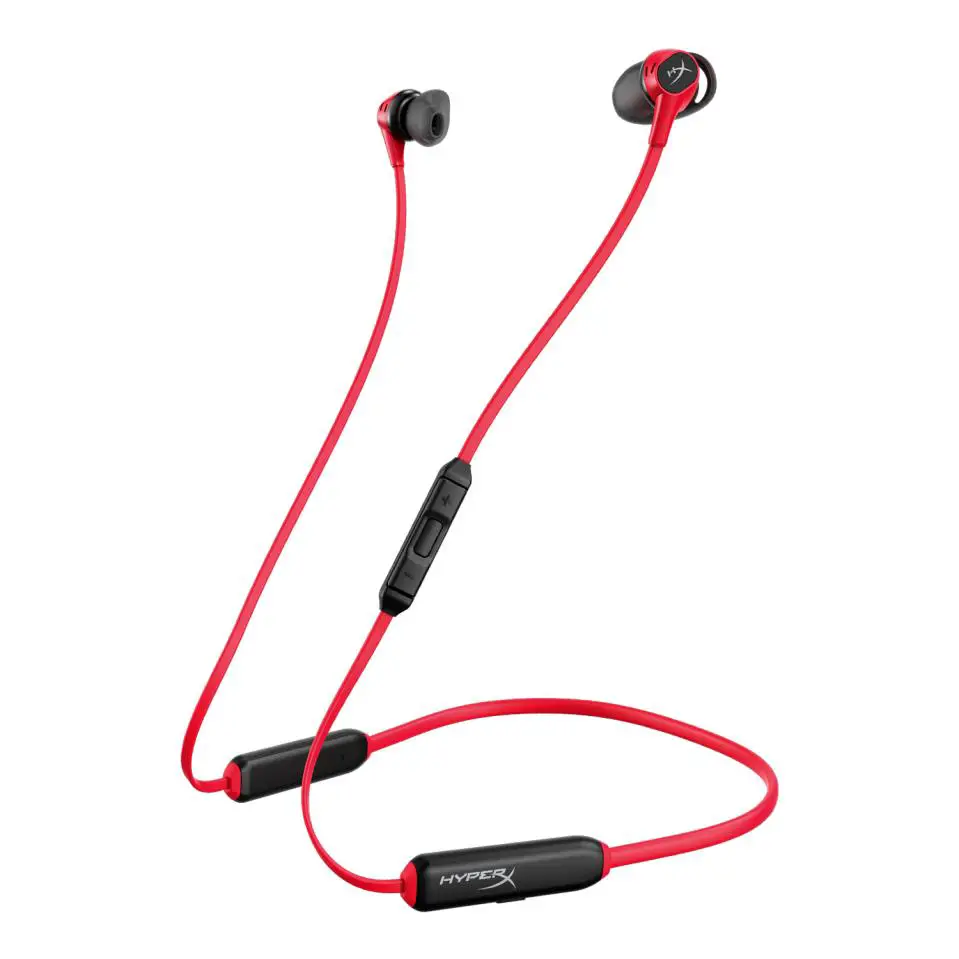
HyperX Cloud Buds
Find the language and latest documentation for your HyperX Cloud Buds here.
HyperX Cloud Buds Installation Guide
HyperX Cloud Buds
Part Numbers
HEBBXX-MC-RD/G
Overview
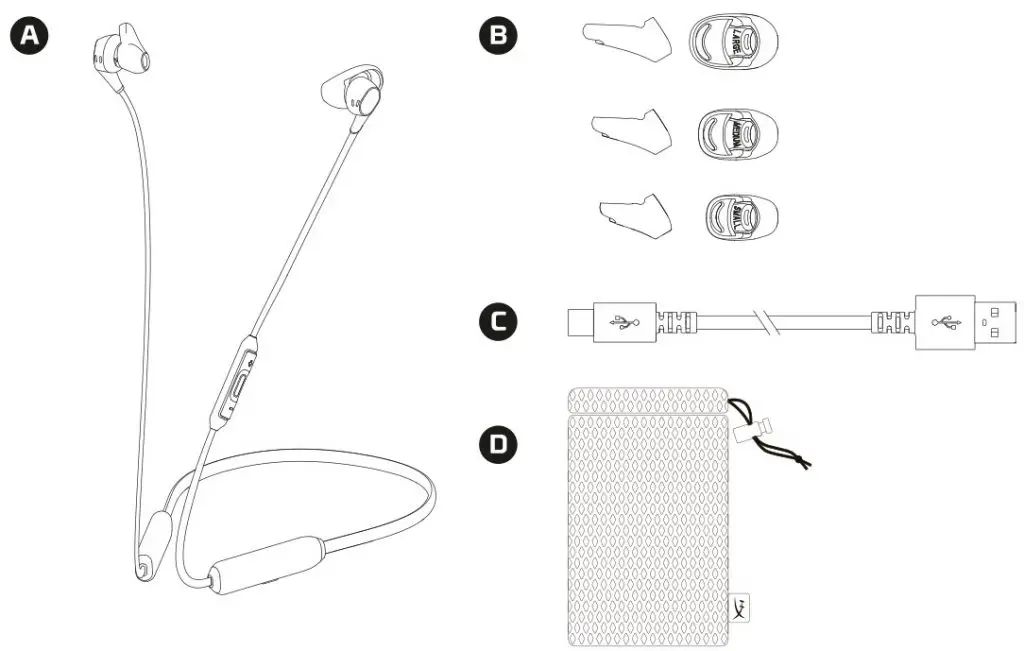
| A. HyperX Cloud Buds B. Interchangeable ear tips |
C. USB-C charge cable D. Carrying case |
Specifications
Headphone
Speaker driver: Dynamic with Neodymium magnets
Type: Neckband
Frequency response: 20Hz – 20kHz
Impedance: 65.2 Ω
Sound pressure level: 104±3 dB 1mW at 1kHz
T.H.D: ≦2% at 200-3kHz
Weight: 27.5g
Charge cable length: USB-C to USB-A: 0.2m
Inline Microphone
Element: Electret condenser microphone
Polar pattern: Omni-directional
Frequency response: 100Hz – 7.2kHz
Open circuit sensitivity: -16.5dBV (1V/Pa at1kHz)
Battery Life*
Bluetooth: 10 hours
Bluetooth
Bluetooth version: 5.1
Wireless range**: Up to 10 meters / 33 feet
Supported codecs: aptX™, aptX™ HD, SBC
Supported profiles: A2DP, AVRCP, HFP, HSP
*Tested at 50% headphone volume
**Wireless range may vary due to environmental conditions
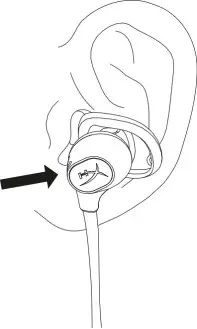
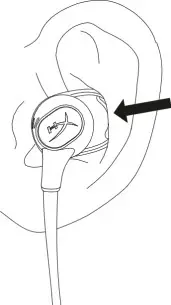
Fitting the HyperX Cloud Buds to your Ears
- Insert ear tip into ear.
- Tuck stabilizer flap into ear fold.

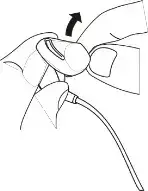
Changing Ear Tips
- Remove original ear tip by gripping the stabilizer flap and stretching ear tip over the hook on the nozzle.
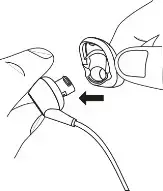
- Place new ear tip on the nozzle of the ear bud.
- Pull the stabilizer flap to stretch the nozzle over the hook
Controls
Power Button
 Power On/Off
Hold for 2 seconds to turn on or off.
Bluetooth® Pairing
- With the headset off, hold the power button for 5 seconds to enter pairing mode. The LED indicator will flash red and blue and a voice prompt will play.
- On your Bluetooth® enabled device, search and connect to “HyperX Cloud Buds.” Once connected, the indicator LED will flash blue every 5 seconds and a voice prompt will play.
Volume Buttons 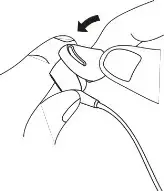 Press the + and – buttons to adjust the volume level up or down.
Multifunction Button

| Status | 1 Press | 2 Presses | 3 Presses | Long Press |
| Playing Media | Play/Pause | Skip Track | Previous Track | Activate Mobile Assistant |
| Receiving Call | Answer Call | X | X | Reject Call |
| In Call | End Call | Swap Calls | X | X |
Note: Button functionality may differ depending on the connected device.
Headset Charging
When the headset is connected to a charger with the USB charge cable, the status LED will indicate the charge status. The headset will take approximately 3 hours to fully charge.
| Status LED | Charging Status |
| Breathing red | Charging |
| Off | Fully charged |
Status LED Indicators
The status LED on the headset indicates the current state of the headset.
| Status LED | Headset Status |
| Flash blue every 5 seconds | Connected to a device |
| Flash blue every 2 seconds | Not connected to a device |
| Pairing mode | Flashing red and blue |
| Factory reset | Flash blue 5 times and light up red for 1 second |
Factory Reset
To perform a factory reset on the headset, hold the power and volume up buttons together for 7 seconds. The status LED will flash red and blue 2 times, followed by solid red for 1 second. At the
same time, the headset will play two low beeps. After this, the headset will automatically turn off.
Questions or Setup Issues?
Contact the HyperX support team at: hyperxgaming.com/support/headsets