![]()
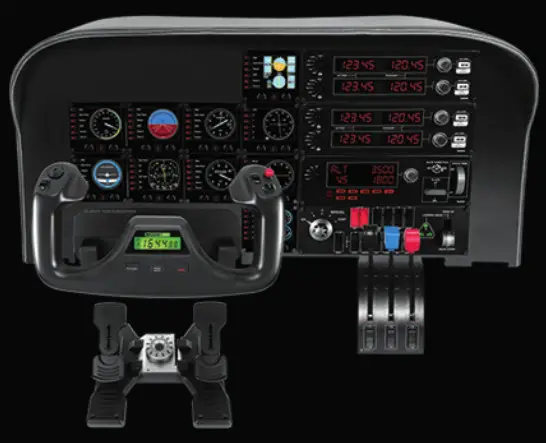
FLIGHT THROTTLE QUADRANT
Professional Axes Levers Simulation Controller
USER GUIDE
logitechG.com
![]()
FLIGHT/VOLVUELO
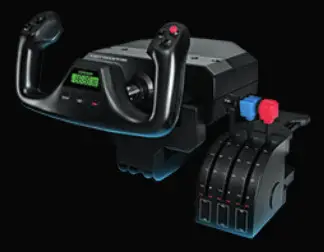
 YOKE SYSTEM
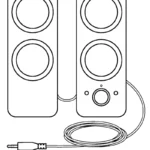
 MULTI PANEL
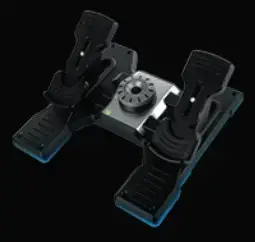
 RUDDER PEDALS
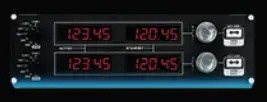
 RADIO PANEL
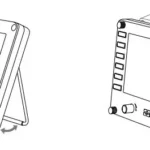
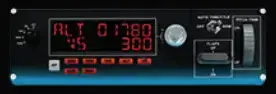
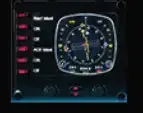
 INSTRUMENT PANEL
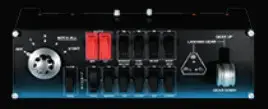
 SWITCH PANEL
 Build your whole cockpit with our modular, interchangeable system.
GETTING STARTED: QUADRANT
INTRODUCTION
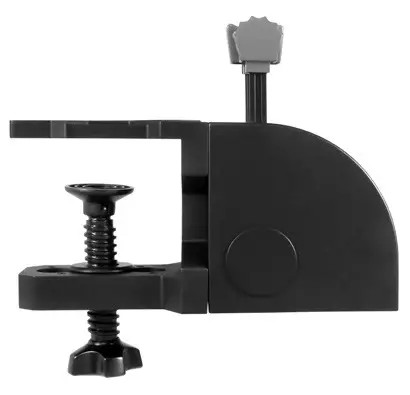
INSTALLING THE THROTTLE QUADRANT
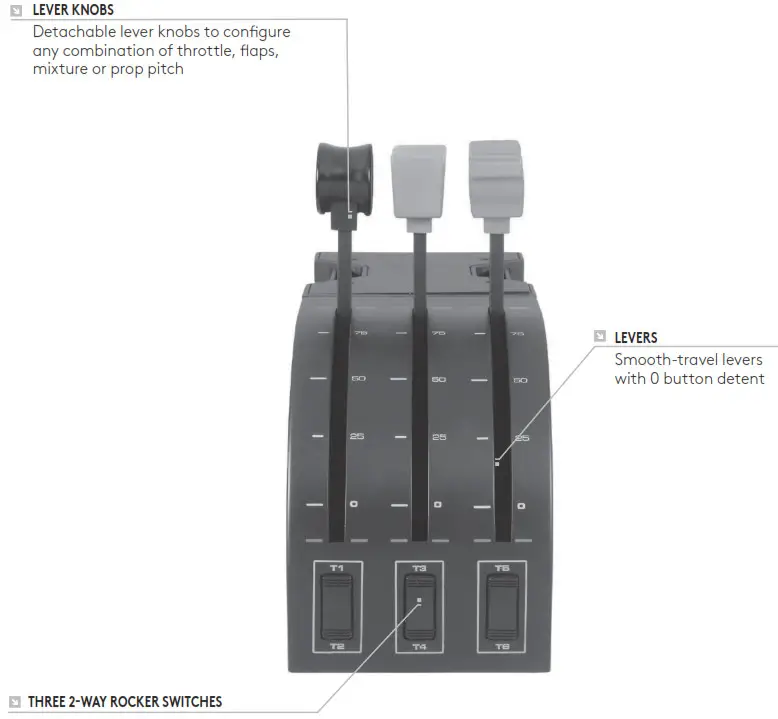
First, screw the clamp to the throttle quadrant using the four screws provided.You can screw the clamp to one of two sides of the quadrant depending on how you want to mount the quadrant – either in front and below your table or on top of it. Please note that whichever way you choose to mount the quadrant, ensure that as you look at the unit the rocker switches are at the bottom. Now tighten the throttle unit clamp screw mechanism until it is firmly attached to your table (be careful not to overtighten the screw as you may damage the clamp).
Plug the throttle quadrant’s USB cable into one of your PC’s free USB ports (or Logitech G Flight Yoke USB Hub). Your throttle quadrant comes supplied with additional lever knobs to configure any combination of throttle, flaps, mixture or prop pitch. You can also buy additional quadrants to link together for more complex multi-engined airplane configurations and we have included a 4-way throttle knob that links 4 quadrant levers for control of 4-engined aircraft.
INSTALLATION FOR WINDOWS® 10, WINDOWS® 8.1 AND WINDOWS® 7
DRIVER INSTALLATION
- Visit logitech.com/support/throttle-quadrant to download the latest drivers and software for your operating system.
- With device disconnected, follow the onscreen instructions to complete the installation.
- At the Driver Setup screen, only when prompted, insert USB cable into one of your computer’s USB ports, then click Next.
- At the Driver Setup screen, click Next to test your controller.
- When the Logitech Controller screen appears, test the controls to verify device operation. After the test, click OK.
SOFTWARE INSTALLATION
- In the Software Setup screen, click Next and a pop-up box will ask if you “want to trust software from Logitech.” Click yes, then click Next.
- After installation, you have the option to Run Profile Editor, which will show you the programming environment. To skip the Profile Editor now, uncheck the box and click Finish to complete installation.
IMPORTANT INFORMATION
DRIVER UPDATES
From time to time there may be updates to the driver and programming software for this product. You can check for the latest software updates by visiting the Logitech website (support.logitech.com)
ENABLING YOUR CONTROLLER IN THE GAME
Most games support game controllers, but typically default to the mouse and keyboard until you go into the option menu within the game. The first time you start a game after installing your controller, go to the options menu within the main menu of the game and make sure your controller is set up correctly. If you are having trouble working out how to do this, or if you’re unsure whether the game itself supports game controllers, then please refer to the user manual of that game for more help.
HOW TO ASSIGN QUADRANT CONTROLS TO FLIGHT SIMULATOR FUNCTIONS
As you will normally be using the Pro Flight Quadrant alongside another controller in Flight Simulator, you will need to ensure that you set the levers up correctly within the game. By default, Flight Simulator will assign them to control the ailerons, elevator and throttle, which will normally be in addition to that which your other controller is already controlling; this will cause problems! To reassign the levers correctly, you must use the Assignments (Flight Simulator 2004) or Controls (Flight Simulator X) screen within the game. This is accessed from the Settings menu within the game.
When you access the Assignments/Controls screen in Flight Simulator, ensure that the Logitech G Flight Throttle Quadrant is selected in the option labeled Joystick Type. Now select Joystick Axes (Flight Simulator 2004) or Control Axes (Flight Simulator X) at the top of the window. O
nce you have done this, simply find the command that you want to assign to your controller from the list of commands, click it and then click the Change Assignment button. A window will appear asking you to move the part of your controller that you want to assign to that command – move the axis that you want to assign to that command and then click OK.
Tip: You must ensure that none of the levers are assigned to the Aileron Axis or Elevator Axis commands, otherwise they will interfere with the other controller that you are using alongside the Logitech G Flight Throttle Quadrant. If you wish to reassign the toggle switches on the Quadrant to other functions then you must use the Buttons/Keys tab at the top of the Assignments/Controls window.
For more information to programming and using your Throttle Quadrant go to: logitech.com/support/throttle-quadrant
TECHNICAL SUPPORT
Online Support: support.logitech.com