logitech Zone Wireless Plus Receiver User Guide
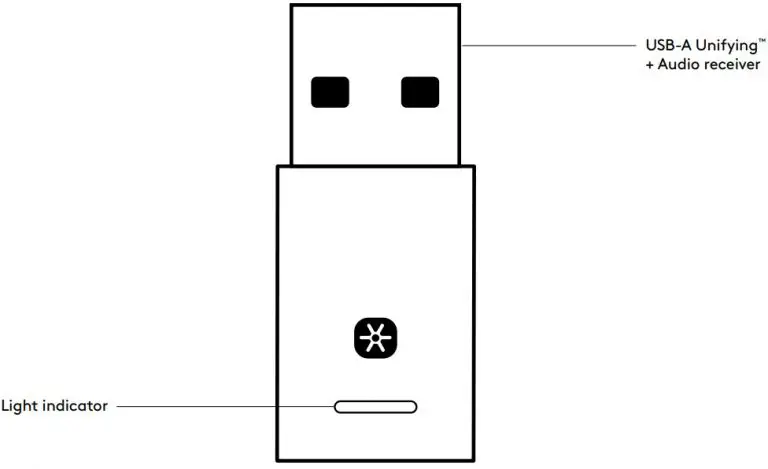
KNOW YOUR PRODUCT
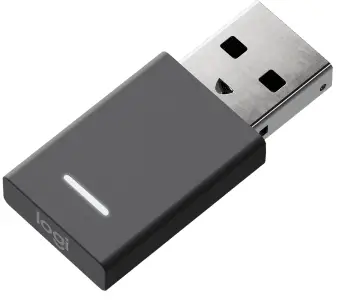
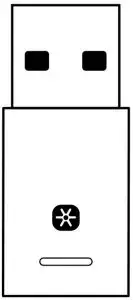
WHAT’S IN THE BOX
- USB-A Unifying + Audio receiver
CONNECTING THE RECEIVER TO THE HEADSET
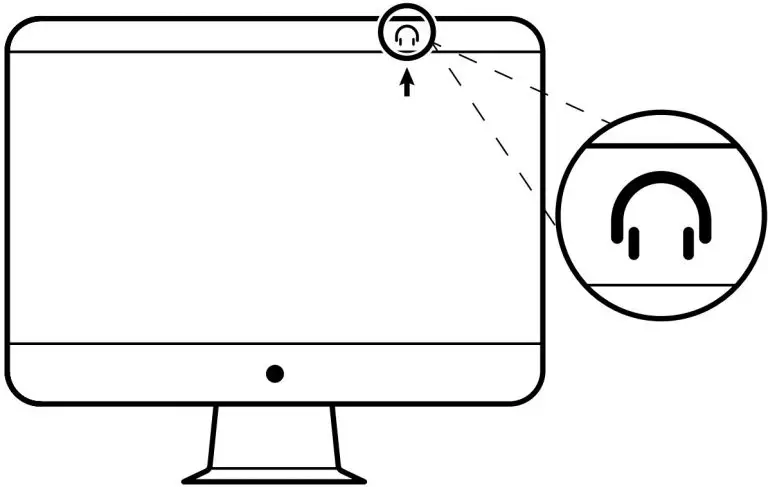
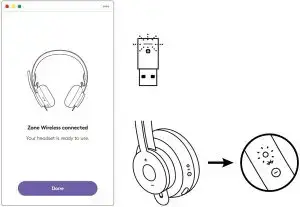
- Insert the receiver into the computer USB-A port.

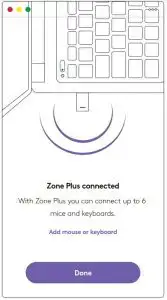
- Install and open Logi Tune Desktop. Download it from www.logitech.com/logitune

- . Logi Tune Desktop will confirm that a new receiver is found. Click Done to start connecting to the headset.
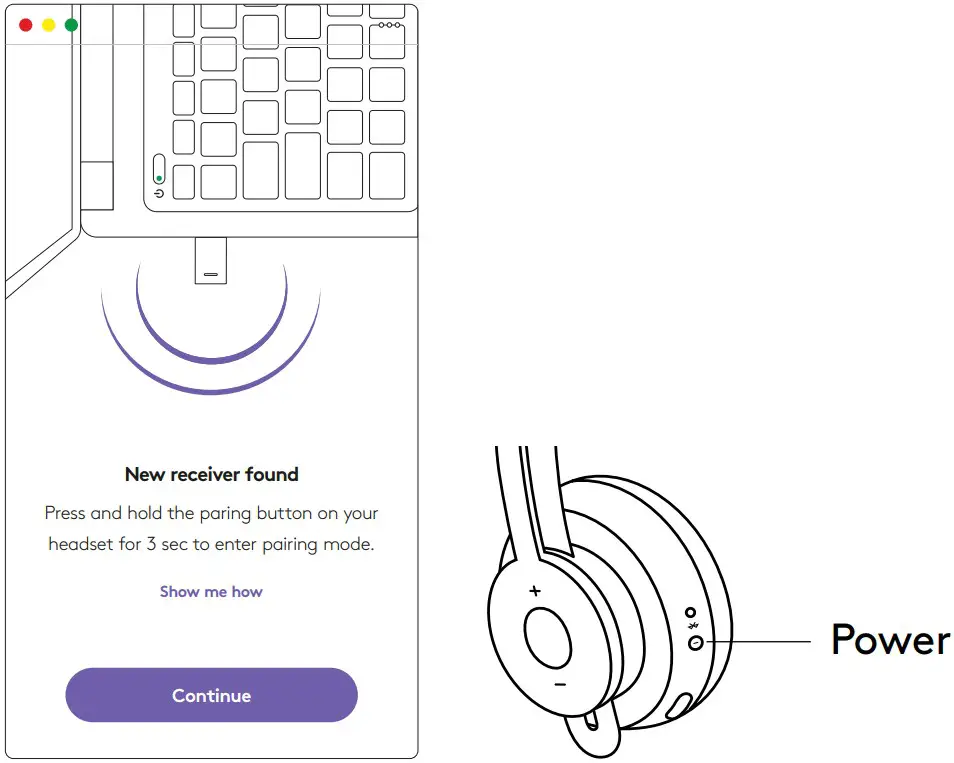
- Enter pairing mode on headset by pressing the power button for 3 seconds. Click Continue.
- If pairing mode is successful, light indicators on the receiver and headset will flash white.
- Once you see this screen, the receiver is now paired with the headset. Light indicators on the receiver and headset will turn solid white.

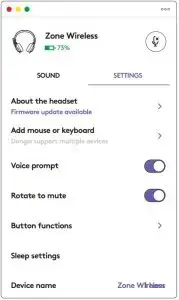
- With Zone Wireless Plus receiver, you can pair 6 or more Logitech Unifying peripherals.
- On Logi Tune Desktop, go to Settings and click Add mouse or keyboard.
- If you already have the Unifying Software installed on your computer, it should open. If not, it will be downloaded and installed automatically.
- Follow the Unifying Software prompts to complete adding your mouse and keyboard.
- To add more devices, follow steps 2 and 3 and follow the steps in the Unifying Software.
DIMENSIONS
RECEIVER:
- Height x Width x Depth: 35.5 mm x 16.2 mm x 5.3 mm
http://www.logitech.com/support/zone-wireless-plus-receiver
© 2020 Logitech. Logitech, Logi, 罗技 and the Logitech Logo are trademarks or registered trademarks of Logitech Europe S.A. and/or its affiliates in the U.S. and other countries.
Logitech assumes no responsibility for any errors that may appear in this manual. Information contained herein is subject to change without notice.