Mediacom DVR Cable Box Installation Guide

What’s Included
Some of the items in your kit may not be necessary but have been included in the event you may need them. Your installation kit should include the following items:
REQUIRED FOR INSTALLATION
- DVR Cable Box

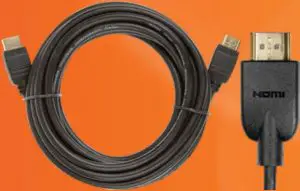
- 1 HDMI Cable

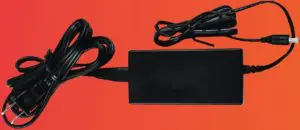
- 1 Power Cord
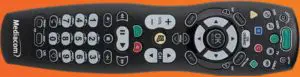
- 1 Universal Remote Control
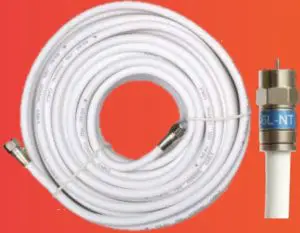
- 2 5-ft Coaxial Cables
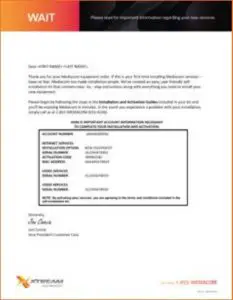
- Welcome Letter
Installing New DVR Cable Box
Step 1: Connect Your New DVR Cable Box
- Connect coaxial cable from the wall outlet to Cable IN on the DVR Cable Box.
- Connect HDMI cable from the back of your DVR Cable Box to the HDMI input* on your HDTV.
- Connect power cord from the back of your DVR Cable Box to the power outlet.
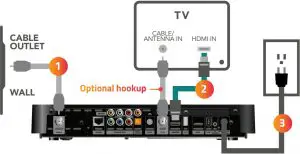
*Please make note of the HDMI input used on the TV as you’ll need to tune your television to this input once you turn it on.
OPTIONAL: If you do not have an HDMI port on the back of your television, connect the second coaxial cable from the back of the television to the port on the new box labeled TO TV.
Step 2: Complete Your Installation
- Power on your television and your new DVR Cable Box. Using your television remote control, tune the TV to the appropriate HDMI input.
- Install any additional boxes you may have ordered.
- Call 1-800-562-9769 and follow the instructions to activate your new box(es).
- Once each box has been activated, it will turn off automatically. Please wait five minutes before powering it back on.
Once the DVR Cable Box is activated, you will be able to watch television while the guide information is downloading. You may see a “To Be Announced” message displayed until the guide download is complete.
Replacing Previous Cable Box Equipment
Step 1: Disconnect your Previous Cable Box
- Turn off your television and previous cable box.
- Disconnect the power cord from the back of your previous cable box and remove it from the power outlet.
(Your new box may have different power requirements. It is best not to use the old power cord with the new box.) - Unscrew and remove the coaxial cable(s) from the ports labeled Cable IN and To TV (if connected) from the back of your previous cable box.
- Set your previous cable box aside and refer to the section titled, Return your previous cable box.
Step 2: Connect Your New DVR Cable Box
- Connect coaxial cable from the wall outlet to Cable IN on the back of your DVR Cable Box.
- Connect HDMI cable from the back of your DVR Cable Box to the HDMI input* on your HDTV.
- Connect power cord from the back of your DVR Cable Box to the power outlet.
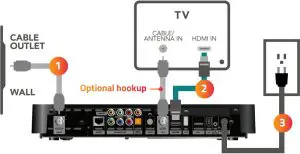
*Please make note of the HDMI input used on the TV as you’ll need to tune your television to this input once you turn it on.
OPTIONAL: If you do not have an HDMI port on the back of your television, connect the second coaxial cable from the back of the television to the port on the new box labeled TO TV
Step 3: Complete Your Installation
- Power on your television and your new DVR Cable Box. Using your television remote control, tune the TV to the apprpriate HDMI input.
- Install any additional boxes you may have ordered.
- Call 1-800-562-9769 and follow the instructions to activate your new box(es).
- Once each box has been activated, it will turn off automatically. Please wait five minutes before powering it back on.
Once the DVR Cable Box is activated, you will be able to watch television while the guide information is downloading. You may see a “To Be Announced” message displayed until the guide download is complete.
Return Your Previous Cable Box
- Return your previous cable box by placing it into the shipping box. Please make sure to include all items being replaced such as the power cord and remote.
- Close and seal the box.
- Place the enclosed return label on the outside of the box, completely covering the previous shipping label(s).
- Refer to the letter within your equipment kit for mailing instructions.
Note: If the unused equipment is not received within 15 business days, this may result in an unreturned equipment charge. This charge will be removed from your account when Mediacom receives the equipment.