STEP 1 Attach TV Brackets
CAUTION: Carefully lay your TV on its face on a flat, non-abrasive surface covered with a blanket or soft padding to help prevent damaging the screen.
CAUTION: Place left and right TV bracket in the appropriate position, make sure they are CENTERED on the back of TV and LEVEL with one another.

Choose proper screws that fit your particular TV mounting holes. Use spacers and washers as needed since they are not always required. You will have screws, spacers and washers leftover.
Discard all unused hardware after you have completed TV mount installation.

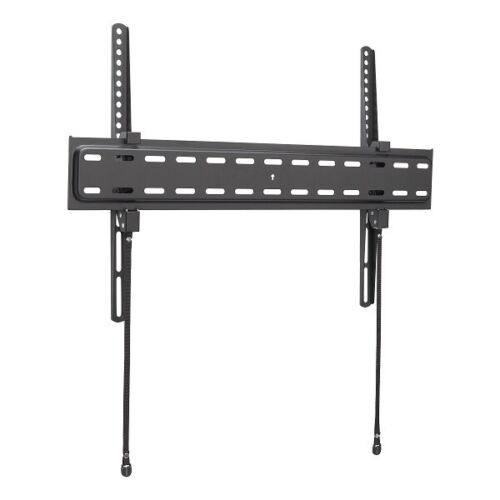
STEP 2 Attach Wall Plate A to Wall
For wood stud installation, follow STEP 2A
For concrete wall installation, follow STEP 2B
STEP 2 A Wood Stud Installation
NEVER USE ANCHOR F FOR WOOD STUD ASSEMBLY
CAUTION: The wood stud minimum size is 2×4″, and surface covering can’t be more than 5/81 Drill hole on the wood stud centerline.

STEP 2 B Concrete, Stone or Masonry Installation
CAUTION: The concrete wall minimum thickness is 5.5′, and surface covering can’t be more than 3/8″.
CAUTION: These anchors are for concrete, stone or masonry wall ONLY. Do not install into a wood stud.
CAUTION: This product can only be installed on a perpendicular wall. Do not install this product on the ceiling.

STEP 3 Hang and Secure TV on Wall Plate

© 2020 Walmart onn. is a trademark of Walmart. All Rights Reserved.
Distributed by Walmart Inc., Bentonville, AR 72716
MADE IN VIETNAM
We’d love to hear from you. Scan with your Walmart app and let us know what you think.