![]()
Installation Instruction
V1.0
PSFS01

https://www.perlesmith.com
Thank you for choosing our product! We strive to provide the best quality and services for our customers. Would you kindly share your experience on Amazon if you are satisfied? Should you have any issues, please don’t hesitate to contact us. Telephone800-5566-806 Mon-Fri 10am – 6pm (PST) (USA) (CAN) [email protected] (US/CA/DE/UK/FR/IT/ES/JP/AU)
IMPORTANT SAFETY INFORMATION
![]() WARNING! SEVERE PERSONAL INJURY AND PROPERTY DAMAGE CAN RESULT FROM IMPROPER INSTALLATION OR ASSEMBLY. READ THE FOLLOWING WARNINGS BEFORE BEGINNING.
WARNING! SEVERE PERSONAL INJURY AND PROPERTY DAMAGE CAN RESULT FROM IMPROPER INSTALLATION OR ASSEMBLY. READ THE FOLLOWING WARNINGS BEFORE BEGINNING.
- If you do not understand the instructions or have any concerns or questions, please contact customer service at [email protected]
- Do not install or assemble if the product or hardware is damaged or missing.
- Not all parts and hardware included will be used. lf you require replacement parts, contact customer service at [email protected]
- This product may contain moving parts. Use with caution. ·Please check www.perlesmith.com for more products and company information.
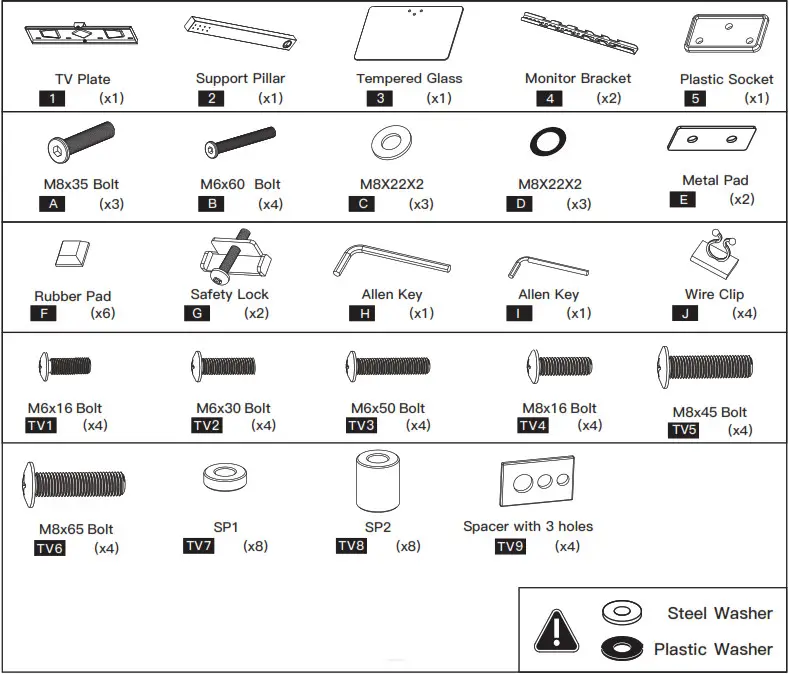
Supplied Parts List
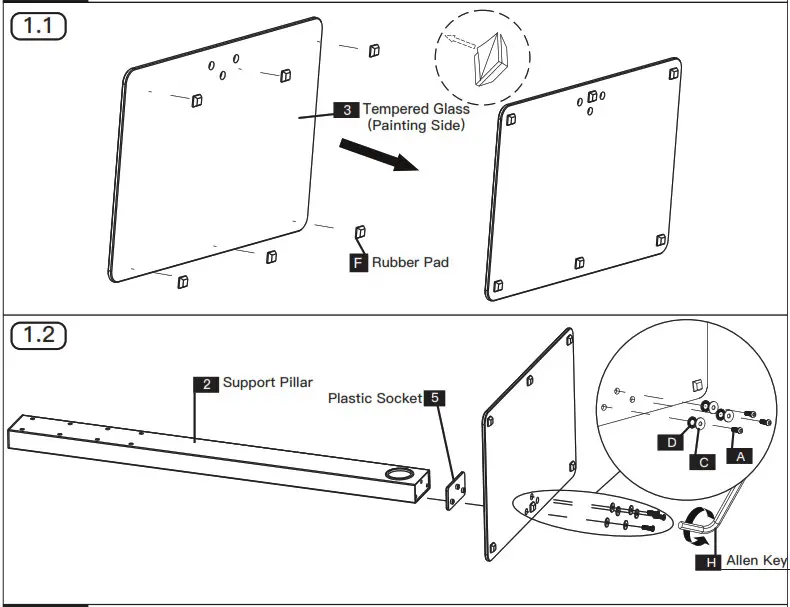
Step 1 Connecting the Support Pillar to Tempered Glass
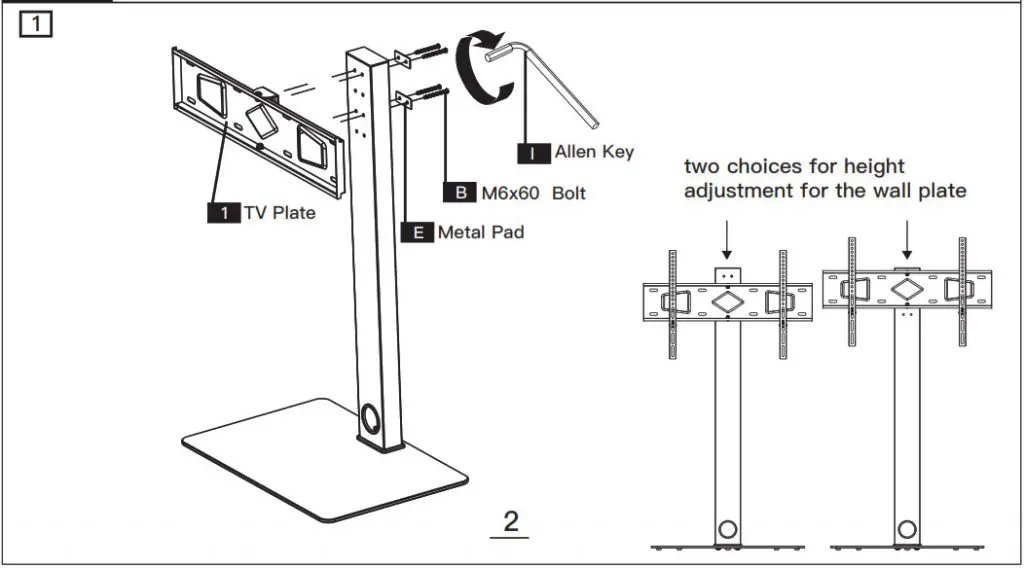
Step 2 Connecting the TV Plate to Support Pillar
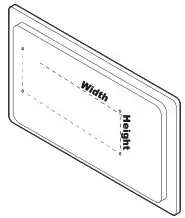
Step 3 Measure VESA and Check TV screws
Step 3 Measure VESA and Check TV screws
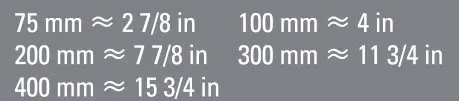
Measure the distance between the holes located at the back of your TV (these measures may form the shape of a square, or a rectan-gle) and check that these taken measures are within the VESA(*) range for this wall mount. (*) VESA: International standard established by the TV manufacturers used to determine if LCD/LED TVs are compatible with wall mounts.
Check TV screws
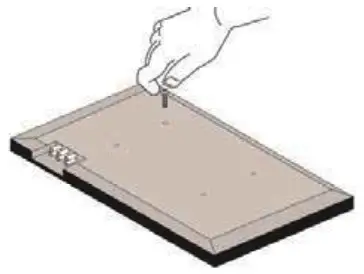
Hand thread screws into the threaded inserts on the back of your TV to determine which screw diameter (M6, or M8) to use.
![]()
When attaching brackets to the flat screen, be careful not to over tighten screws and be sure that screws do not bottom out in the mounting holes.

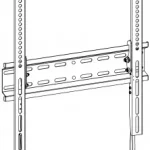
Step 4 Mounting the Monitor Bracket to a TV
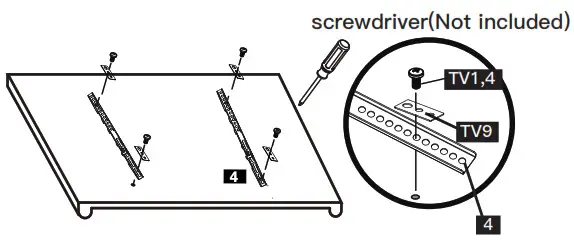
FLATBACK TV (UNIVERSAL MONITOR PLATE)
 ROUND BACK TV (UNIVERSAL MONITOR PLATE)
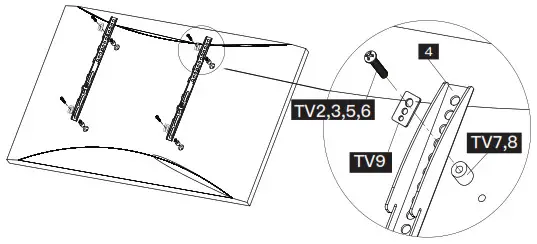 First, make sure the diameter of the bolt(TV1-6) fits your TV. Then, please see the diagram above. You will need to thread the bolt into the TV using the correct washer (TV9) and spacer (TV7 or TV8) if necessary with a screwdriver(Not included). Please make sure the monitor brackets(4) are vertically centered and level with each other.
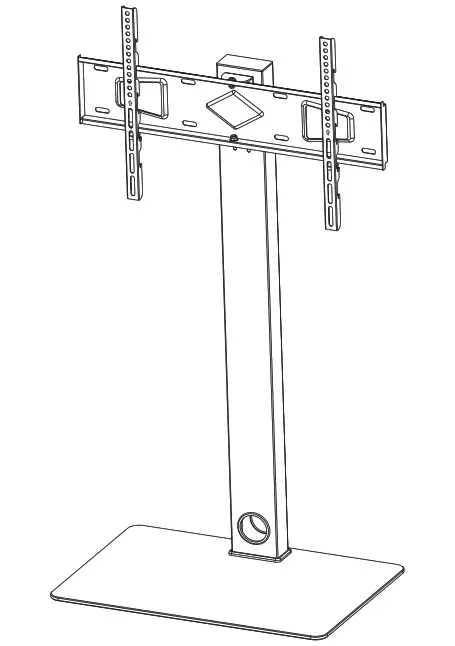
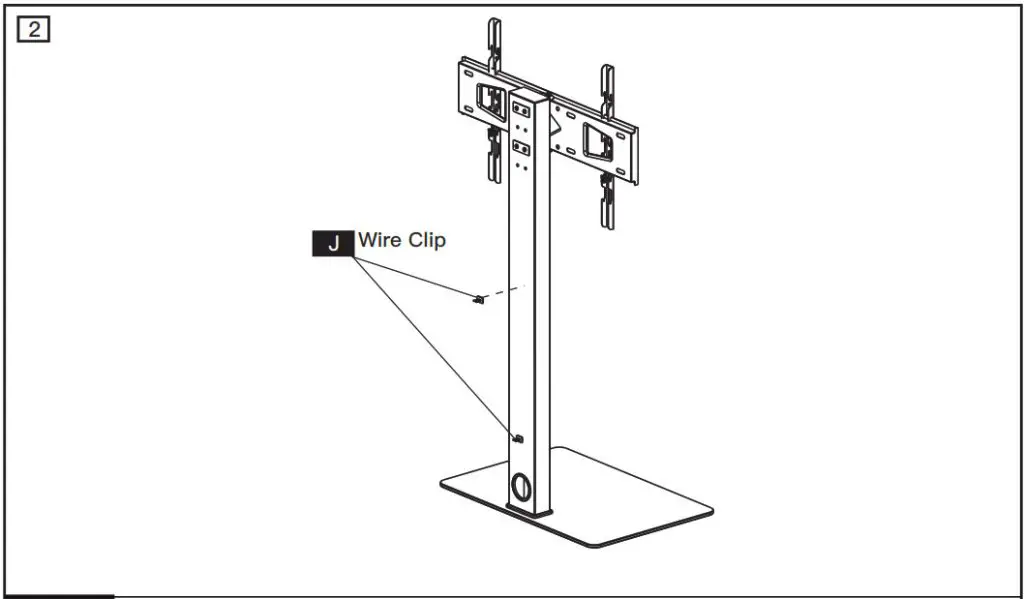
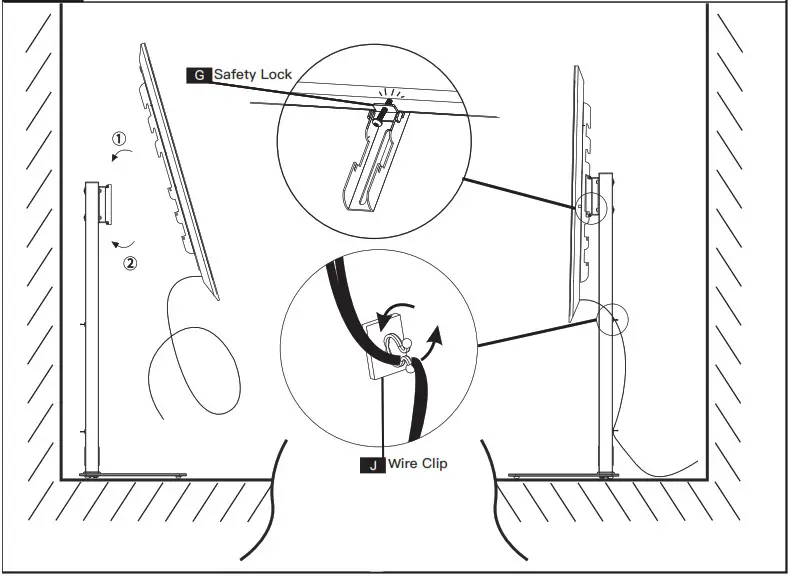
Step 5 Attaching TV to TV Plate and Managing the Wires
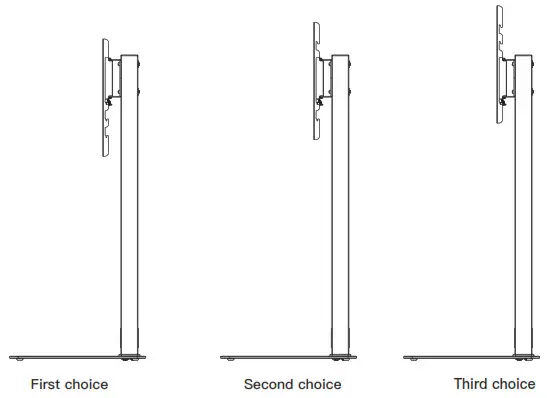
Step 6 Adjusting the Height of the TV
Height adjustable vertical bracket(4) first choice
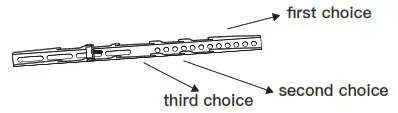 If you find your TV set is too close to the base, please take off the TV from the stand. Then, change to the second choice or third choice to allow more space between TV and the tempered glass base (3).