You can get started with your PowerXL Self-Cleaning Juicer Plus quickly usng this handy user guide.
Sections in this Manual
PowerXL Self-Cleaning Juicer Plus User Guide
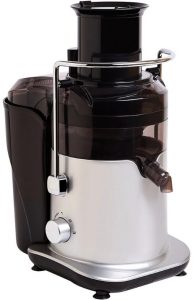
Quick Start
- STEP 1: Remove Paper Protector
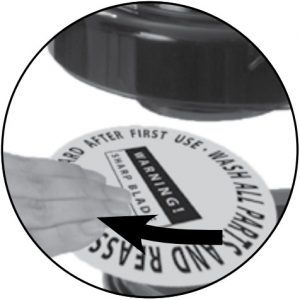
Lower the Locking Bar and remove the Lid and Pulp Guard. Discard the paper protector. Wash all the parts and reassemble the juicer. Secure the Locking Bar. - STEP 2: Align the Juicer’s Spout into a Receptacle
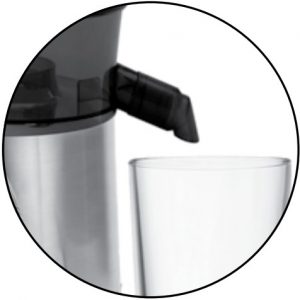
Line up the mouth of the spout with the receptacle into which juice will be deposited. Face the Spout downward to help keep juice from leaking from the sides of the juicer. - STEP 3: Plug In and Power On the Juicer
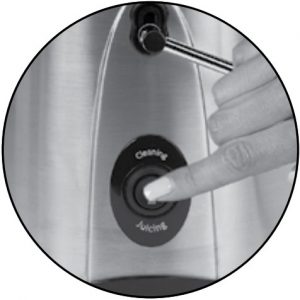
Plug the Power Cord into a 120V power outlet (the plug will fit only one way in a polarized outlet). Press the juicing button to turn on juicer. Wait 5–10 seconds before inserting produce into the Chute. - STEP 4: Add Fresh Fruits and Vegetables
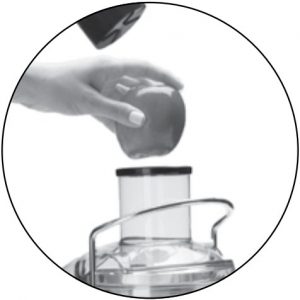
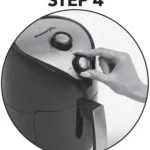
Remove the Pusher and insert fresh fruits and vegetables into the Chute. Use the Pusher to push the produce gently through the Chute (pushing too hard or overloading the Chute may jam the motor). - STEP 5: Self-Cleaning
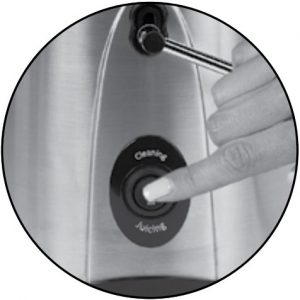
Place an empty cup underneath the spout. Turn the juicer on. Pour water into the juicer while pressing the cleaning button a few times. Remove the cup and you are ready to juice again.
NOTE: Sometimes, you may need to clear away excess produce when making large quantities of juice: Unplug the juicer, remove the Lid and Pulp Guard, and clean the Chute, blade assembly, and pulp collector. The blade is sharp. Be careful when handling. - STEP 6: Cleaning Juicer Parts
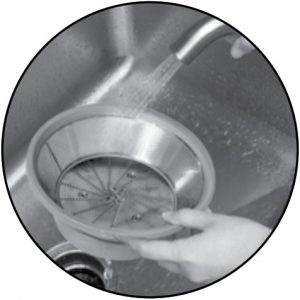
For easiest clean-up, wash juicer parts immediately after juicing. Place the dishwasher-safe parts on the top rack only
Unpack all parts from the box and remove any clear or blue protective film on the components.
Wash with warm, soapy water before first use (only select accessories are dishwasher safe).

