Create or delete macros on Razer Synapse-3
| Answer ID: 1483
A “macro” is an automated set of instructions (multiple keystrokes or mouse clicks) that can be executed using a simple action such as a single keystroke. To utilize macros within Razer Synapse 3, you must first create the macro within Razer Synapse 3. Once a macro is named and created, you can then assign the macro to any of your Razer Synapse 3 enabled products. For more information on assigning macros, see How do I assign macros on Razer Synapse 3.0?
Here is a video on how to create the macro within Razer Synapse 3.
Follow the steps below to create macros within Synapse 3:
- Ensure your Razer Synapse 3 enabled product is plugged into your computer.
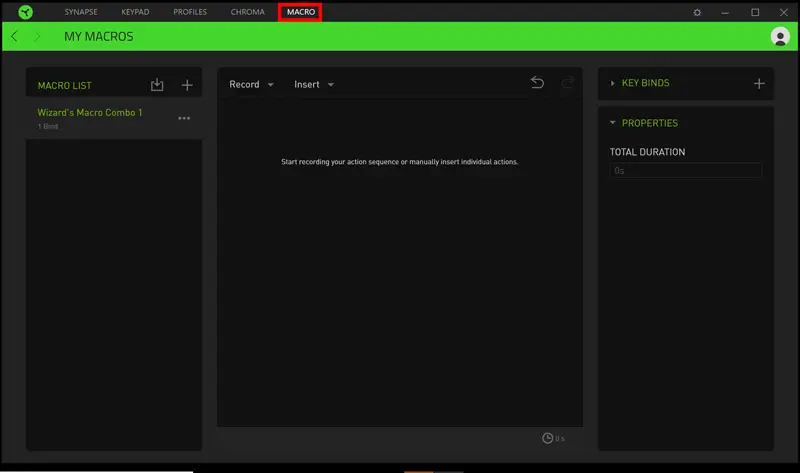
- Open Razer Synapse 3 and select “MACRO” from the top menu.
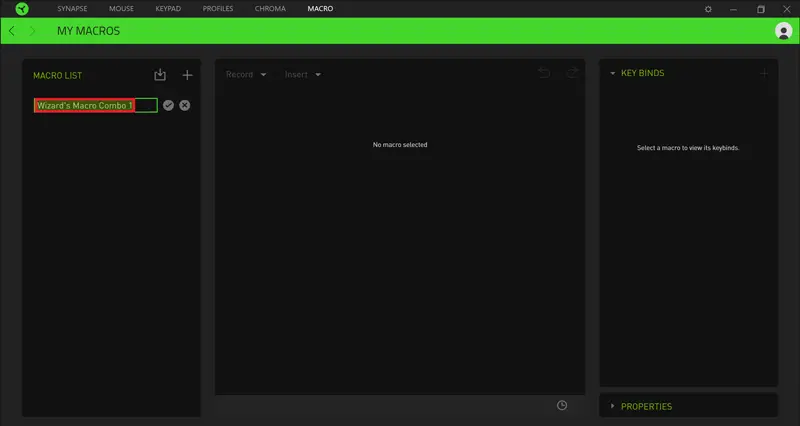
- Click the + icon to add a new macro profile. By default, macro profiles will be named as Macro 1, Macro 2, and so on.
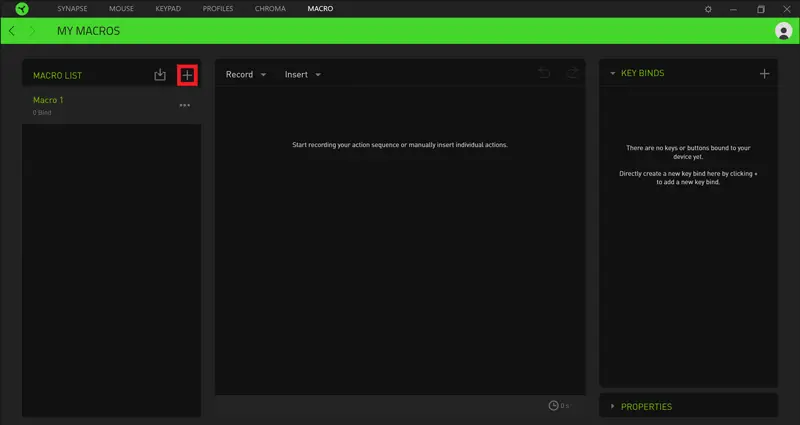
- To quickly identify your Macro, we suggest renaming each macro. Click on the macro name to rename it, then click on the checkmark to save it.
- Select the macro to start adding input sequences.
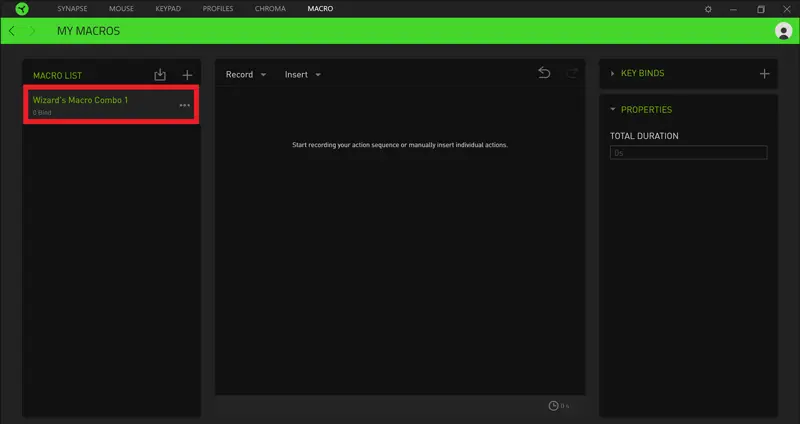
There are two ways to create a macro:
- Record – records your keystrokes or mouse functions which will be added to the macro.
- Insert – manually insert keystrokes or mouse functions to the macro.
Record
- Click “Record”. A window will drop down for recording your macros.
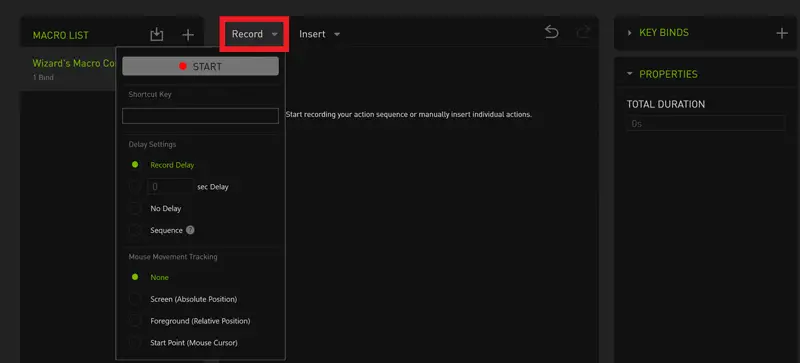
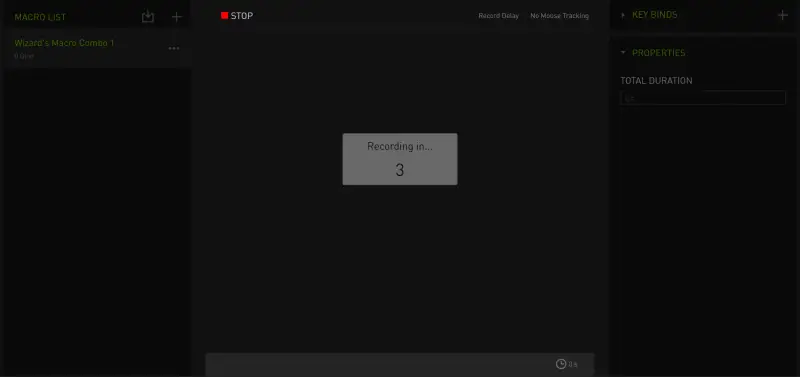
- You can set the delay functions and how the mouse movement is recorded. If you select Record Delay, there will be a 3-second countdown before Synapse 3 starts recording.
- When you are ready to record your macro, click “START”.
- After you finished recording your macro, click “STOP”.
- Your macro will automatically be saved and can be immediately assigned to any Razer Product.
Insert
- Click “Insert”. A drop-down window will appear for inserting via Keystroke, Mouse Button, Type Text, or Run Command.
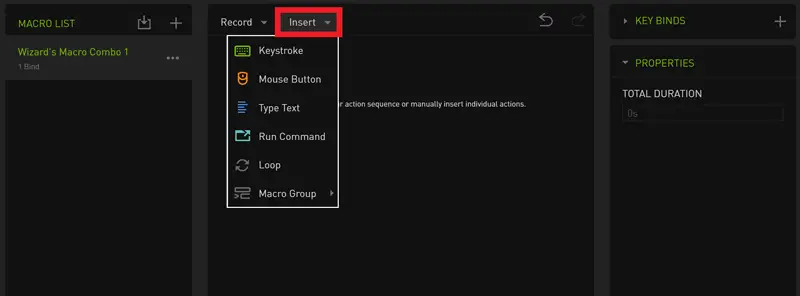
- To add an input, click “Keystroke”, “Mouse Button”, “Text”, or “Run Command”.
- Under the Properties tab on the right side, select the respective field under Action. Then, assign the keystroke, mouse button, text or Run Command.
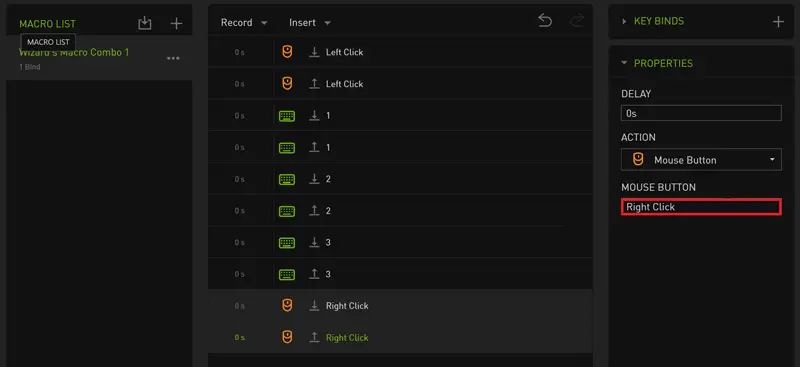
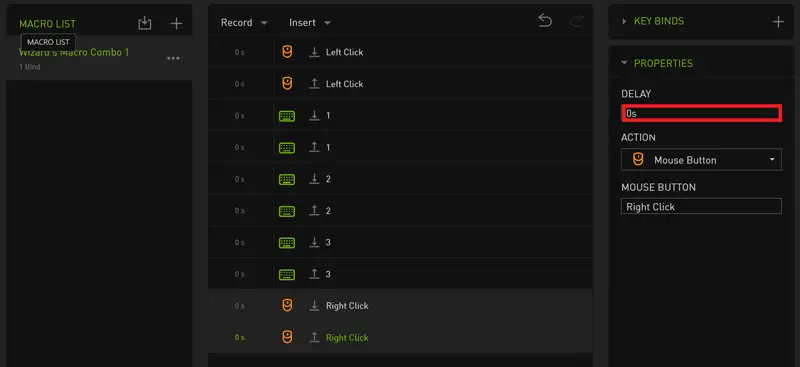
- If you wish to set a delay before initiating the next action, select the previous action and input a delay.
- Your macro will automatically be saved and can be immediately assigned to any Razer Product.
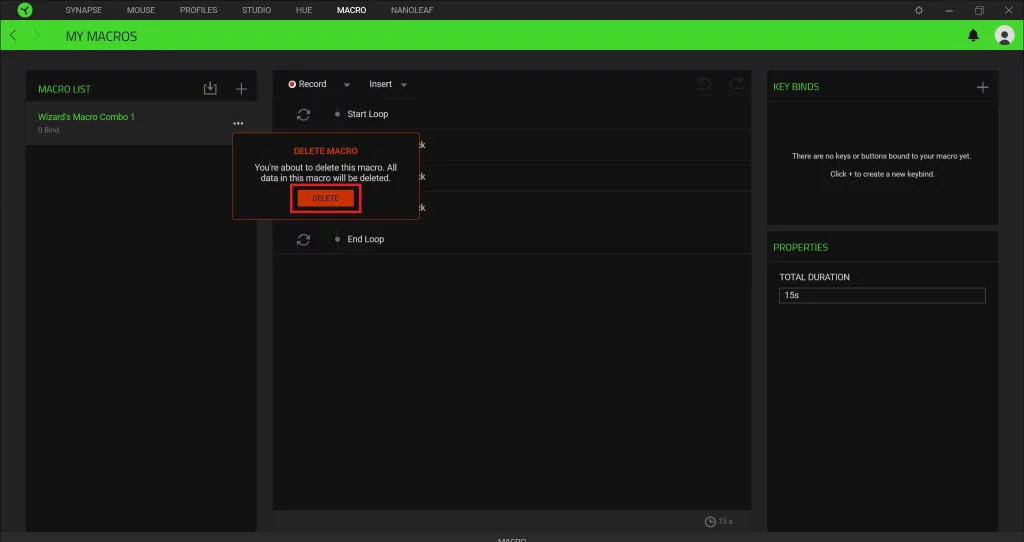
Delete
- Click on the ellipsis button of the macro you wish to delete and select “Delete”. Note: This will delete all data in the macro.
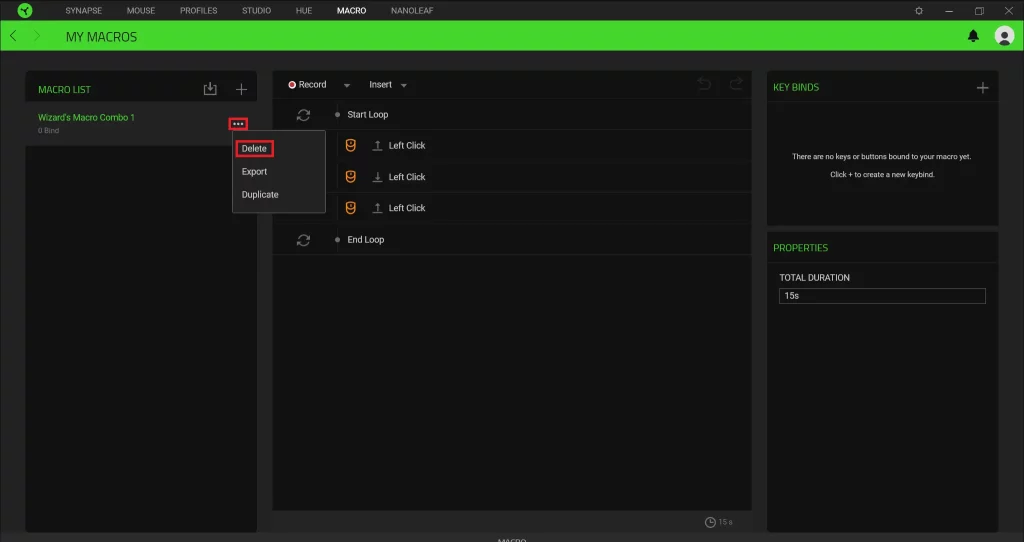
- Click “DELETE” to proceed.