Perform a clean re-installation of Razer Synapse 3 and 2.0 on Windows
A clean re-installation of Razer Synapse is recommended if you encounter a recurring software issue.
Here is the video on how to perform a clean re-installation of Synapse.
Step-by-step process
- Verify if Synapse 3 and/or 2.0 is installed on the PC.Note: Synapse logs should be collected and saved prior to performing a clean re-install, in the event the issue needs further investigation.
- Backup profiles from Synapse.Note: If a Razer ID exists and you have your profile associated with Synapse, then this step can be skipped if a local backup is not required. Proceed to step 3.
- Close Synapse Programs.
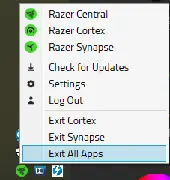
- Close all Synapse 3 programs by right-clicking on the icon and selecting “Exit All Apps”.
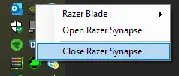
- Close Synapse 2.0 from the System Tray by right-clicking on the icon and selecting “Close Razer Synapse”.
- Close all Synapse 3 programs by right-clicking on the icon and selecting “Exit All Apps”.
- Uninstall all Razer Synapse programs.
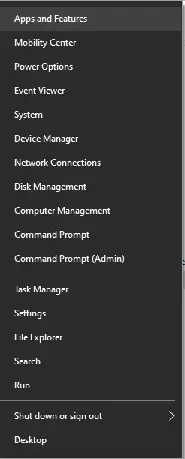
- Right-click on the start icon in Windows and select “Apps and Features”.
- Click in the search box below Search, sort, and filter by drive, then type: “Razer”.
- A list of Razer programs installed in Windows will appear and can vary by PC.
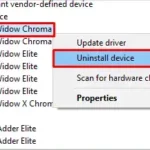
- Click on the first program, select “Uninstall”, then click on “Uninstall” again.
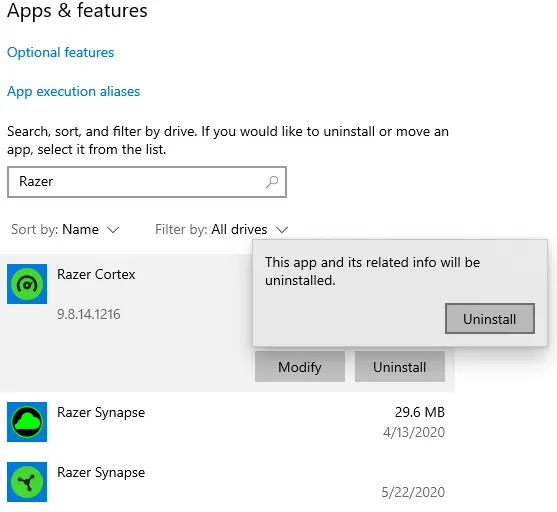
- Click Yes if the Windows User Account Control prompt opens.
- Click “Uninstall”.
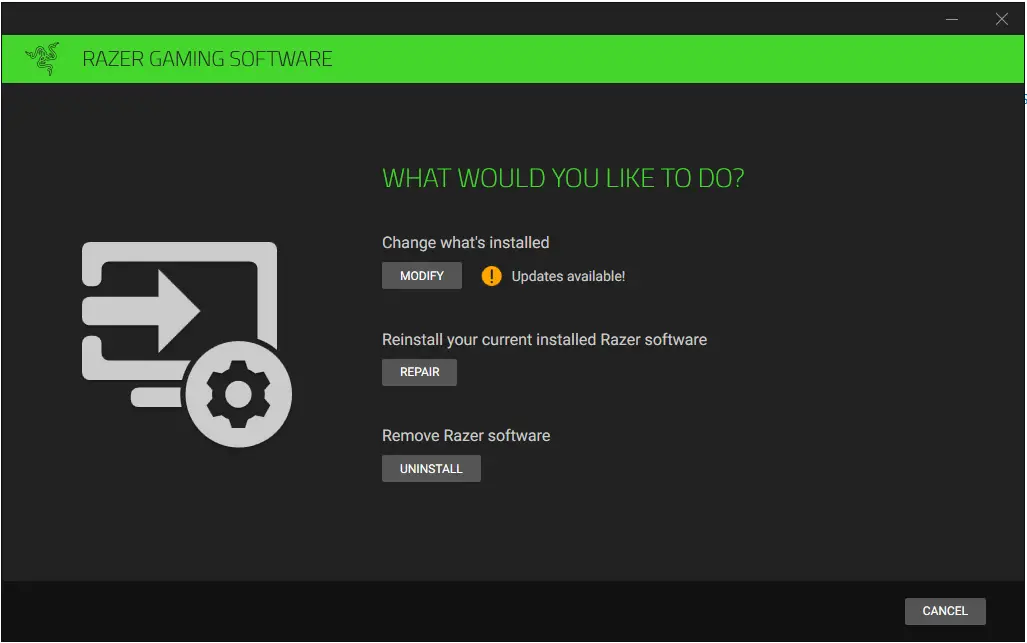
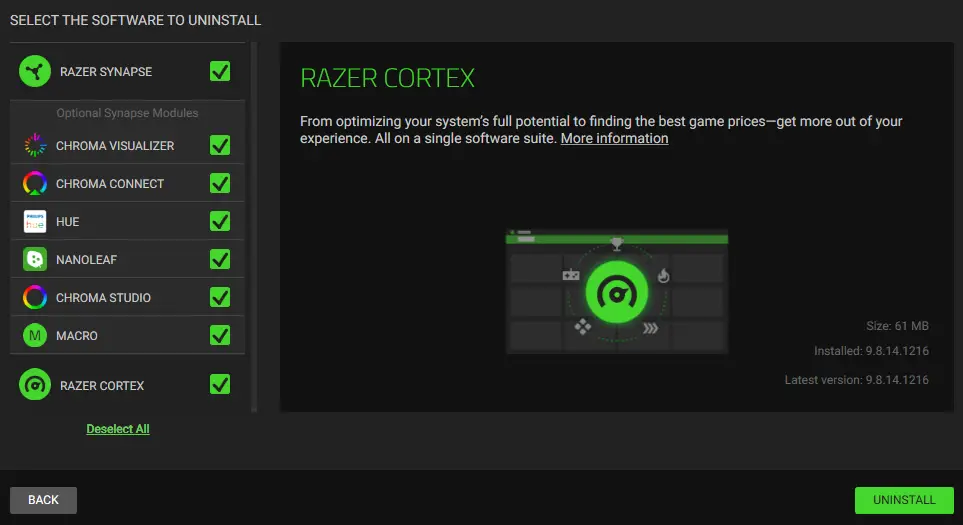
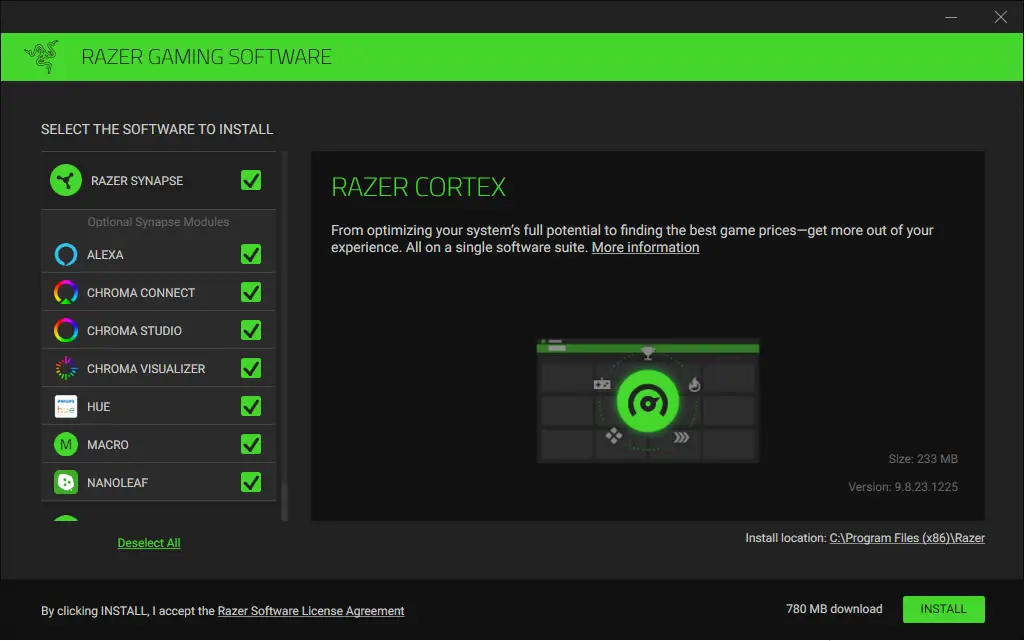
- Under Select the Software to Uninstall, click “Select All” then click “Uninstall”.
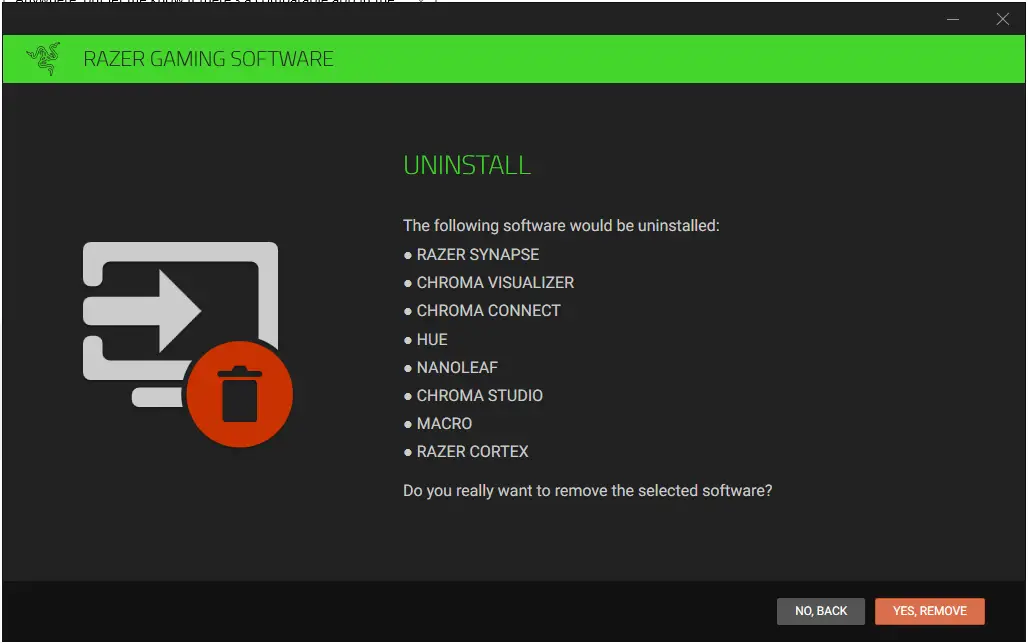
- Click “Yes, Remove”.
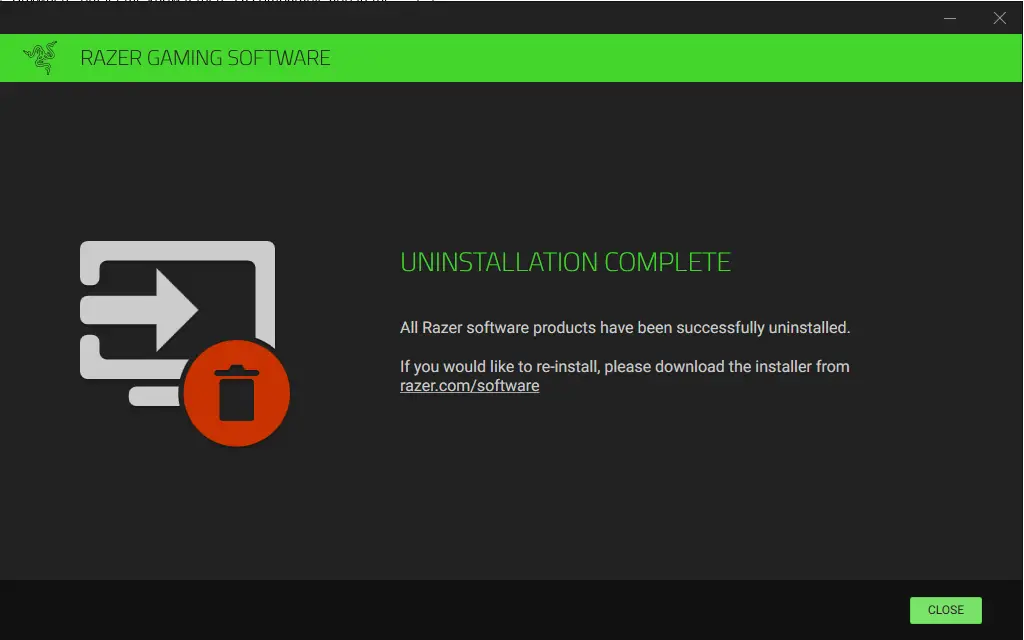
- Click “Close”.
- Repeat steps d. through i. for all other Razer programs.
- Close Apps & Features.
- Disconnect all non-essential Razer Devices from the PC
- Right-click on the start icon in Windows and select “Apps and Features”.
Note: On a laptop, all Razer devices should be disconnected so only the native keyboard and mouse can be used for the time being.
- Use the Windows System File Checker tool to repair missing or corrupted system files.
- Update Windows OS.
- Install and run Intel® Driver & Support Assistant (Intel® DSA) to check for and update any Intel related drivers.
- Locate and remove all remnants of Razer Synapse from the PC.
- Delete all folders and files named Synapse in the following locations:Note: These folders are hidden by default, so be sure to unhide them. Access the “Folder Options”, go to the “View” tab, and select “Show hidden files, folders, and drives”. If you are somehow unable to delete these folders, you may have to stop any Razer Synapse related processes running in your task manager.
- C:Program FilesRazer
- C:Program Files (x86)Razer
- C:Program Files (x86)Razer Chroma SDK
- C:ProgramDataRazer
- This command can be used in place of the above to access the directory: %ProgramData%
- C:Users<username>AppDataLocalRazer
- This command can be used in place of the above to access the directory: %AppData%
- C:Users<username>AppDataRoamingSynapse3
- This command can be used in place of the above to access the directory: %AppData%
- Delete all folders and files named Synapse in the following locations:Note: These folders are hidden by default, so be sure to unhide them. Access the “Folder Options”, go to the “View” tab, and select “Show hidden files, folders, and drives”. If you are somehow unable to delete these folders, you may have to stop any Razer Synapse related processes running in your task manager.
- Restart the PC.
- Download and install the latest version of Synapse 3 and, if applicable, Synapse 2.0 from Razer Support.
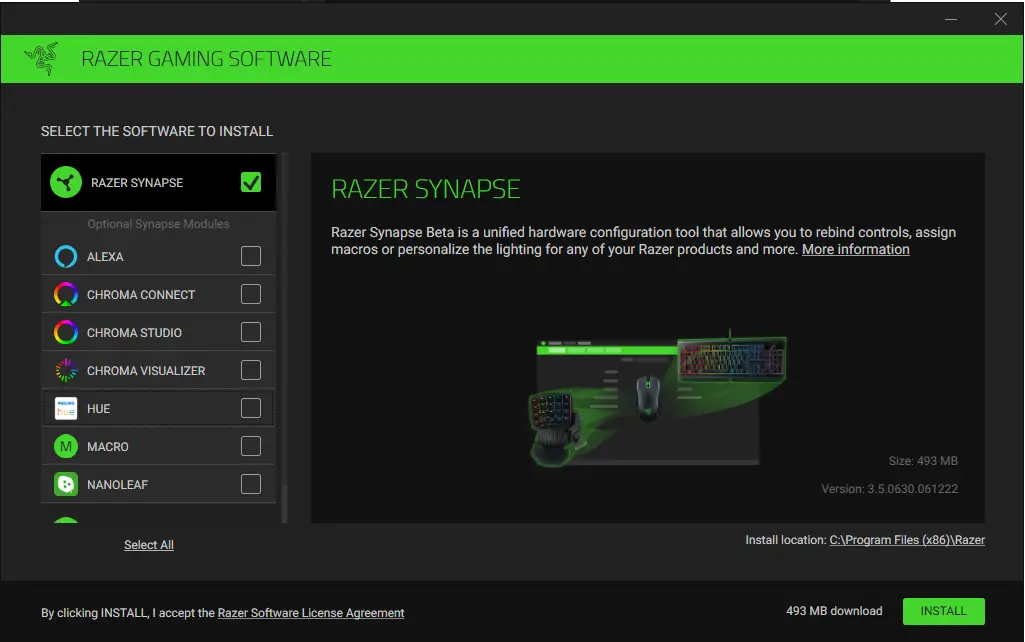
Note: When installing Synapse 3, be sure to click on “Deselect All” and only select Razer Synapse. All other subsequent Razer Programs/Modules can be installed through Synapse as needed once the installation is completed.
Note: Do not login with your Razer ID until Step iv.
- Click “Continue as Guest”.

- Connect your first Razer device directly to the PC without a USB hub or extension.
- Synapse will update automatically as each device is connected
- Repeat step ii for all other Razer devices one by one.
- Login to Synapse with your Razer ID.
- All profiles stored in your Razer Account will automatically be downloaded and applied in Synapse.
Note: If a Razer ID was never used, the exported files from Step 2 will need to be imported into Synapse.