Keypad Lock
Model FE575 Installation Instructions
Tools Needed
- Phillips screwdriver
- Tape Measure
- Pencil
Optional
- Flathead Screwdriver
- Wood Block
- Hammer

Prepare for Installation
IMPORTANT NOTES
- DO NOT use a power drill for installation!
- Use a screwdriver to remove product from packaging.
- Install and test lock with door open to avoid being locked out.
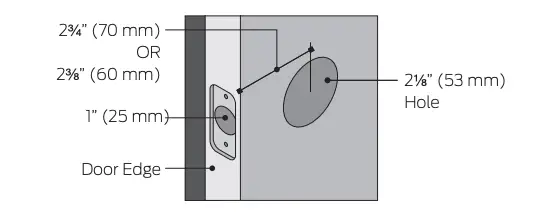
A. Check door dimensions.
See consumer.schlage.com/Service-Support for door preparation instructions if dimensions are different.
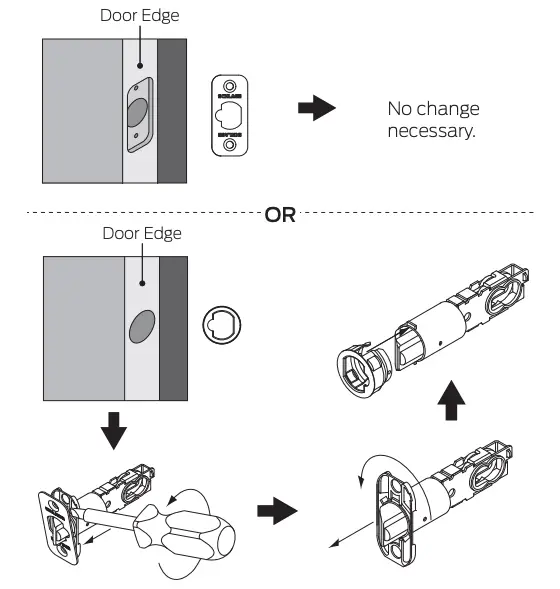
B. Change faceplate, if necessary.
Choose the drawing that matches your door edge. If the hole has no mortise, change to the circular faceplate.
Install Lock
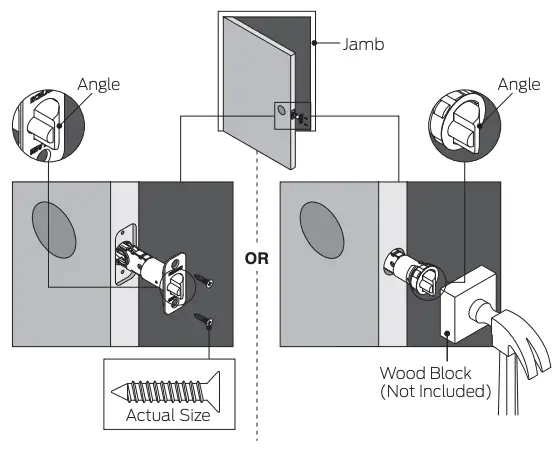
1. Install latch.
Make sure latch angle faces door jamb.
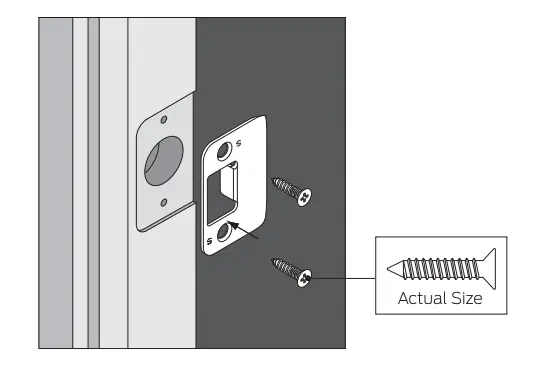
2. Install strike onto door jamb.
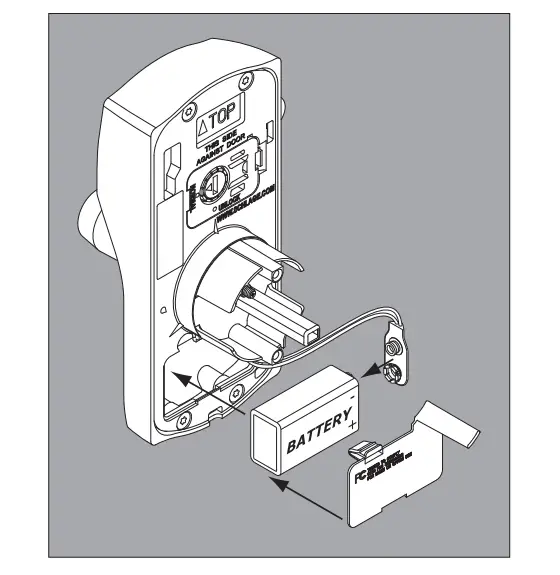
3. Install battery.
4. Install keypad.
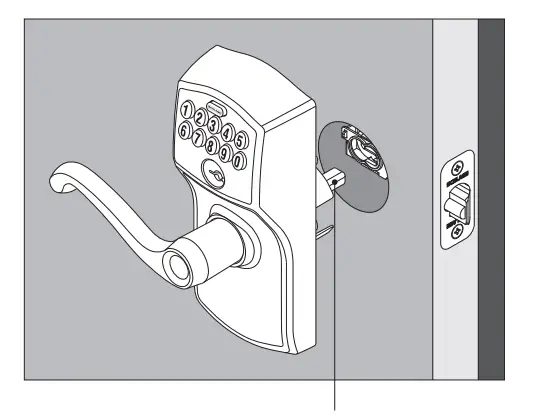
Bar should slide smoothly through hole in latch. If not, check door dimensions.
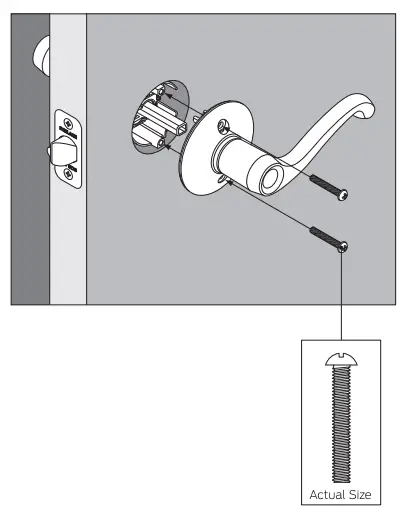
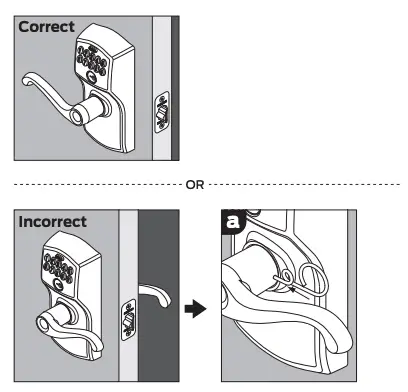
5. Install lever.
6. If needed, switch levers.
If your lever looks like this, then no change is necessary. If your lever does not look like this, switch the levers by following the steps below.
Insert the pin wrench into the hole in the lever. Push in and hold.
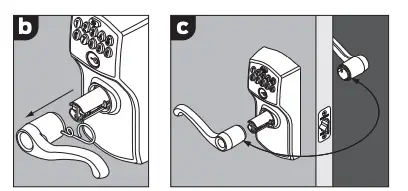
Pull the lever off.
Repeat steps a and b to remove the lever from the other side of the door. Switch the levers.
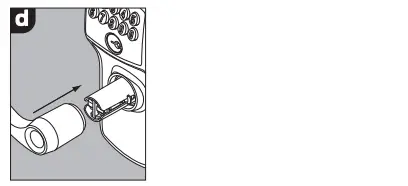
Push each lever back into place.
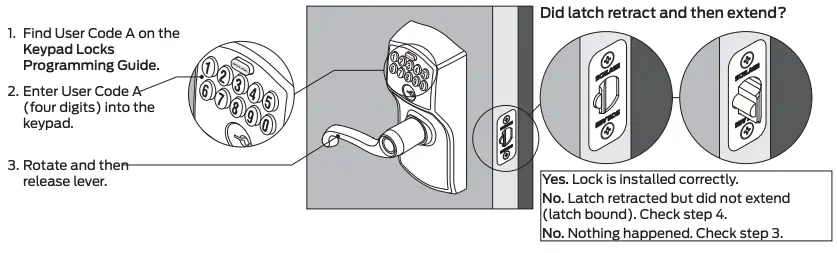
Test Lock
A. Unlock.
Program Lock
See the Keypad Locks Programming Guide that came with this lock. See the Keypad Locks User Guide for additional information. Go to keypad.schlage.com for videos and more.
Register your product at RegisterMySchlage.com.