
WHAT’S INCLUDED:
Contenu de l’emballage:
Was beinhaltet:
Que esta incluido:

Plaque Avant
Vorderplatte
Placa Frontal

Plaque ArriSre
ROckplatte
Placa Posterior

2 Vis
2 Schrauben
2 Tornillos

FlaschenOffner / AnhangerOse
Destapador De Botellas/ Anillo

12 Rondelles
12 Zwischenringe
12 Arandelas

Mikro-USB-Kabel
Cable micro-usb
STEP-BY-STEP ASSEMBLY
Montage etape par etape
Schtritt-f0 r-sch ritt-a n le itu ng
Ensamblar paso a paso
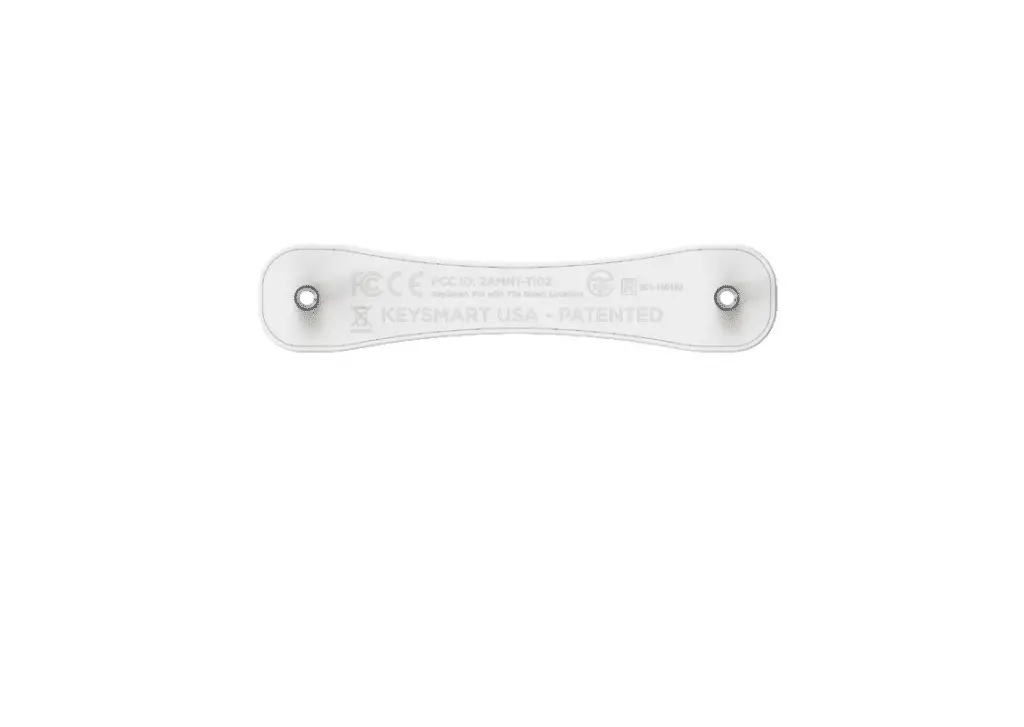
Place the front plate logo-side down, with posts up.
Placez la plaque frontale avec le logo dirige vers le bas,
et les cylindres vers le haut.
Platzieren Sie die Frontplatte mit dem Logo
nach unten und den Pfosten nach oben weisend.
Caloca la placa delantera con el logo hacia abajo
y las cilindros hacia arriba.
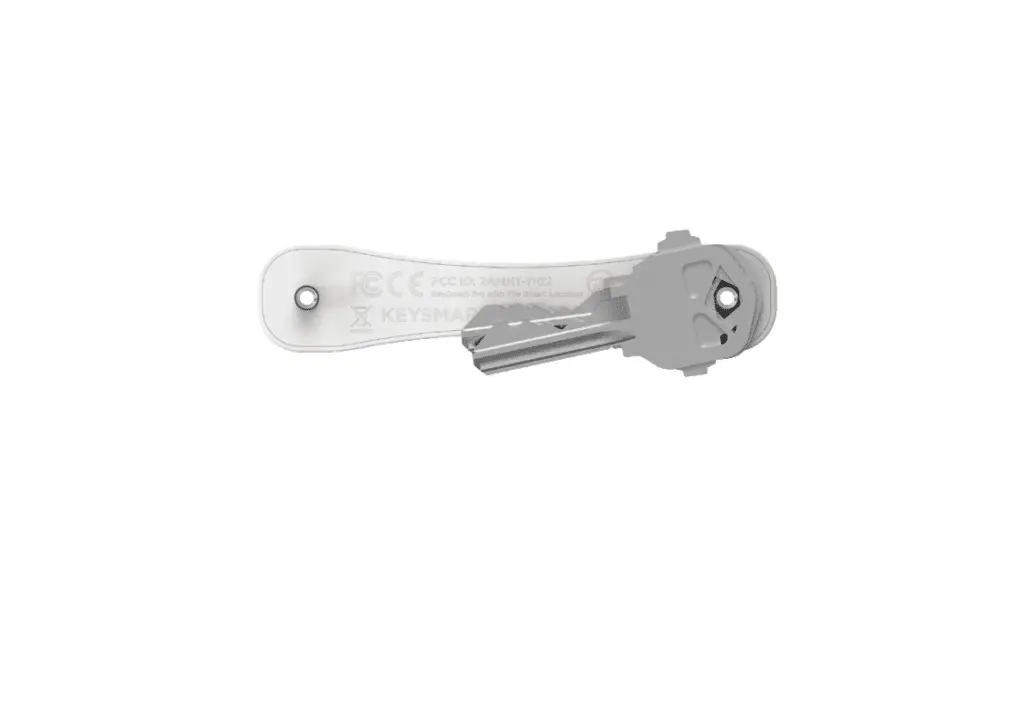
Add keys to one side. making sure they face inwards.
Keys may be stacked above the height of the post.
Up to 7 keys can be added to each post, up to 14 total.
(bottle opener will take up one key space)
Ajoutez des cles de chaque c6te, en vous assurant qu’elles sont tournees vers l’interieur. Les cles peuvent ~tre empil9es au-dela de la hauteur du cylindre. Vous pouvez ajouter jusqu•a 7 cles sur chaque cylindre, soit 14 au total. (Le d9capsuleur occupera l’espace d’une cl9)
FUgen Sie an jeder Seite Schlussel so hinzu, dass sie nach innen zeigen.
Die SchlOssel kOnnen Ober die HOhe des Pfostens hinaus gestapelt
werden. An jedem Pfosten kOnnen bis zu 7 SchlOssel hinzugefugt
werden, insgesamt also bis zu 14. (Der Flaschenbffner nimmt einen
SchlOsselplatz ein)
Ariade llaves a cada lado, asegurilndote de que miran hacia abajo. Las
I laves pueden sobrepasar la altura del cilindro. Puedes ariadir hasta 7
I laves a cada cilindro, sumando 14. (el abridor de botellas ocupara el
espacio de una llave)
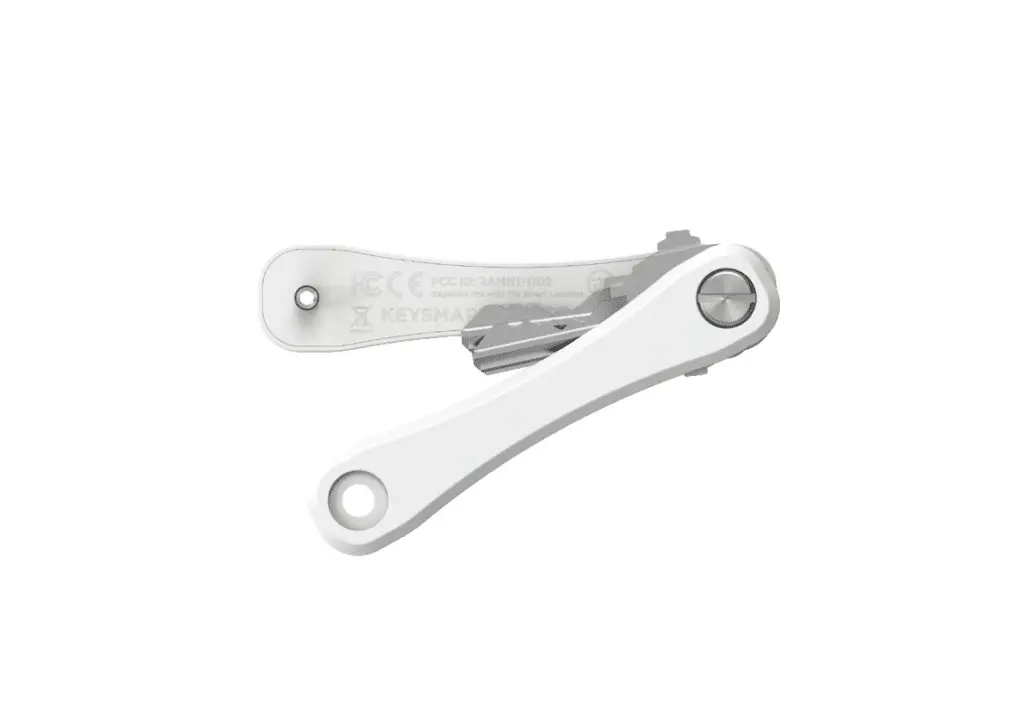
Place back plate on top and secure one side with a screw.
Replacez la plaque ;rfriere par-dessus et fixez un cote avec une vis.
Legen Sie die RUckplatte wieder auf und sichern Sie eine Seite mit einer Schraube.
Coloca la placa trasera encima y sujeta cada lado con un tornillo.

Add keys on the other post. Keys may be stacked above
the height of each post. Add spacers to make sure each
side is stacked flash.
Ajoutez des cles sur l’autre cylindre. Les cles peuvent ~tre empilees
au-dela de la hauteur de chaque cylindre. Ajoutez des entretoises
pour vous assurer que les deux cotes sont au mame niveau.
FUgen Sie nun auf dem anderen Pfosten weitere SchlOssel hinzu. Die
SchlOssel sind Ober die HOhe jedes Pfostens hinaus stapelbar. FOgen
Sie Abstandshalter hinzu, um sicherzustellen, dass jede Seite bOndig
gestapelt ist.
Afiade llaves al otro cilindro. Las llaves pueden sobrepasar la altura
cada cilindro. Arade espaciadores y asegLlrate de que ambos lados
esten al mismo nivel.

Secure the other side with a screw.
Fixez l’autre cote avec une vis.
Sichern Sie die andere Seite mit einer Schraube.
Sujeta el otro lado con un tornillo.
PLEASE CHARGE YOUR KEYSMART PRO BEFORE USE.
VEUILLEZ CHARGER VOTRE KEYSMART PRO
AVANT DE L”UTILISER.
BITTE LADEN SIE IHREN KEYSMART PRO
VOR DEM GEBRAUCH AUF.
POR FAVOR. CARGA TU KEYSMART PRO
ANTES DE USARLO.
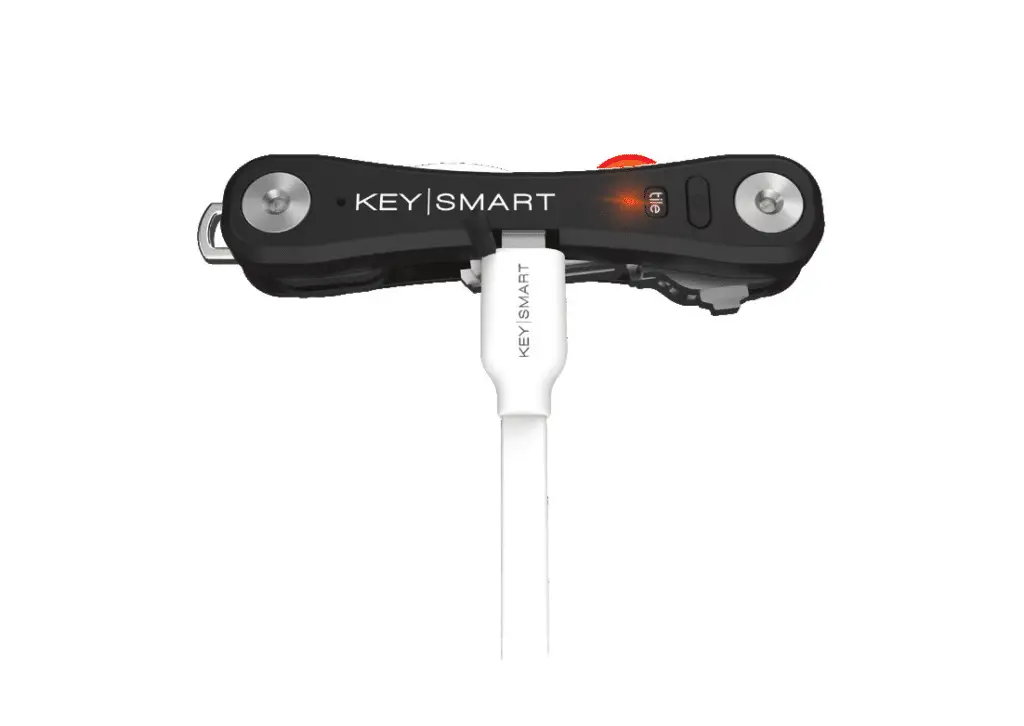
While charging, the battery indicator light will
be orange. When the battery is fully charged,
the battery indicator light will be green.
Pendant le chargement, le voyant lumineux de la batterie deviendra orange. Lorsque la batterie est completement chargee, le voyant devient vert.
Wahrend des Ladevorgangs leuchtet die Batterieanzeige orange. Bei
vollstandig geladenem Akku leuchtet die Batterieanzeige grOn.
Mientras carga, la luz del indicador de bateria sere§ naranja. Cuando la bacteria esta cargada por completo, la luz del indicador de bateria sera verde.
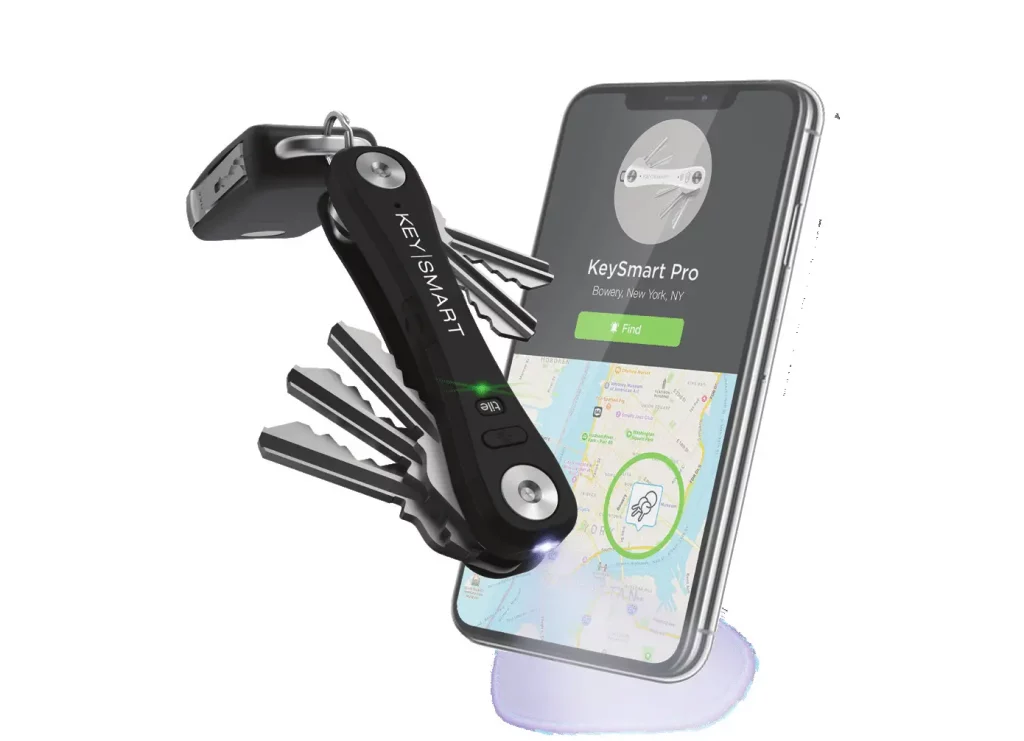
TILE™ APP
APPLICATION TILE'”
TILE'” APP
APP TILE'”
Download the free Tile app for iOS or
Andriod. Avaiable on the app Store,
Google Play or at DownloadTile.com
Telechargez !”application pour Android ou iOS. Elle
est disponible gratuitement sur downloadtile.com.
Laden Sie die App f0r iOS oder Android herunter.
Sis ist unter downloadtile.com kostenlos erhAltlich.
Descargue la aplicaci6n para Android o iOS
gratis en downloadtile.com
GETTING STARTED WITH THE TILE™ APP
DEBUTER AVEC L’APPLICATION TILE'”
ERSTE SCHRITTE MIT DER APP TILE'”
COMO USAR LA APP TILE'”
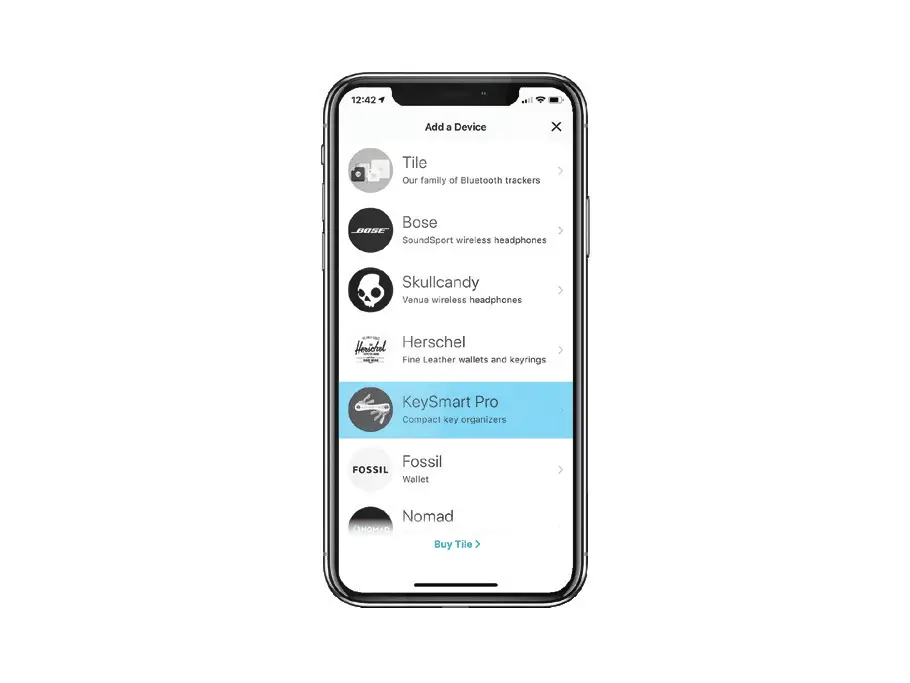
Tap the “+” icon in the top left
corner of the home screen and
select “KeySmart Pro”.
Appuyez sur l’icOne « + » dans le coin
superieur gauche de 1’€:cran d’accueil et
s€:lectionnez « KeySmart Pro».
Tippen Sie auf das Symbol “+” oben links
auf dem Startbildschirm und wahlen Sie
“KeySmart Pro”.
Pulsa el icono “+” en la esquina superior
izquierda de la pantalla inicial y
selecciona “KeySmart Pro”.
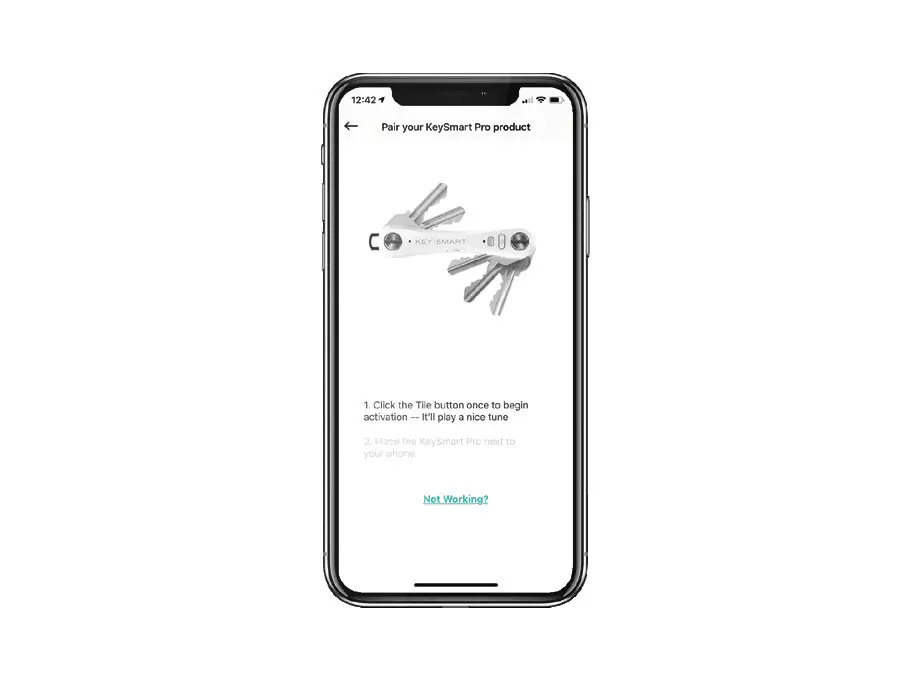
Follow the in-app instructions to connect KeySmart Pro with your Tile™ app.
Suivez les instructions de l’application afin
de connecter le KeySmart Pro a votre
application Tile™.
Folgen Sie den Anweisungen in der App,
um KeySmart Pro mit lhrer TileT'” App zu
verbinden.
Sigue la instrucciones de la app para
conectar el KeySmart Pro con tu app Tile™.
ABOUT YOUR KEYSMART PRO
A PROPOS DE VOTRE KEYSMART PRO
OBER IHREN KEYSMART PRO

- DOUBLE CLICK THE “FLASHLIGHT” BUTTON TO KEEP THE LIGHT ON FOR 10 SECONDS.
- DOUBLE CLICK THE “TILE” BUTTON TO FIND YOUR PHONE.
FOR MORE INFORMATION AND ASSEMBLY TIPS, PLEASE VISIT WWW.GETKEYSMART.COM

DESIGNED IN THE USA
PATENT AND TRADEMARK INFORMATION
AT GETKEYSMART.COM/IP. PRODUCTS
APPEARANCE 15 SUBJECT TO CHANGE.
MADE RESPONSIBLY IN CHINA.
© 2013 KEYS MART CORPORATION.
ALL RIGHTS RESERVED.
Distributed by CURV Group, LLC
860 Bonnie Lane
Elk Grove VIiiage. IL 60007 USA
TILE is a trademark of Tile, Inc. © 2017 Tile, Inc. San mateo, CA, USA. All Rights Reserved.
Apple, App Store•, iPhone•. iPad• and iPod Touch• are trademarks of Apple Inc. Google Play
is a trademark of Google Inc. All other trademarks are properties of their respective owners.