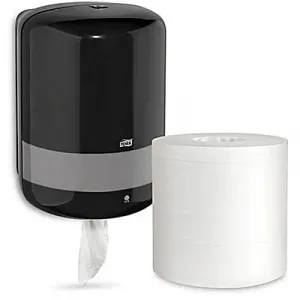
 H-5805
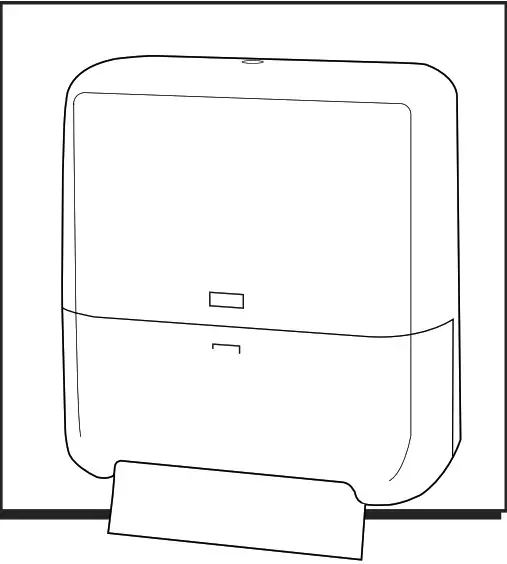
TORK’ MATIC MANUAL TOWEL DISPENSER
1-800-295-5510
uline.com
TOOLS NEEDED

PARTS

USING THE KEY AND OPTIONAL PUSH BUTTON MODE
USING THE KEY
- To open the dispenser while keeping it locked. insert key at position A. (See Figure 1)

- Turn and hold the key clockwise to open the dispenser. (See Figure 2)
 NOTE: Release key bock to position A after closing to lock the dispenser.
USING PUSHBUTTON MODE
- Insert key at position A. (See Figure 1)
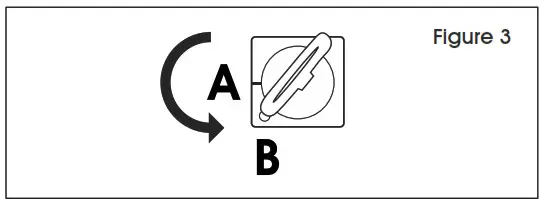
- Turn counterclockwise to position B. (See Figure 3)

- Remove the key and push in the lock to open the dispenser. (See Figure 4)
MOUNTING INSTRUCTIONS
NOTE: Recommended mounting height Is 48″ — from the floor to the bottom of the dispenser. If using a template, recommended mounting height is 48′ from floor to bottom of a piece of paper. (See Figure 5)
- Tape mounting template to wall at the desired height and ensure that template Is level. (See Figure 5)

- Using a 6mm drill bit, drill nto wall about 11/2′ at each marked screw location on the template. (See Figure 6)

 NOTE: Ensure that proper mounting hardware Is used for appropriate wall composition, as enclosed hardware may not be compatible with your wall surface.
 - Remove the template from the wall. Insert wall anchors (If necessary) Into four previously drilled holes. Hold dispenser up to the wall so holes In-wall and dispenser match up. Insert screws Into the circular base of the top two holes but do not tighten completely. Drop dispenser down so screws slide up Into narrow slots and tighten screws completely. (See Figure 7)

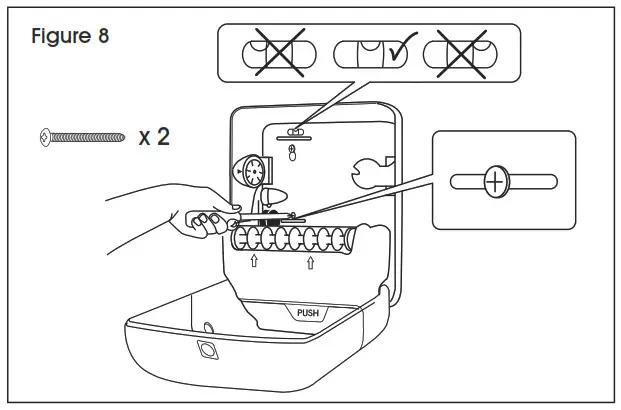
- Ensure the dispenser Is level by looking at the level bar on the inside of the dispenser. If level, screw In est two screws Into the bottom two holes. (See Figure 8)
LOADING INSTRUCTIONS
 NOTE: Paper towel roll should be Inserted Into the dispenser with the black core Insert on the right-hand side of the roll.
- Push left roll holder arm to the lett and Insert black core Into the right holder arm. Release lett holder arm slowly to ensure that paper towel roll core fits properly Into lett holder arm. (See Figure 9)
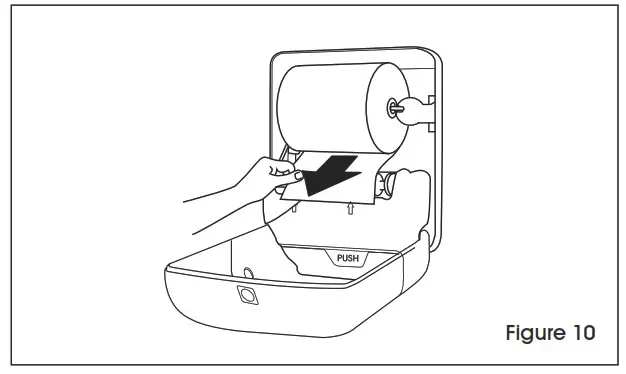
- Pull the paper out slightly so it covers the roller and the arrows below it. (See Figure 10)

- Push the end of the paper between the white roller and the arrows on the base. Push the dispensing lever twice (or more) to feed paper through the roller and out the bottom of the dispenser. (See Figure 11)
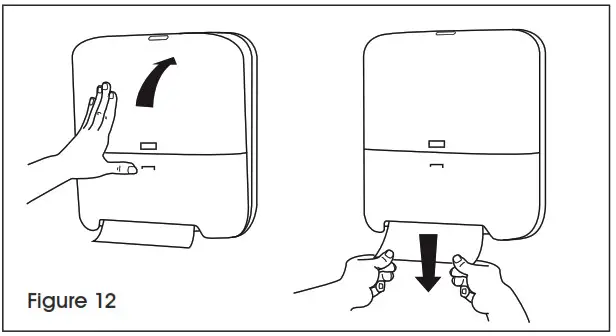
- Close dispenser and pull the paper out of dispenser using two hands to ensure a fresh sheet for Initial dispensing. Ensure the refill gauge on the front cover Is green. (See Figure 12)

STUB ROLL FEATURE
 NOTE: When the refill gauge on the left front of the dispenser is red, the roll is running low and can be moved to the stub roll spot in the dispenser.
- To use the low roll as a stub roll, drop the low roll into the bottom compartment while keeping tall of paper fed through the dispenser rollers.
- Place new roll In top roll holder arms (as In loading instructions above). Feed tall of new roll through mechanism rollers. Engage push bar two times to feed paper through.
- Close cover and pull both sheets down to ensure the dispenser is feeding. Two sheets will dispense until stub roll runs out.
MAINTENANCE
The manual dispenser should be cleaned any time there is heavy paper dust buildup inside the dispenser. If paper dust is not a problem, approximately every year is a good frequency for cleanings. The following is recommended procedure for cleaning:
- Open the dispenser and remove the roll of paper. Open the access door on cassette. Clear any loose paper and dust from the feed assembly. Close the cassette access door.
- Clean paper dust from the inside of the dispenser. This can be done In several ways, such as vacuuming, blowing out with a can of compressed air (wear safety glasses), wiping out with a damp cloth, etc.
- Clean the cover with a gentle cloth and water. If necessary, use an all-purpose cleaner that is safe for plastics.
 NOTE: It is not recommended that paper be used to clean the surface of the dispenser. Paper may scratch the high gloss surface.
TROUBLESHOOTING
| OPERATING ISSUE | RECOMMENDATIONS |
| Paper is not visible. | The paper may not be properly loaded. Arrows are embossed on the dispenser to show where the paper should be loaded.
Place paper between rollers. Push bar to feed through the mechanism. Open cassette cover (place fingers on both sides of the cassette, locate raised tabs, pull the cover towards you and down) and check for paper jams. Clear any paper from the path. |
| Sheet is not fully cutting or very little sheet showing. | Open the dispenser and check the following components:
If either Is worn or broken, call Ullne Customer Service at 1-800-295-5510 to check the status of the warranty. |
If the problem persists or the troubleshooting section does not resolve or describe the problem, contact Ullne Customer Service at 1-800-295-5510
 1-800-295-5510
uline.com
