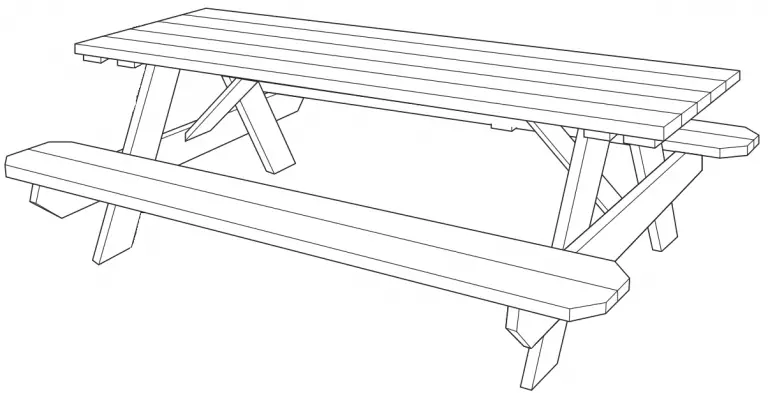
ULINE 8′ DELUXE Wooden Picnic Table
TOOLS NEEDED

Drill |
Tape Measure |
Rubber Mallet |
7/16″ Socket Wrench |

1/8″ Drill Bit |

Level |
PARTS
 |
Preassembled Table Top x 1 |
 |
59″ Pre-Drilled Seat Cross-Member x 2 |
 |
96″ Seat Plank x 4 |
 |
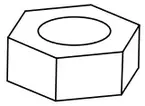
Nut x 8 |
 |
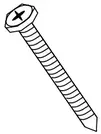
2½” Wood Screw x 52 |
 |
23½” Diagonal Brace x 2 |
 |
30″ Pre-Drilled Table Leg x 4 |
 |
62″ Seat Brace x 2 |
 |
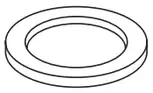
Washer x 8 |
 |
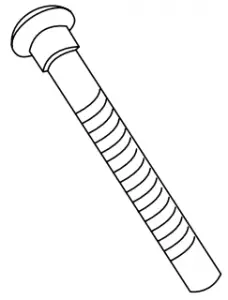
3½” Carriage Bolt x 8 |
ASSEMBLY
- Verify all parts are present before beginning.
Hardware is bagged and stapled to the table. - Place the pre-drilled seat cross-member on top of the pre-drilled table legs. Position the legs so the holes are aligned and the tops of the legs are level and straight. (See Figure 1)
- Loosely attach with the 3½” carriage bolts through the pre-drilled holes using the washers and nuts.
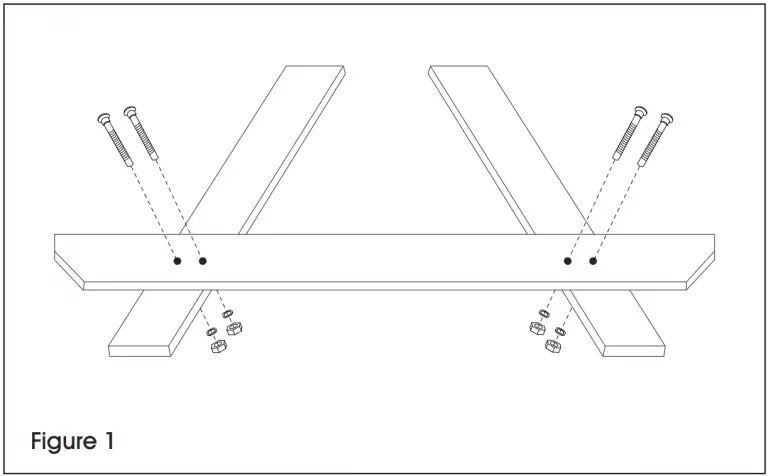 NOTE: It is recommended to use a rubber mallet to tap bolts through holes.
 - Repeat steps 1-3 for the second side.
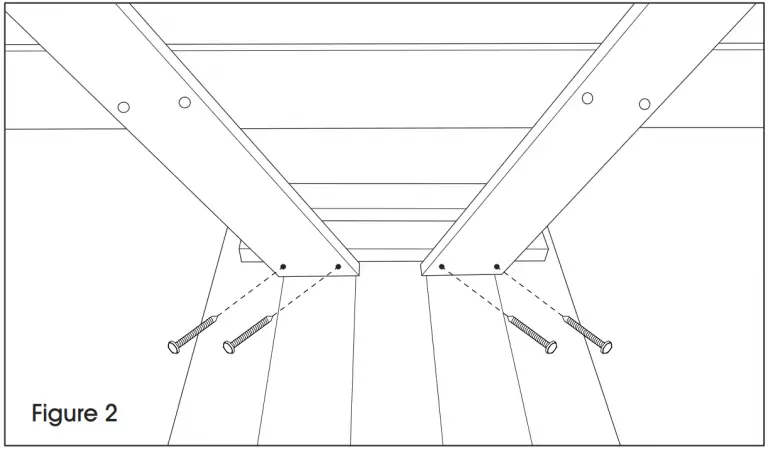
- Place the preassembled table top upside down.
Position the legs on the inside of the support bar.
Make sure the legs are equal distance from either table edge and the cross-member is facing out. (See Figure 2)

- Pre-drill for holes using 1/8″ drill bit. Loosely attach legs using four 2½” wood screws through the pre-drilled holes. Repeat steps to attach the other leg.
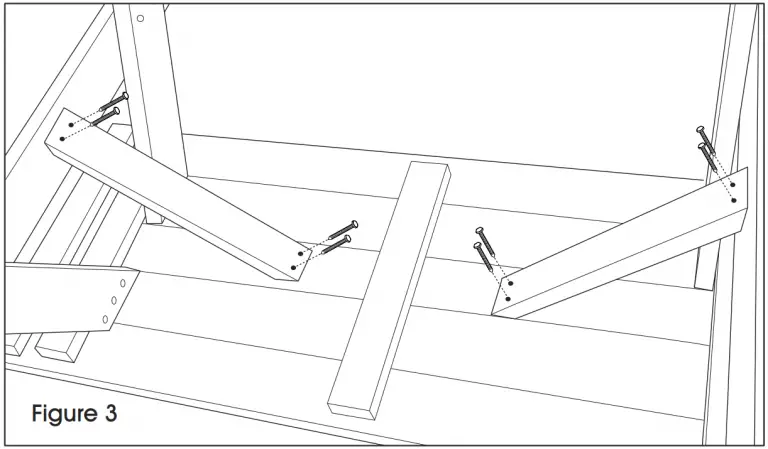
- Make sure the legs are perpendicular to the table top to ensure table top is level. Pre-drill and attach diagonal braces using four 2½” wood screws to the cross-member and preassembled table top. (See Figure 3)
- Flip the table so it is right side up.
- Make sure legs are level and tighten all 3½” carriage bolts using a 7/16″ socket wrench. Tighten all 2½” wood screws.
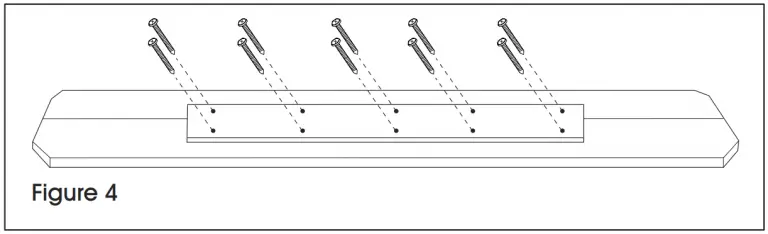
- Attach a seat brace along the center of two seat planks ensuring the brace is equal distance from both ends of the seat. Pre-drill holes using 1/8″ drill bit and attach using ten 2½” wood screws on the brace. Repeat for the second seat plank. (See Figure 4)
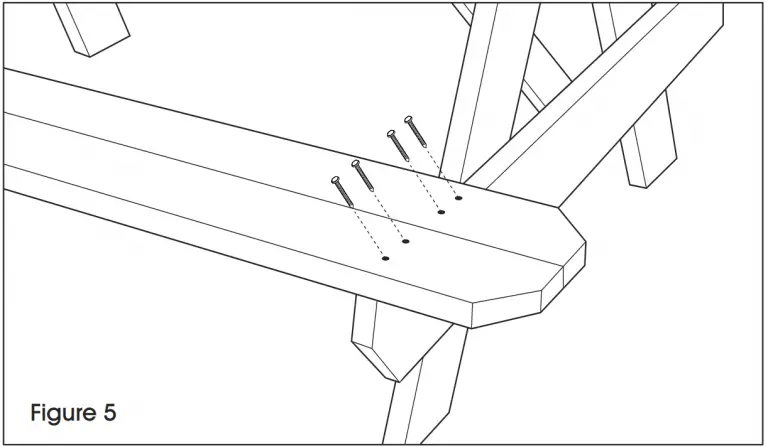
- Place the outside edge of the seat bench flush with the ends of the seat braces and align the ends of the bench with the edge of the table top. Use a 1/8″ drill bit to pre-drill holes and avoid splitting. Attach the seat bench to the braces using eight 2½” wood screws per bench seat. Repeat for opposite seat bench. (See Figure 5)
CARE AND MAINTENANCE
- Clean the table with a cleaner/brightener that contains mildewcide.
- It is recommended to apply an outdoor wood sealer or stain that contains water repellent and an ultraviolet stabilizer.
1-800-295-5510
uline.com