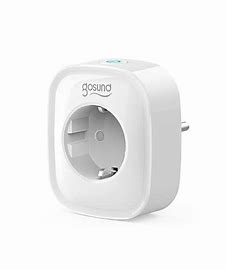

gosund SP1-C Smart Socket
Product Package
- Smart Socket
- User Manual
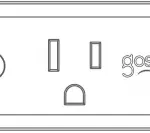
| 1.LED indicator | Wi-Fi/Power status |
| Quick press to switch on/off. | |
| Press & hold for about 5 seconds to | |
| 2.Power / Reset Button | factory reset.
Note: all connection data will be clear- ed. SP1-C must be removed from the |
| Home APP and then added back | |
| again. |
LED Status Indication
| Status | LED Indicator |
| Search Wi-Fi | Blue blinking quickly |
| Adding a device | Blue blinking slowly |
| A device added successfully | Red blinking slowly 5 times |
| Discovering a device | Red blinking slowly 5 times |
| Connected to Wi-Fi (Outlet On) | Blue staying on |
| Connected to Wi-Fi (Outlet Off) | Indication LED stay off |
| Disconnected from Wi-Fi | Red blinking quickly |
| Reset | Press & Hold for 5s, then red blinking once,
Blue blinking quickly |
| OTA in Progress | Red blinking slowly |
| OTA done | Red blinking quickly 4 times |
Parameter
- Input: 230V ~ 50/60Hz 16A Max.
- Output: 3680W Max.
Working temperature: 0°C-35°C - Wi-Fi frequency: 2.4GHz
Reset
Turn on the power, hold the Switch/ Pairing for 5 seconds and let go when the socket starts to flash quickly, the reset is successful. When the socket is in a new network environment, you need to restore the factory settings, and then reconnect to the network.
Warnings and Precautions
Important!
- Keep it out of the reach of children and pets.
- Do not use this product in humid environments or outdoors. It’s for indoor use only.
- Do not place this product near heating devices, such as microwave ovens, stoves, or radiators.
- Protect the product from extreme temperatures, direct sunlight, strong jolts, high humidity, moisture, flammable gases, vapors and solvents.
- Do not disassemble, modify, or repair your device, and ask help from the authorized professionals for device malfunction.
- Do not use the device when it is no longer working properly or visibly damaged.
- Do not store the device for extended periods in poor ambient conditions.
- Do not insert your device to another one.
- Never use aggressive detergents such as rubbing alcohol or other chemical solutions because these could damage the casing or even impair the functioning of the prod-uct.
- Note: The image shown in the manual is indicative only. If there is inconsistency between the image and the actual product, the actual product shall govern.
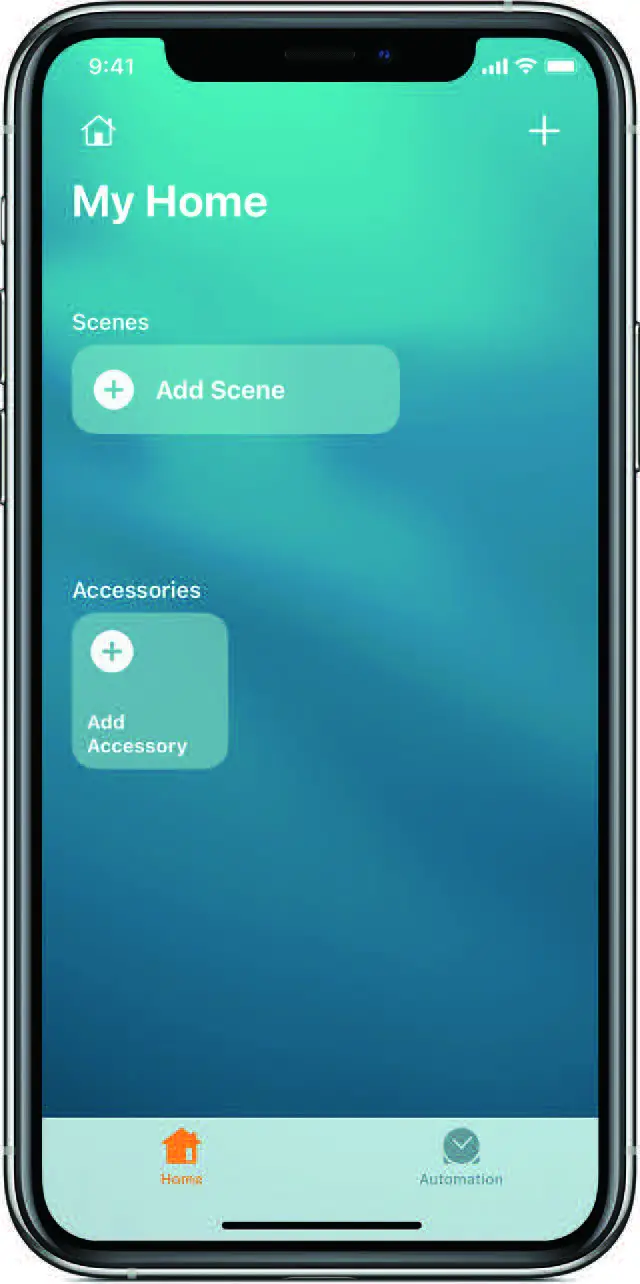
Add accessories
To add an accessory to the Home app, use your iPhone, iPad, or iPod touch. You can’t add accessories to the Home app on Mac. Before you set up your accessory, check these things first:
- Make sure that it’s powered on and nearby.
- Check your accessory’s manual to see if it needs a- dditional hardware to work with HomeKit.
Then follow these steps:
- Open the Home app and tap Add Accessory O or+.
- Use the camera on your iPhone, iPad, or iPod touch to scan the eightdigit HomeKit code, or QR code on the accessory or accessory documentation.
- When your accessory appears, tap it. If asked to Add Accessory to Network, tap Allow.
- Name your accessory and assign it to a room to help you identify it in the Home app and control it withSiri.
- Tap Next, then tap Done. Some accessories, speakers, and smart TVs might require software updates or additional setup with the manufacturer’s app.
If you can’t add an accessory
Update your iPhone, iPad, or iPod touch to the latest version of iOS or iPadOS. To use and manage your home in the Home app on all of your devices, sign in to iCloud with your Apple ID on every device. Then turn on iCloud Keychain and Home in iCloud Settings. Reset Turn on the power,hold the Switch/ Pairing for 5 seconds and let go when the socket starts to flash quickly, the reset is successful. When the socket is in a new network environment, you need to restore the factory settings, and then reconnect to the network.
SP1-C firmware update procedure
- SP1-C updates its firmware automatically.
- 0nce SP1-C connected to the internet, it will check and download the latest firmware.
- The new firmware will take effect after next time bootup. During SP1-C updating firmware, red lights blink slowly.
- When SP1-C updates successfully, red lights blink quickly 4 times.
After-sales
All products come with a limited warranty of 12 months from the date of purchase. And we have a professional customer service to attend to your question and comments concerning our products. Please do not hesitate to contact us.
Contact Us
- Shenzhen Gosund Technology Co., Ltd
- Website: www.gosund.com
- Support: [email protected]
- Address: Gushu Community, Xixiang
- Street, Baoan District, Shenzhen, China