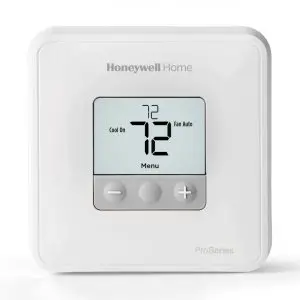
Honeywell T1 Pro Non-Programmable Thermostat
Read and save these instructions.
Package Includes
- T1 Pro Thermostat
- UWPTM Mounting System
- Decorative Cover Plate
- Screws and anchors
- 2 AA Batteries
- Thermostat literature
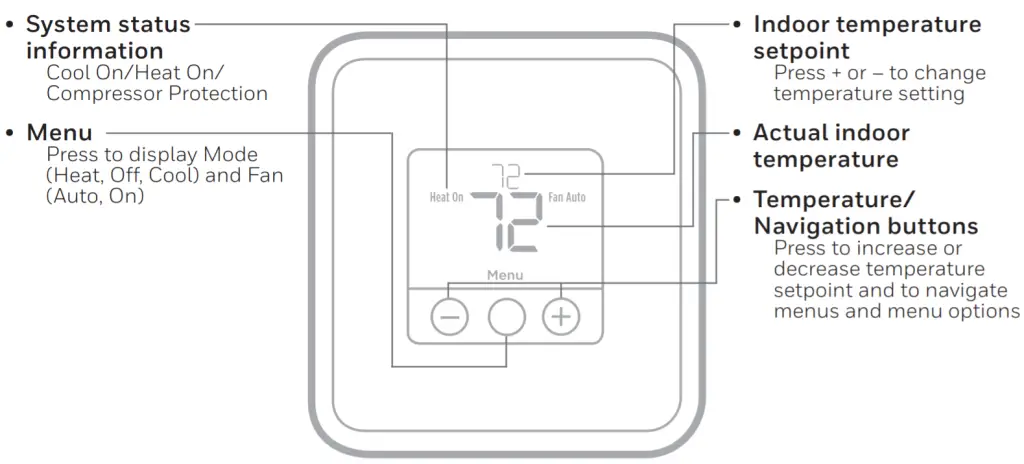
Thermostat controls
The screen will wake up by pressing any of the three buttons. If powered by the C wire, the screen stays lit for 45 seconds after you complete changes. If powered by battery only, the screen stays lit for 8 seconds. Depending on how your thermostat was installed, the screen light may always be on.
Customer assistance
Visit https://www.honeywellhome.com/support
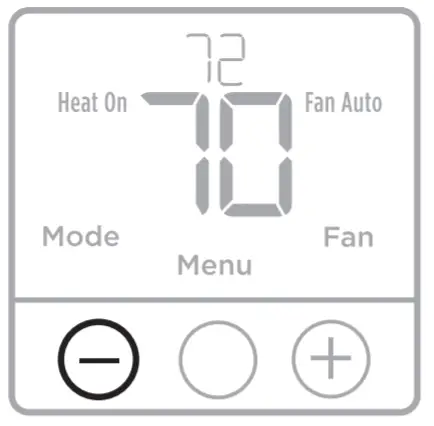
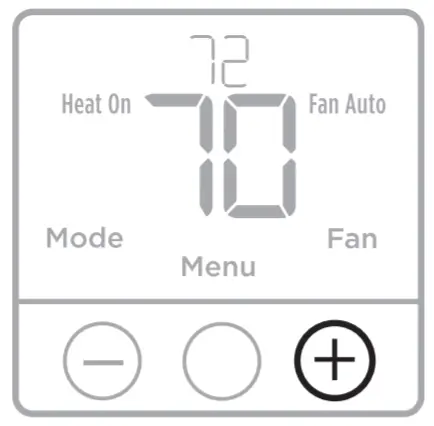
System operation settings
- Press the Menu to cause the Mode and Fan menus to appear.
- Press Mode (
 ) to cycle through the available modes.

NOTE: Available System modes vary by model and system settings.
System modes:
– Heat
– Cool
– Off
Fan operation settings
- Press Menu to cause the Mode and Fan menus to appear.
- Press Fan (
 ) to cycle through Fan modes.

NOTE: Available Fan modes vary with system settings.
Fan modes:
– Auto: Fan runs only when the heating or cooling system is on.
– On: Fan is always on.
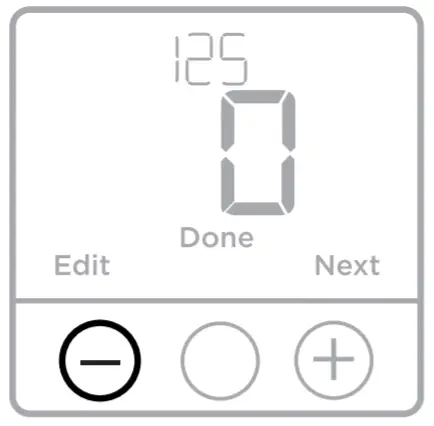
Setting degrees Fahrenheit (F) or Celsius (C)
- Press and hold Menu (center) for approximately 3 seconds to enter advanced menu.
- Change setup option 125 by pressing Edit (
 ) to change the value: 0 = Fahrenheit, 1 = Celsius.
 - Press Done to Save and return to the main menu screen.

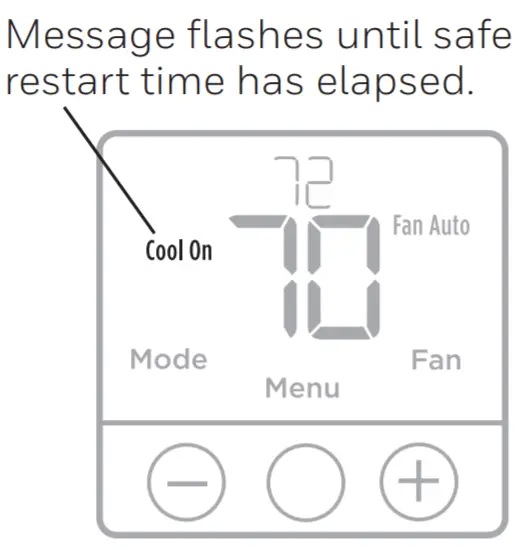
Built-in compressor protection
Damage can occur if the compressor is restarted too soon after shutdown. This feature forces the compressor to wait for a few minutes before restarting.
During the wait time, the display will flash the message Cool On (or Heat On if you have a heat pump). When the safe wait time has elapsed, the message stops flashing and the compressor turns on.
Battery replacement
Batteries are optional (to provide backup power) if your thermostat was wired to run on AC power when installed. If your thermostat was not wired to run on AC power, then batteries are required.
Install fresh batteries immediately when the low battery icon appears. The icon appears about two months before the batteries are depleted.
Even if the low battery icon does not appear, you should replace batteries once a year, or before leaving home for more than a month.
NOTE: When replacing batteries, alkaline batteries are recommended.
Electrical Ratings
| Terminal | Voltage (50/60Hz) | Running Current |
| W Heating | 20-30 Vac | 0.02-1.0 A |
| Y Compressor Stage 1 | 20-30 Vac | 0.02-1.0 A |
| G Fan | 20-30 Vac | 0.02-0.5 A |
| O/B Changeover (TH1110D only) | 20-30 Vac | 0.02-0.5 A |
Troubleshooting
If you have difficulty with your thermostat, please try the following suggestions. Most problems can be corrected quickly and easily.
| Display is blank |
|
| Heating or cooling system does not respond |
|
| Temperature settings do not change |
|
| “Cool On” or “Heat On” is flashing |
|
5-year limited warranty
https://www.honeywellhome.com/support
 |
CAUTION: ELECTRICAL HAZARD Can cause electrical shock or equipment damage. Disconnect power before beginning installation. |
|
CAUTION: EQUIPMENT DAMAGE HAZARD Compressor protection is bypassed during testing. To prevent equipment damage, avoid cycling the compressor quickly |
|
CAUTION: MERCURY NOTICE If this product is replacing a control that contains mercury in a sealed tube, do not place the old control in the trash. Contact your local waste management authority for instructions regarding recycling and proper disposal. |
|
CAUTION: ELECTRONIC WASTE NOTICE The product should not be disposed of with other household waste. Check for the nearest authorized collection centers or authorized recyclers. The correct disposal of end-of life equipment will help prevent potential negative consequences for the environment and human health |
 Resideo Technologies, Inc. 1985 Douglas Drive North, Golden Valley, MN 55422 https://www.honeywellhome.com/support
© 2020 Resideo Technologies, Inc. All rights reserved. The Honeywell Home trademark is used under license from Honeywell International, Inc. This product is manufactured by Resideo Technologies, Inc. and its affiliates.


