Manufactured by Hunter
Page 2 of 7
« Previous Next »
UNINSTALLING THE EXISTING UNIT
NOTICE! Do not disconnect the wires from the existing thermostat before reading these instructions.
The wires must be labeled prior to removal to ensure proper reconnection.

- Turn the system power OFF from the existing thermostat. Turn the power to the HVAC system OFF at the main power panel or atthe furnace.
- Remove the existing thermostat cover to access the wires from the wall.
(Some thermostats may have multiple covers, screwsor other locking devices that must be removed ordisengaged.) - Locate, but do not disconnect the wires. (If wires are not visible, they may be connected to theback of the wall plate. Some models may have doorsthat open to expose the wires and mounting screws.)

- Using the provided stickers, label each wire according to the chart.
- If the terminals are not labeled, contact a qualifiedHVAC technician.
- Note: Wire colors do not always comply with standards, so wire color should be ignored. Refer to the existing terminal designation for properidentification.
- If wires marked Y & C are both present, C maybe a Common wire and should not be used. If you have a wire marked C, do not connect it to any terminal. This wire is used only for non-battery powered thermostats.
- Do not let the wires slip back into the wall during disconnection. You may want to secure the wires to the wall as you disconnect them. After all wires are labeled, disconnect each wire and remove the existing wall plate.
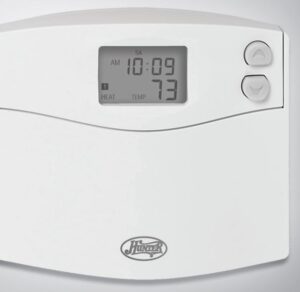
INSTALLING THE THERMOSTAT

INSTALLING THE WALL PLATE
- Remove the wall plate from the new thermostat by pressing the release tab on the bottom of the thermostat.
- Position the new wall plate on the wall and pull the labeled wires through the opening.
- If the existing holes do not match those on the Hunter wall plate, or if there are no existing holes, visually level the wall plate and mark the wall for two holes.

- Remove the wall plate and drill two 3/16” holes where marked.
- Tap the plastic anchors into the holes until they are flush with the wall.
- Reposition the wall plate on the wall, pulling the wires through the opening. Insert the mounting screws through the wall plate and into the anchors. Verify that the wall plate is visually level and securely tighten both screws.
Page 2 of 7
« Previous Next »
[View Manual Contents]