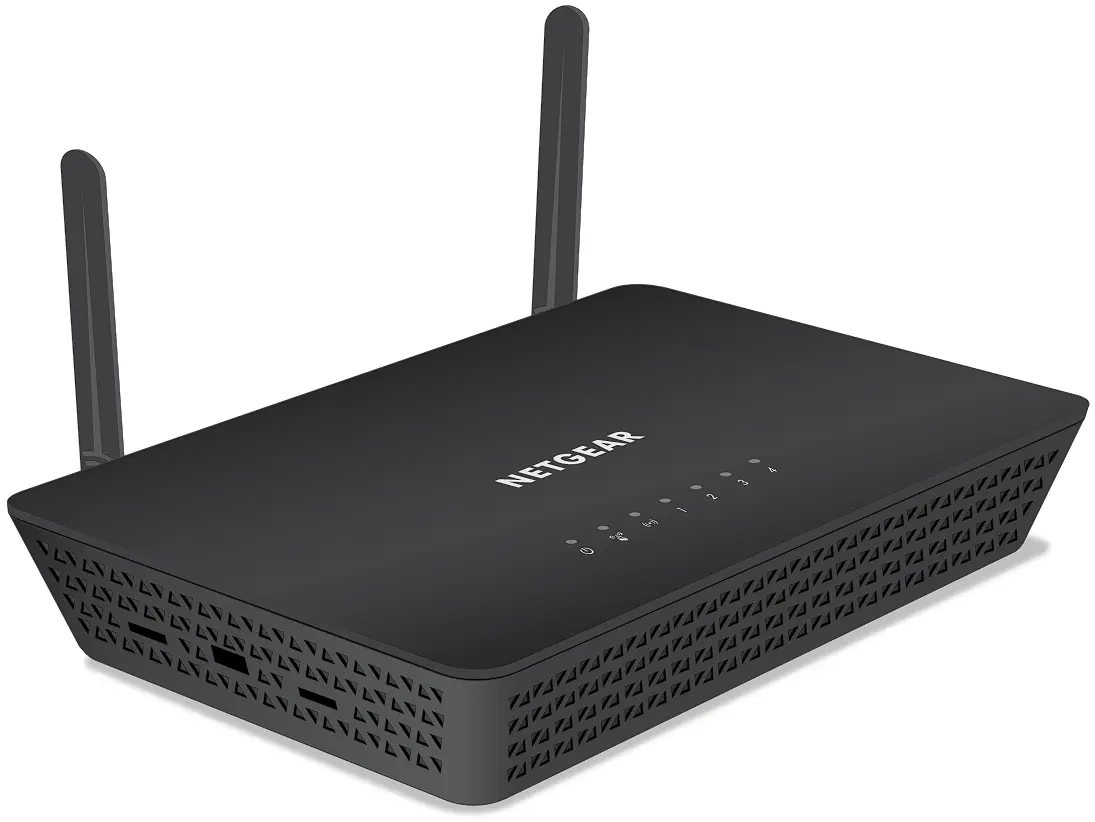
NETGEAR WAC104 802.11ac Wireless Access Point
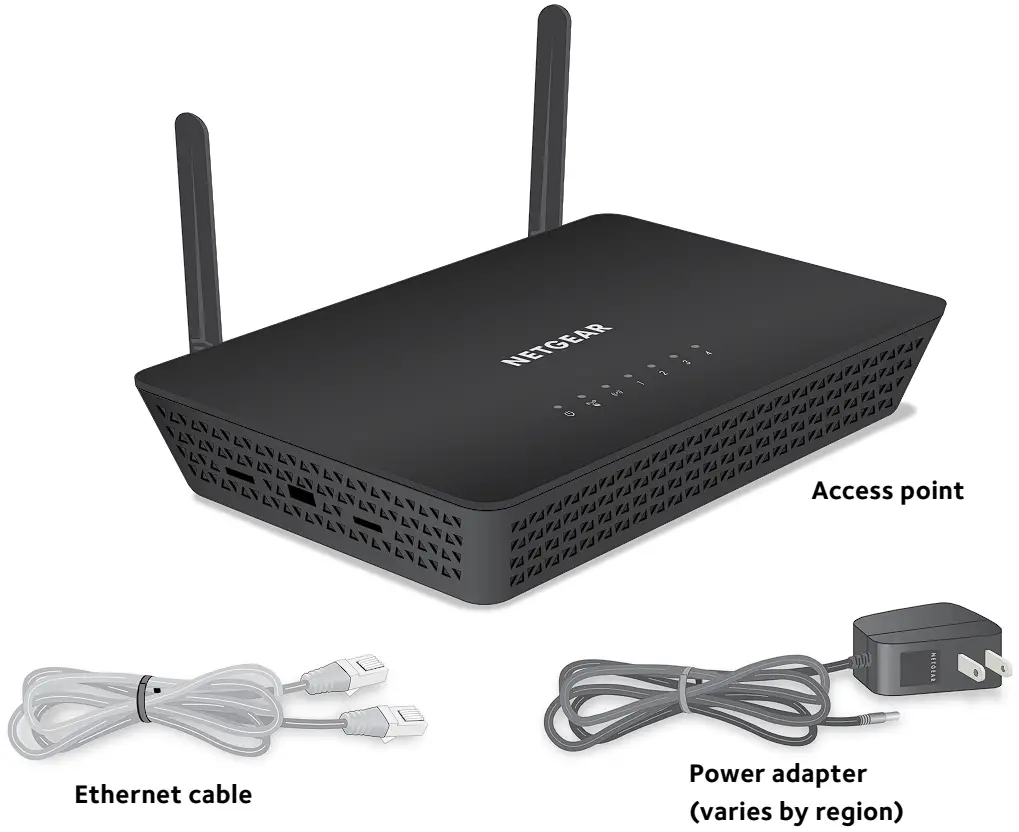
Package Contents
Initial Setup
IMPORTANT: The access point provides WiFi and LAN connectivity but is a bridge and not a router. Therefore, do not connect the access point directly to an Internet modem (such as a DSL or cable modem). Connect the access point to a router that is connected to an Internet modem.
The access point uses a DHCP client that is enabled by default. Almost any router functions as a DHCP server, allowing the access point to obtain an IP address from the router. If your network includes a separate DHCP server, connect the access point to a switch or hub that is connected to the DHCP server
- Connect the Ethernet cable that came in the package to one of the access point’s Ethernet ports.
You can use any of the four LAN ports on the access point. - Connect the other end of the cable to a LAN port on your router.
Use an Ethernet cable to connect the computer to a LAN port on the access point.
- Power on the access point.
The Power LED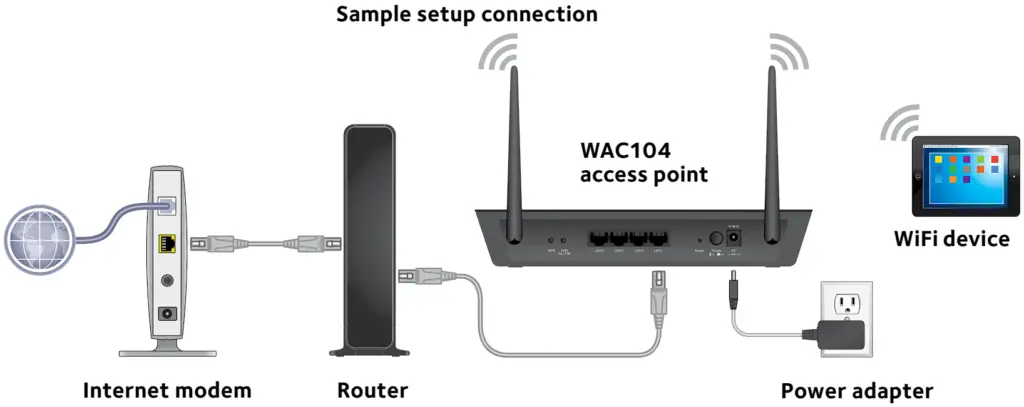 lights solid green. If the Power LED does not light, press the Power On/Off button.
Wait for the WiFi LED to light solid green. If the WiFi LED does not light, press the WiFi On/Off button.
 - Log in to the access point from a WiFi device:
From a WiFi device such as a WiFi-enabled computer, tablet, or smartphone, connect to the access point’s default SSID (see Manual Method). After connecting to the SSID, launch a web browser and enter http://www.aplogin.net in the address field. When prompted, enter admin for the user name and password for the password. The access point’s web management interface displays.
Note: For information about how to access the access point from a wired computer (that is through an Ethernet cable connection), see the user manual, which is available online at downloadcenter.netgear.com.
Note: If your router does not function as a DHCP server or your network does not include a separate DHCP server, the access point sets its IP address to a static IP address of 192.168.0.100. However, in such a situation you can use http://www.aplogin.net to initially log in from a WiFi device to the access point. - Configure the basic WiFi settings and security.
You can configure your basic WiFi settings and security now, or after you complete the initial setup.
a. Select Setup > Wireless Setup.
b. Configure the AP name, region, and SSID, and personalize the security option.
Note: The region or country is not selectable for the U.S. and Canada.
Note: Make sure the country is set to the location where the device is operating. The customer is responsible for complying within the local, regional, and national regulations set for channels, power levels, and frequency ranges.
c. Click the Apply button.
Your settings are saved.
For more information on installing the access point, see the user manual or visit
http://kb.netgear.com/000037248/How-do-I-install-my-WAC104-access-point/.
WiFi Network Names
The default WiFi network name (SSID) for the 2.4 GHz radio band and the default SSID for the 5 GHz radio band are on the access point label. By default, the access point’s WiFi network provides WPA and WPA2 (mixed mode) access. We recommend that you change the default WiFi passphrase to a more secure passphrase.
Join the WiFi Network
To connect your WiFi device to your access point’s WiFi network, you can use either the manual method or the Wi-Fi Protected Setup (WPS) method.
Manual Method
- Open the software utility that manages your WiFi connections on the WiFi device that you want to connect to your access point.
This utility scans for all WiFi networks in your area. - Find and select your access point’s WiFi network name (SSID).
The default SSID for the 2.4 GHz radio band and the default SSID for the 5 GHz radio band are listed on the access point label. - Connect to the WiFi network.
The default passphrase is listed on the access point label. - Repeat Step 1 through Step 3 to add other WiFi devices.
WPS Method
If your computer or mobile device supports WPS, you can use WPS to join the access point’s WiFi network. For help with the WPS button on your computer or mobile device, check the instructions or online help that came with that computer or mobile device. Some older equipment cannot use WPS.
Note: WPS does not support WEP security. If you are using WEP security, use the manual method.
- Press the WPS button on the access point.
- Within two minutes, on your computer or mobile device, press its WPS button or click its onscreen WPS button.
The computer or mobile device connects to your access point’s WiFi network. - Repeat this process to add other computers or mobile devices to the network
Troubleshooting Tips
The following table provides some tips for correcting simple problems that you might encounter. For more troubleshooting information, see the troubleshooting chapter in the user manual.
| Problem | Cause | Possible Solution |
| Power LED is off. | The access point is not receiving power. |
|
| Power LED remains blinking green slowly and continuously. Note: When firmware is being upgraded, the Power LED temporarily blinks green. |
A firmware or hardware problem exists. | If the Power LED is still blinking green three minutes after you turn on power to the access point or if the Power LED is blinking green slowly and continuously at any other time, do the following:
|
| A LAN port LED is off. | A hardware connection problem exists. |
|
| Wi-Fi LED is off. | The Wi-Fi connection does not work. |
|
| You cannot connect to the access point from a browser. | Multiple possible causes. |
|
Support
Thank you for purchasing this NETGEAR product. You can visit www.netgear.com/support to register your product, get help, access the latest downloads and user manuals, and join our community. We recommend that you use only official NETGEAR support resources.
For more information about the installation options, visit www.netgear.com/support to access the user manual.
For the current EU Declaration of Conformity, visit http://support.netgear.com/app/answers/detail/a_id/11621/.
For regulatory compliance information, visit http://www.netgear.com/about/regulatory/.
See the regulatory compliance document before connecting the power supply.
 NETGEAR INTL LTD
Building 3, University Technology Centre Curraheen Road, Cork, Ireland
NETGEAR, Inc.
350 East Plumeria Drive San Jose, CA 95134, USA
© NETGEAR, Inc., NETGEAR, and the NETGEAR Logo are trademarks of NETGEAR, Inc. Any non‑NETGEAR trademarks are used for reference purposes only.