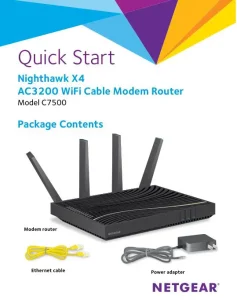
Nighthawk X4 AC3200 WiFi Cable Modem
Router C7500 User Manual
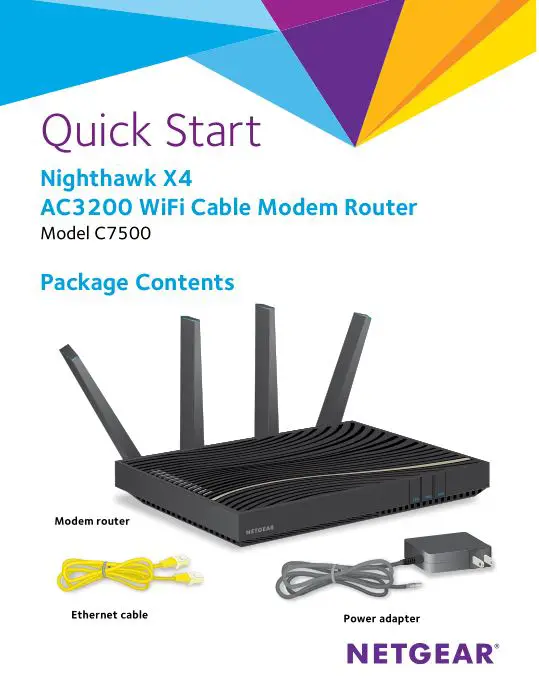
- Collect your Comcast XFINITY information.
Collect your Comcast XFINITY account number, account phone number, and login information (your email address or user name and password). - Turn off existing modems and routers.
If you are replacing a modem that is currently connected in your home, unplug the modem and plug the new cable modem into the same outlet. - Connect a coaxial cable.
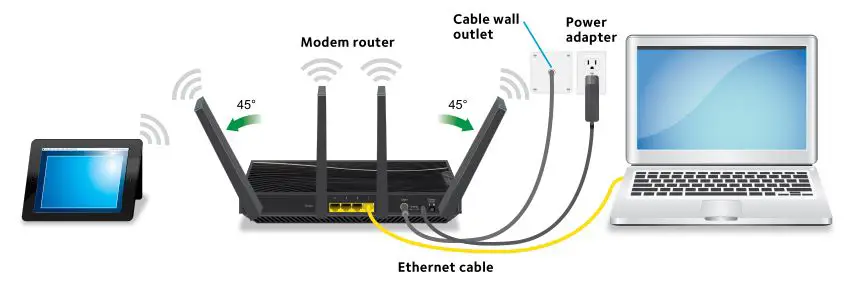
Use the coaxial cable that is provided by Comcast XFINITY to connect the cable port on the cable modem to a cable wall outlet.
Make sure that the cable is tightly connected. - Connect the power adapter.
Connect the power adapter to the modem router and plug the power adapter into an electrical outlet.
When the startup is complete, the Power LED lights solid white. If the Power LED does not light, press the Power On/Off button.
 - Wait for the modem router to come online.
When the modem router comes online, the Internet LED stops blinking and lights solid white.
This process might take up to 10 minutes. - Connect a computer or mobile device to the modem router.
To connect with WiFi, use the WiFi network name and password on the modem router label.
To connect using a wired connection, use an Ethernet cable to connect a computer to an Ethernet port on the
modem router.
Reboot the computer. - Log in to the modem router.
Launch a web browser and enter http://routerlogin.net or http://192.168.0.1 in the address field of the web
browser.
When prompted to log in, enter admin for the user name and password for the password, change the admin password, and enter security questions and answers. - Activate your Internet service.
For information about how to activate your Internet service, see Activate Your Internet Service on the other side of this quick start guide.
Activate Your Internet Service
Activate your Internet service by using Comcast XFINITY’s self-activation process. If you are unable to self-activate your modem router, call Comcast XFINITY customer service. After you complete the setup, perform a speed test.
Before you start the self-activation process, collect the following information:
- XFINITY account number
- The phone number associated with your XFINITY account
- XFINITY login information (your email address or user name and password)
- Modem router model number, which is C7500
- Modem router serial number
- Modem router MAC address
Your modem router’s serial number and MAC address are on the modem router label.
To set up your Internet connection with Comcast XFINITY’s self-activation process:
- Close all web browsers.
- Launch a web browser.
You are redirected to the XFINITY self-activation page. If you are not redirected to the XFINITY self-activation page, visit http://www.comcast.com/activate. - Provide your XFINITY credentials and complete the self-activation process.
This process might take up to 15 minutes, during which the modem router reboots twice. - If you are unable to activate your modem router using the XFINITY self-activation process, call 1-855-OK-BEGIN (1-855-652-3446) or 1-800-XFINITY (1-800-934-6489).
Perform a Speed Test
For maximum Internet speed results, we recommend that you use a wired gigabit-capable laptop during the speed test.
To determine the accurate Internet speed, visit http://speedtest.xfinity.com/ and perform a speed test.
If your actual speed is lower than your subscribed speed, contact XFINITY.
Join the WiFi Network
To connect your computer or mobile device (such as a smartphone or gaming device) to your modem router’s WiFi network, you can use either the manual method or the Wi-Fi Protected Setup (WPS) method.
Manual Method
- On your WiFi-enabled computer or mobile device, open the WiFi connection manager that manages your WiFi connections. The WiFi connection manager scans for WiFi networks in your area.
- Find and select your modem router’s WiFi network name (SSID). The SSID is on the modem router label.
- Enter the modem router’s password (or your custom password if you changed it) to connect. The password is on the modem router label.
- Repeat Step 1 through Step 3 to connect other WiFi-enabled computers or mobile devices.
WPS Method
For help with the WPS button on your computer or WiFi device, check the instructions or online help that came with that computer or WiFi device. Some older equipment cannot use WPS.
Note: WPS does not support WEP security. If you are using WEP security, use the manual method.
- Press the WPS button on the modem router for three to five seconds.
- Within two minutes, on your WPS-enabled device, press its WPS button or click its onscreen WPS button. The WPS-enabled device connects to your modem router’s WiFi network.
- Repeat this process to add other WPS-enabled devices to the network.
Support
Thank you for purchasing this NETGEAR product. You can visit www.netgear.com/support to register your product, get help, access the latest downloads and user manuals, and join our community. We recommend that you use only official NETGEAR support resources.
If you are experiencing trouble installing your modem router, contact NETGEAR at 1-866-874-8924.
For regulatory compliance information, visit http://www.netgear.com/about/regulatory/.
See the regulatory compliance document before connecting the power supply.
Customer-owned modem routers might not be compatible with certain cable networks. Check with your cable Internet provider to confirm that this NETGEAR modem router is allowed on your cable network.
NETGEAR, Inc.
350 East Plumeria Drive
San Jose, CA 95134, USA
© NETGEAR, Inc., NETGEAR and the NETGEAR Logo are trademarks of NETGEAR, Inc. Any non‑NETGEAR trademarks are used for reference purposes only.

July 2017
