This WiFi Thermostat installation manual is a comprehensive guide to installing the Honeywell wifi thermostat. This manual will help you install your new thermostats quickly and easily without any confusion or frustration. Read on to learn more about this installation process as well as the all-important wiring diagram needed for installation.
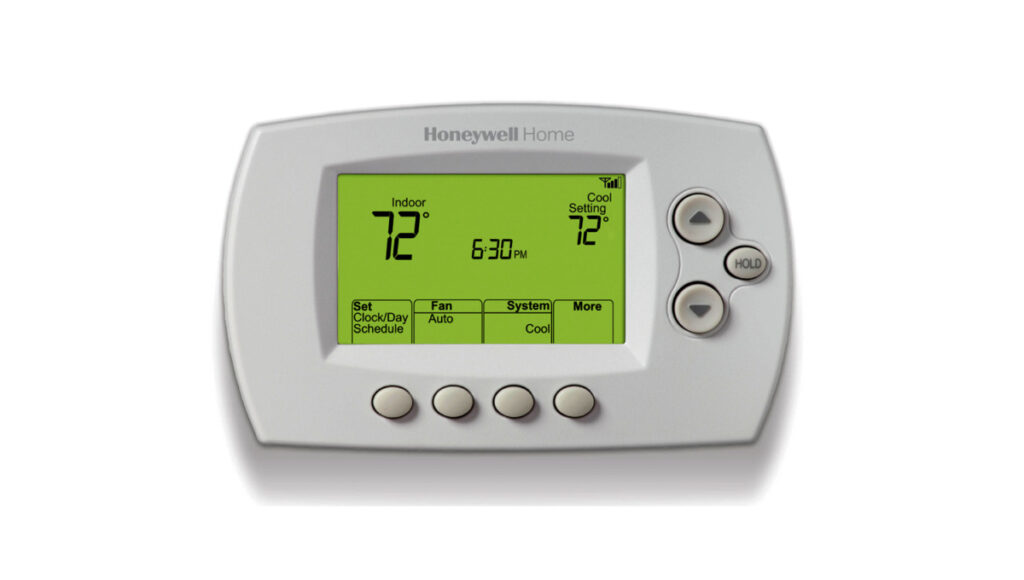

Honeywell WiFi Thermostat
Model: RTH65801006 & RTH6500WF Smart Series
Installing your thermostat
You might need the following tools to install this thermostat:
- No. 2 Phillips screwdriver
- Small pocket screwdriver
- Pencil
- Level (optional)
- Drill and bits (3/16” for drywall,
- 7/32” for plaster) (optional)
- Hammer (optional)
- Electrical tape (optional)
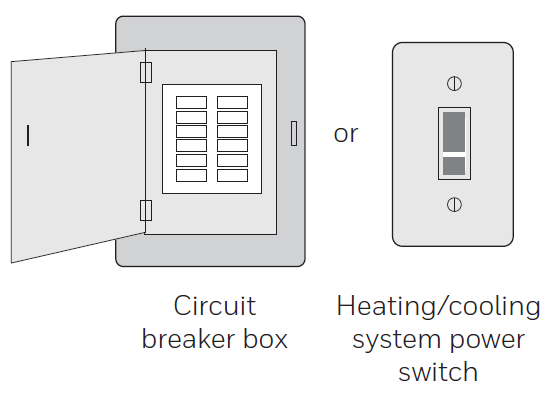
- Switch OFF power to your heating/cooling system. Important! To protect your equipment, switch OFF the power to your heating/cooling system at the breaker box or the system switch.
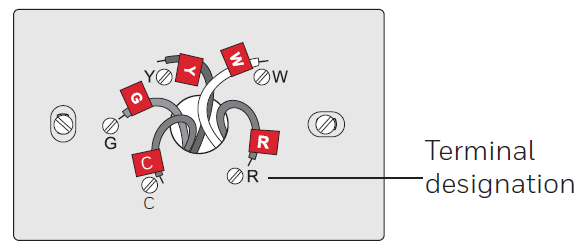
- Remove old thermostat faceplate and leave wires connected.2a. Take a picture of the wire connections for later reference.
2b. If no wire is connected to a terminal labeled C or no C terminal exists on the old thermostat, view the Alternate Wiring videos at honeywellhome.com/wifi-thermostatIf you have an older thermostat with a sealed mercury tube, turn to page ii for proper disposal instructions.Important! C wire is required and is the primary power source for your thermostat. Without a C wire, your thermostat will not power up.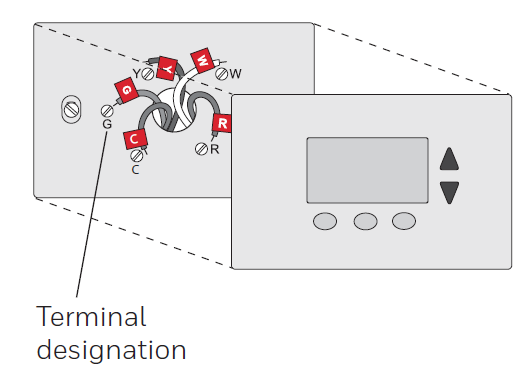
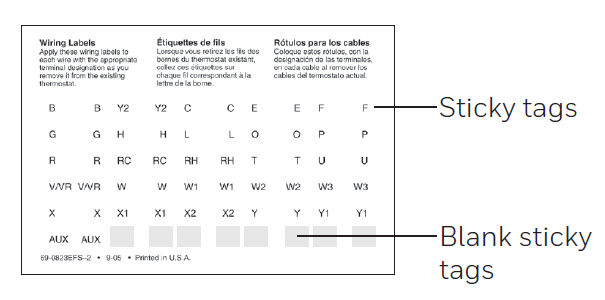
- Label wires.Do not label by wire color. Use the supplied sticky tags to label each wire as you disconnect it. Label wires according to the old thermostat terminal designations, not by wire color. Note: If no tag matches a wire terminal label, write the terminal label on a blank tag.
- Remove wallplate. Remove the old wall plate from the wall after all wires have been labeled and disconnected.
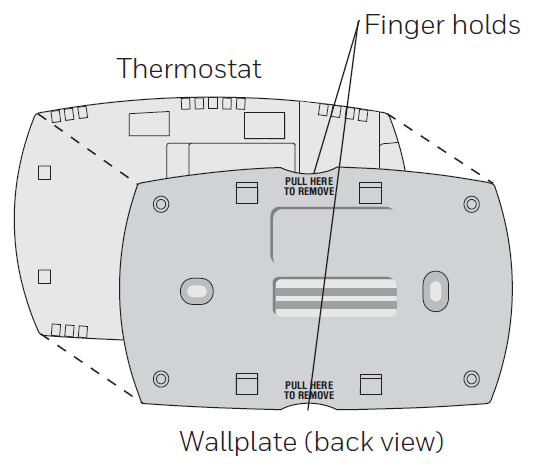
- Separate thermostat and its wallplate.On your new thermostat, grasp the finger holds on the top and bottom of the wallplate with one hand and the thermostat (front) with the other hand. Pull pieces apart.
- Mount wallplate for thermostat. Mount your new wallplate using screws and anchors included with the thermostat.If necessary:
Drill 3/16-in holes for drywall. Drill 7/32-in holes for plaster.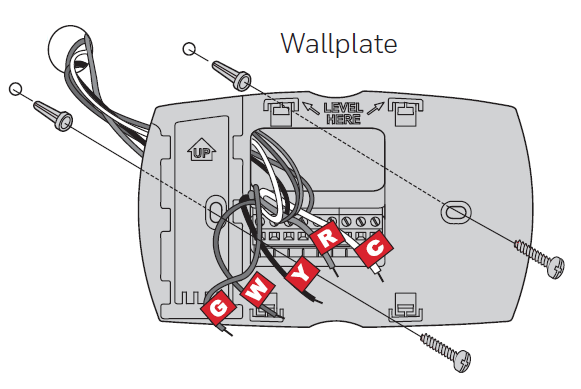


Important! The thermostat requires a C wire to operate. The C, or common, wire brings 24 VAC power to the thermostat. Many older mechanical or battery-operated thermostats do not require a C wire. If you don’t have a C wire, try:
- Looking for an unused wire that is pushed into the wall. Connect that wire to C and check that it is connected to the 24 VAC common at your heating/cooling system.
Note: Not all heating/cooling systems label the 24 VAC common C. Check your system manual or contact the manufacturer to find out which terminal is the 24 VAC common.


