Sections in this Manual
- Product Overview
- Product Features
- Package Components
- Product Structure
- Charging the Dash Cam
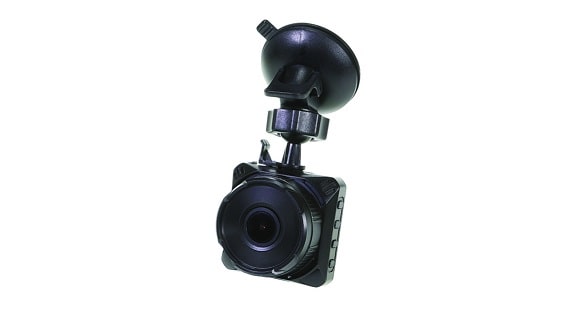
- Installing the Dash Cam
- Instructions for video operation
- Instructions for Photo operation
- Video/Photo playback & protecting files
- Dash Cam menu
- Movie mode menu settings
- General settings
- Still, capture menu settings
- Connecting to a PC
- Maintenance
- Product Specifications
- Warranty
- FAQS
Manufactured by SCA
General settings
Beep Sound: Allows you to turn the button beep sounds on or off. Clock Settings: This feature will allow you to edit the date and time for use with Stamp format Date Format: This feature will allow you to change the format displayed for the year, month, and day. Stamp Format: This feature will stamp the date/time and logo (Dash Cam Model Number) on all your footage produced by your Dash Cam Language: Allows you to choose from a selection of languages Flicker: This feature allows the best recording in conditions where street lights and AC lighting is used. The Australian standard frequency is 50HZ so it should be set to ‘50hz’.
LCD Power Save: This feature will turn your LCD off completely or off after 1 or 3 minutes but will continue to record regardless. This feature is useful for night driving as having the LCD on could be a distraction or illegal. G Sensor: The G-sensor function activates in the case of a car accident by determining the gravitational acceleration (1g = 9.8meters/second^2). When this function activates, the Dash Cam will take 3 minute locked video file. You can set the sensitivity of the Gravity sensor in the Dash Cam. Sensitivity is Level 0 (less sensitive) to Level 4 (sensitive). We recommend this be set to Level 0-1 to help stop false or irrelevant readings.
Reset Setup: This allows you to reset the settings back to factory default. Format: This feature allows you to format/delete all the files off your micro SD card and also reinstalls your DCIM directory and Dash Cam software on your SD card so the micro SD card can operate with your Dash Cam free of errors. FW Version: This simply shows the firmware/software employed by the Dash Cam’s hardware.
Still, capture menu settings
Still Image Size: This is the resolution size of the photos taken, choose 3M, 2M, 1.2M or VGA. Still Quality: Allows you to choose Superfine or Fine for a more detailed image. Exposure: This feature will change the light and dark balance of your photos. We recommend it always be set at ‘0’
Connecting to a PC
USB Interface: The supplied in-car charger is used to power the Dash Cam via the Mini USB interface. The Mini USB cable can also be used to connect to a computer for data transfer. When connecting your Dash Cam to a PC with the USB cable, the Dash Cam will present ‘MSDC’ on its screen allowing you to transfer your videos and photos to your PC. Press the OK button and a “NO NAME” icon will appear on your PC with 3 folders created inside.
- EVENT: For locked files.
- NORMAL: For video files
- PHOTOS: For picture files.

