Sections in this Manual
- Included in the box
- Tools you will need
- Tools you may need
-
Removing your old thermostat
- Turn power OFF
- Check that your system is off.
- Remove the old thermostat’s faceplate.
- Make sure there are no 120/240V wires.
- Take a picture of how your wiring looks right now.
- Record which R-wire(s) you have and write down the color of the wire(s).
- Record the remaining wires and write down the color of the wires.
- Disconnect the wires and remove the old wall plate.
- Installing your RTH5160 thermostat
- Bundle and insert wires through the UWP.
- Insert the wall anchors.
- Set R-switch position and insert R-wire(s).
- Connect remaining wires.
- Confirm wiring matches snapshot.
- Mount the UWP and close the door.
- Install batteries.
- Attach your thermostat.
- Turn your power ON.
- System Setup
- Wiring—conventional systems
- Wiring—heat pump
- Battery Replacement
- Alerts Screen
- Alerts Codes
- Troubleshooting
- 1-year limited warranty
- FAQs
System Setup
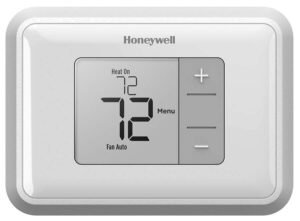
Now that you have installed your thermostat, please follow the steps below to setup your system and personalize your thermostat.
Select System Setup options.
- Press Edit (-) to change values or select from available options. Then press Next (+) to save changes and advance to the next System Setup number. See “System Setup options” on the next page for a full list of System Setup numbers and options.
- Repeat until all of the System Setup options have been set, and then press
- Done. The thermostat will save and exit to the home screen.
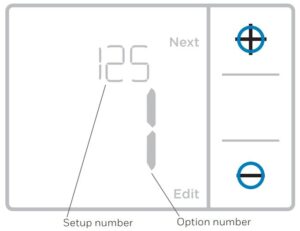
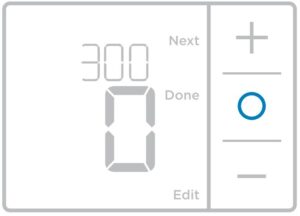
NOTE: To re-enter the System Setup from the Home Screen, press and hold the Menu button for approximately 5 seconds.
System Setup options
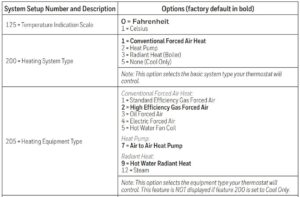
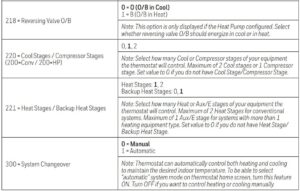
NOTE: Once you have cycled through all of the System Setup numbers, press Done to save and exit to the home screen.
Setup Complete
You have now finished installing and setting up your thermostat.
System operation settings
- Press Menu, and then press the Mode (+) button to cycle to the next available System mode.
- Cycle through the modes until the required System mode is displayed, and then press Done.
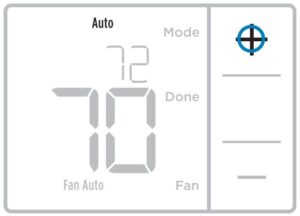
NOTE: Available System modes vary by model and system settings.
System modes:
- Auto: Thermostat selects heating or cooling as needed.
- Heat: Thermostat controls only the heating system.
- Cool: Thermostat controls only the cooling system.
- Em Heat (only for heat pumps with auxiliary heat): Thermostat controls Auxiliary Heat. Compressor is not used.
- Off: Heating and cooling system is off. Fan will still operate if fan is set to On.
NOTE: Heat On/Cool On may flash for 5 minutes due to compressor protection.
Fan operation settings
- Press Menu, and then press the Fan (-) button to cycle to the next available Fan mode.
- Cycle through the modes until the required Fan mode is displayed, then press Done.
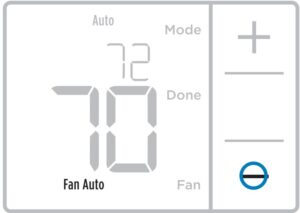
NOTE: Available Fan modes vary with system settings.
Fan modes:
- Auto: Fan runs only when the heating or cooling system is on.
- On: Fan is always on.
